The LKS Address

Welcome to Our Home Address

  • BLOG
  • SHOP
  • YOUTUBE
  • ABOUT
  • CONTACT

EXPLORE

  • BLOG
  • SHOP
  • YOUTUBE
  • ABOUT
  • CONTACT

Connect

RENOVATION · January 8, 2023

STUGA ENGINEERED WOOD FLOORS

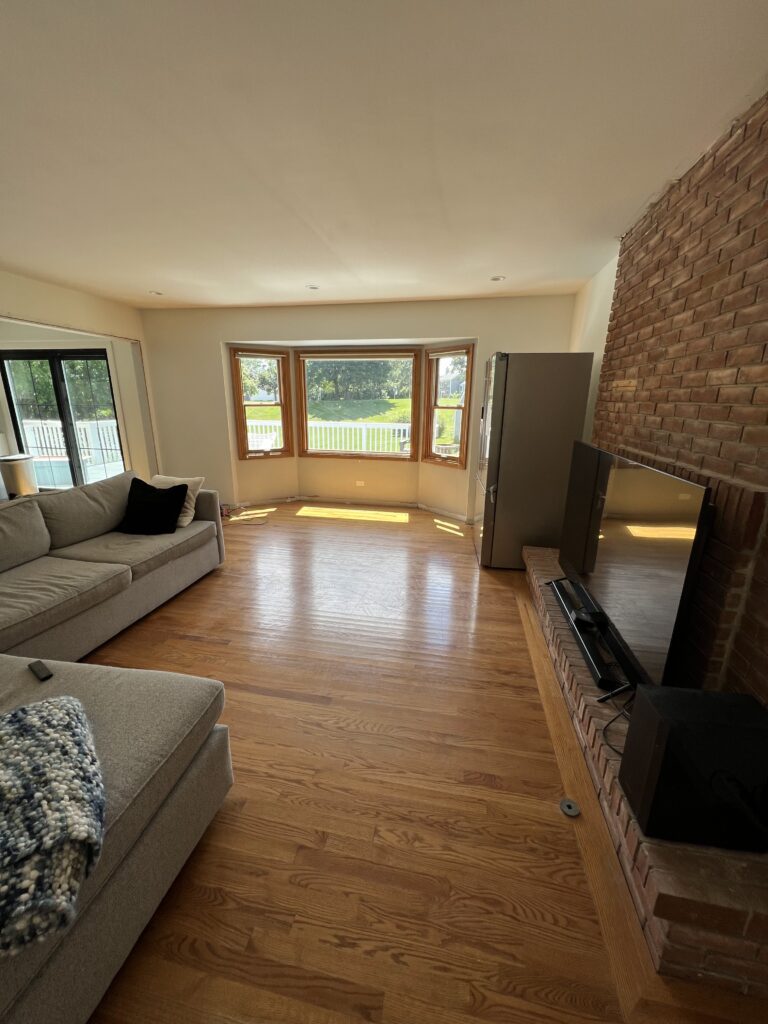
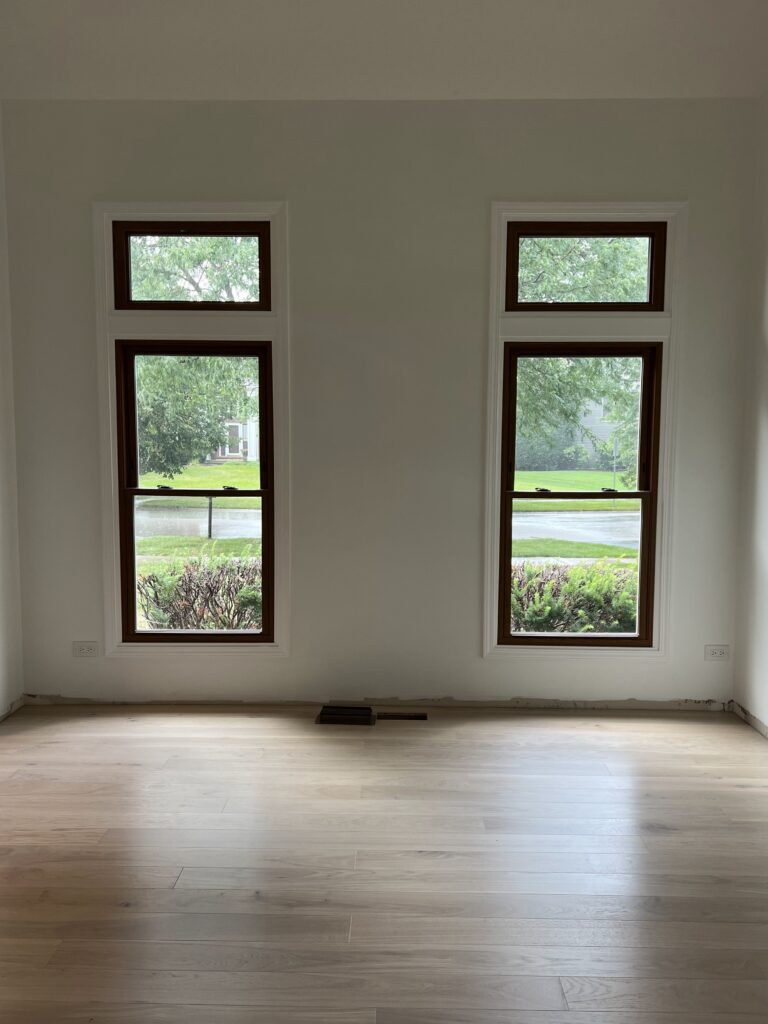
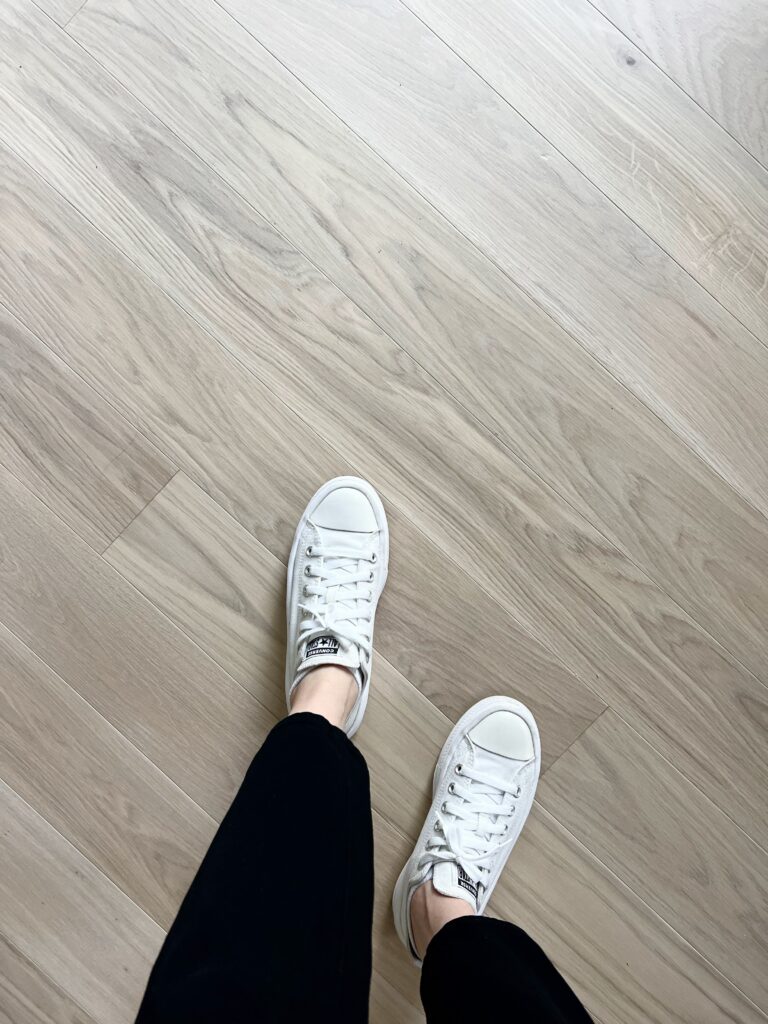
We are installing all new engineered wood floors throughout the first floor of our home and we’ve chosen flooring by Stuga in the color moonlight. These are engineered white oak floors from Poland. We are going to DIY install these floors with some help from my Dad, who has installed many engineered floors via the floating installation method.

If you are interested, we have a YouTube video on the process of installing our engineered hardwood floors by Stuga!

carpet before wood floor

When it comes to installing Stuga engineered wood floors, there are multiple installation methods to choose from. This is purely based on installation guides provided from Stuga. The options include:

  • Float
  • Glue
  • Staple

Before beginning any installation, make sure the boxes of flooring are placed in the space you are going to be installing the flooring in. This is so that the floors have adequate time to acclimate to the specific temperature and humidity levels in the room. Stuga floors do not require acclimation, however, other floors we have installed in the past have, so out of caution we allowed the floors to acclimate anyway.

wood floor aclimmation

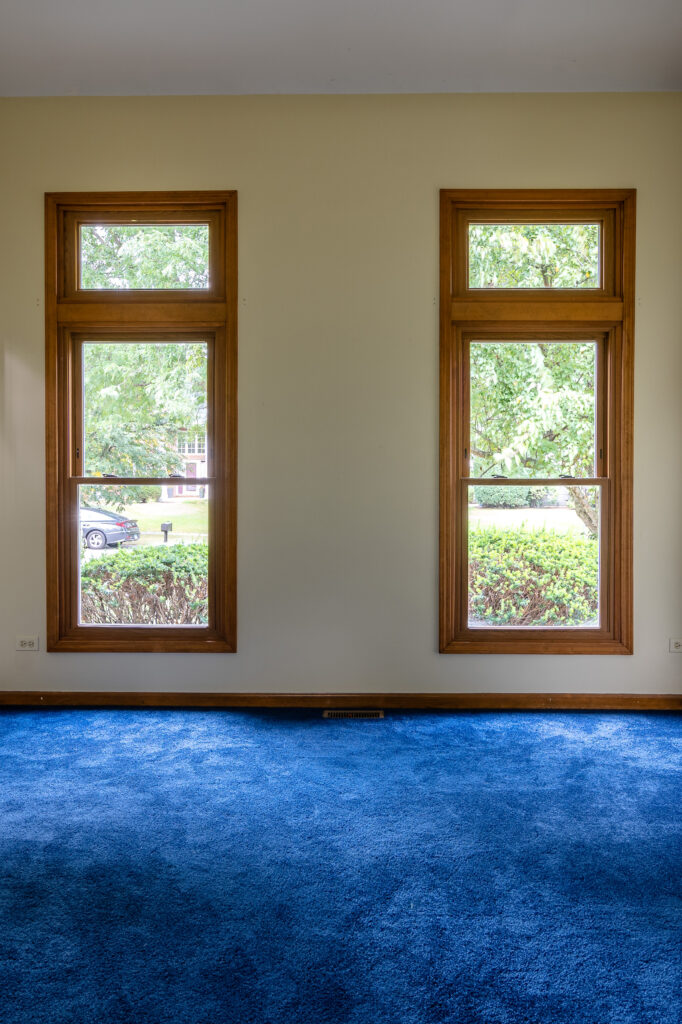
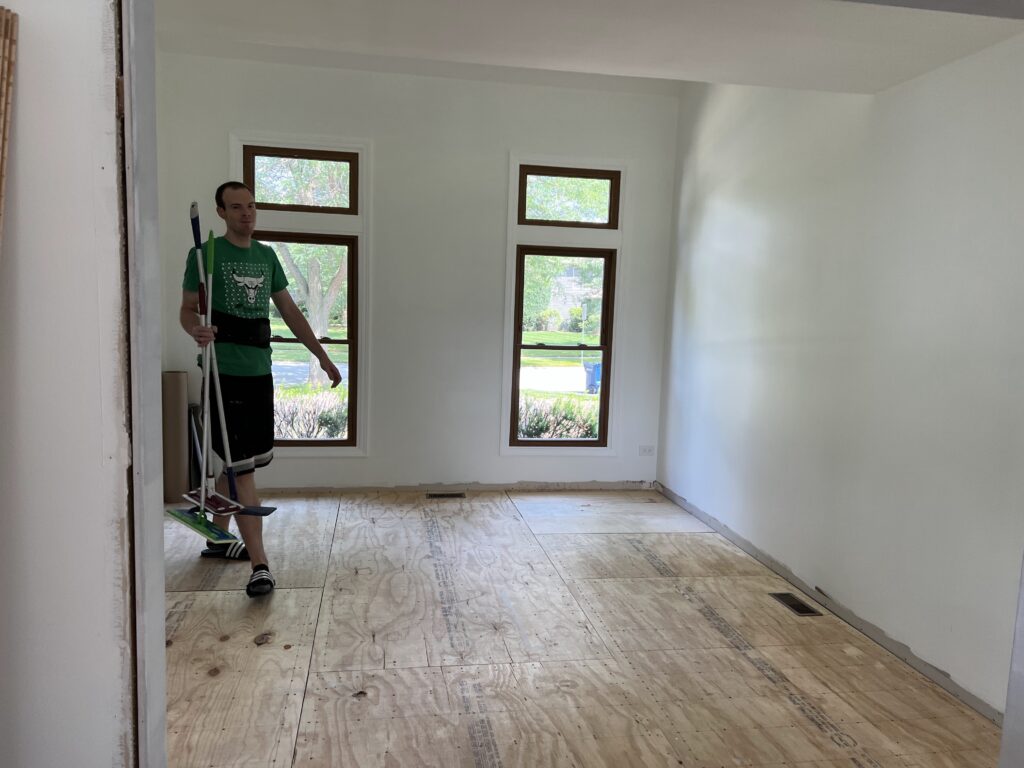
As I mentioned, we’ll be float installing our Stuga floors. In our opinion, this is the most DIY friendly method. We are also going on top of multiple types of flooring so a floating install will make it easier. Our first floor flooring contains a mix of carpet and solid red oak hardwoods. We prepped our first floor by removing all carpet and added a 3/4″ subfloor to the carpet areas. This is so that those rooms are now flush with the existing solid red oak hardwoods so we can have a seamless transition.

subfloor prep
solid red oak hardwood before

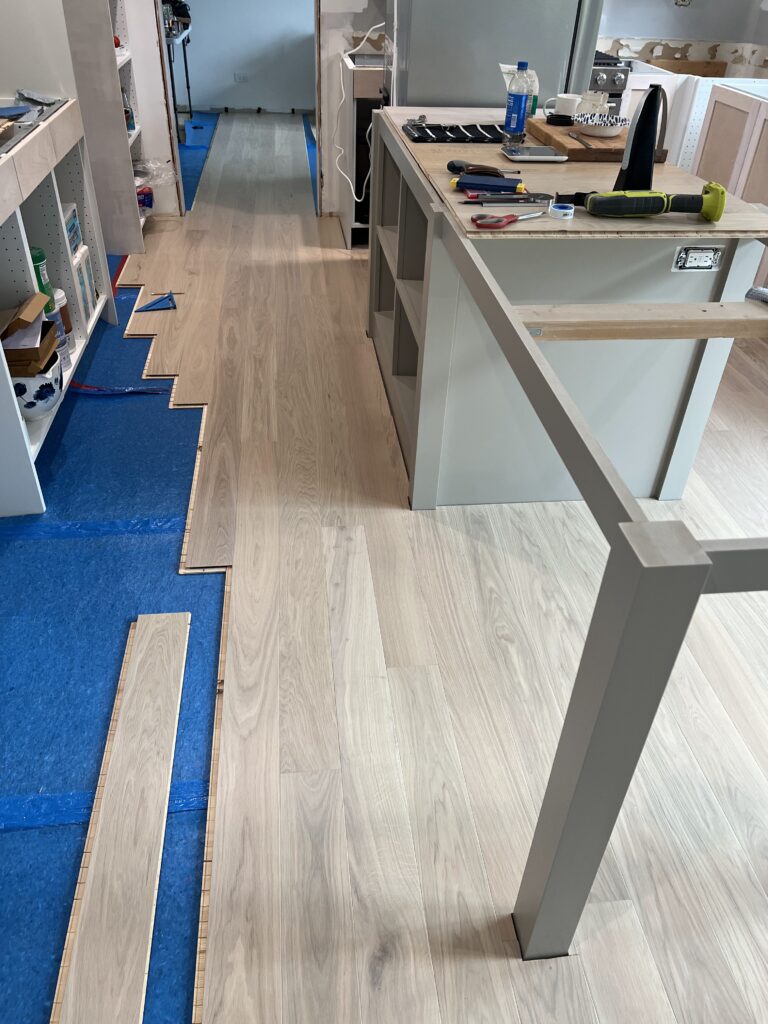
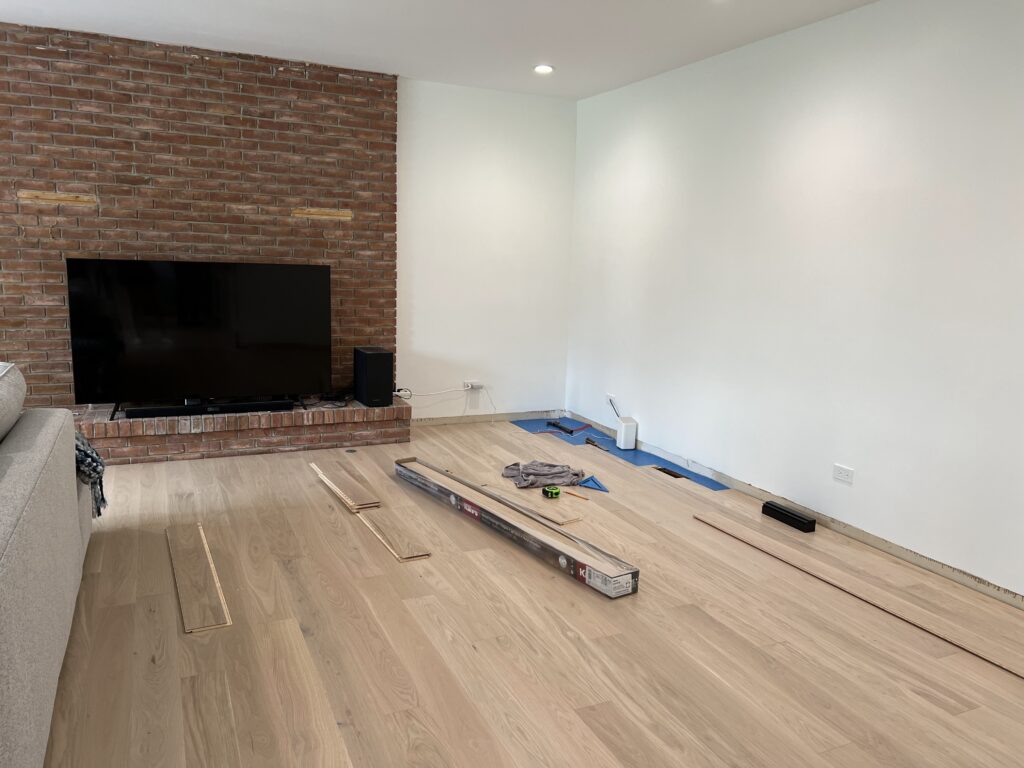
The Stuga moonlight flooring we are using is considered a “click” flooring, where each board will angle and click / lock into place. When laying, you simply lock one board into the next, making sure to stagger the seams as you go. We made all of our cuts with our mitre saw and for more complex cuts we used a jig saw.

first row of boards installed
progress install

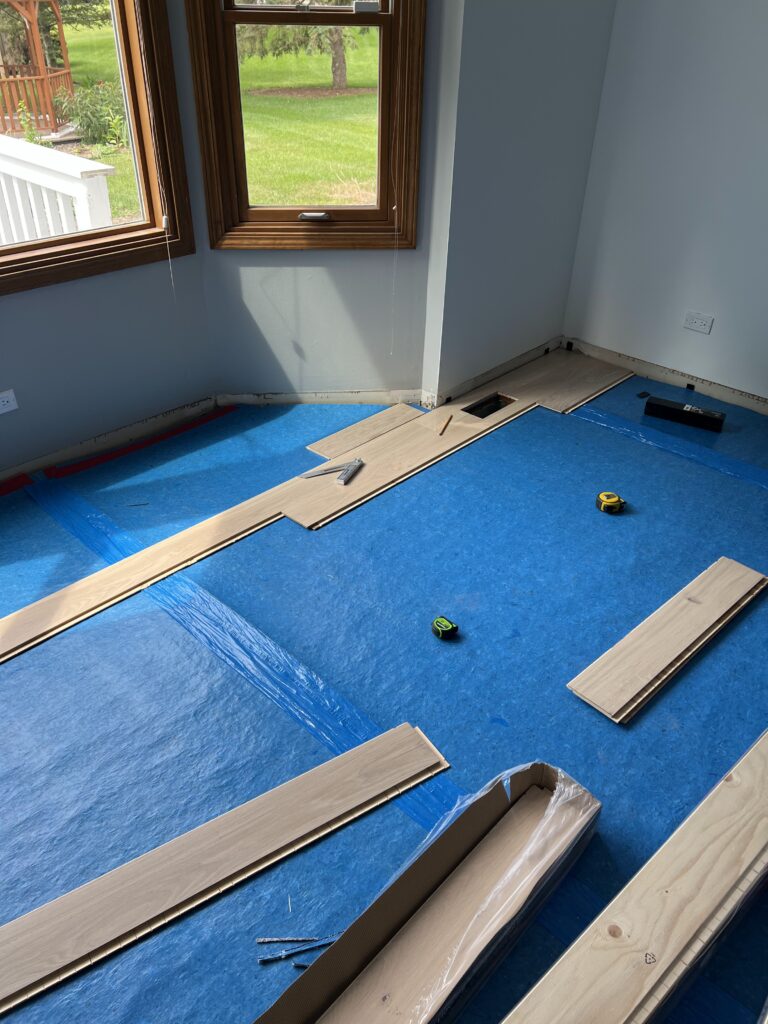
Because the floor floats, it is prone to expansion and contraction. You are required to keep a control joint at all walls and edges. To ensure we provided the proper expansion space, we used flooring spacers at all of our walls and edges.

family room after install

Around tricky edges at our first floor, like our first stair riser, we use the professional profile and contour gauge tool to help template the profile before making any cuts with our jigsaw.

front room after install
wood flooring

Overall, it took 3 of us about 3-4 days to complete the install of the floors at our first floor, which is around 1,000 square feet. Prep was done previously, which took at least a few days to remove carpet, add subfloor, and install underlayment. If you have any questions about laying engineered hardwood flooring, feel free to leave a comment below or reach out to us!

Posted By: thelksaddress · In: RENOVATION

PAINTING OUR DIY KITCHEN ISLAND
PAINTING OUR KITCHEN CABINETS

You’ll Also Love

OUR KITCHEN RENOVATION REVEAL
DIY PLASTER RANGE HOOD
CUSTOM WALNUT COFFEE BAR
About Photo
Hi! We are Lauren and Kameron, the creators behind the LKS Address. Together, we are working to pursue our passions of design, renovation, and architecture.

EXPLORE

  • BLOG
  • SHOP
  • YOUTUBE
  • ABOUT
  • CONTACT

thelksaddress

Let’s build some doors for these bookcases! It’s not a library door unless it has a brass grille, so we couldn’t forget those. We weren’t sure if we’d do doors or not and the build would have been much simpler without them. But we’re glad all of you pushed us to do the doors because we love how they turned out!
°
°
°
°
#LKSAddress #homelibrary #billybookcase #library #ikeahack #darkgreen
Elevating IKEA is one of our favorite things to do Elevating IKEA is one of our favorite things to do and we’re so excited about finishing up the library bookcases! We’ve made it through assembling the Billy bookshelves, rough framing, building our face frame, painting, adding inset detail trim, and installing our picture lights. We’ve only got a few things left to complete, and up next are our semi-custom brass grille doors!
°
°
°
°
#LKSAddress #homelibrary #billybookcase #library #ikeahack #darkgreen
Kam and I have been talking about going to Paris f Kam and I have been talking about going to Paris for years, we finally made it a priority and went to Paris for a week in October! We immediately fell in love with the city and it’s probably my favorite city I have ever visited. We left feeling so inspired. I cannot wait to go back and learn more about Parisian culture. If you’ve been to Paris, tell us your favorite part. If you haven’t been, we’d love to hear one reason you can’t wait to visit!

Paris Highlights:
@jacquemartandre - beautiful house museum
@copains.paris - gluten-free bakery
@veuveclicquot - touring their champagne house
@jentemple - special thanks to Jen for helping start our research with a bunch of personal recommendations!
°
°
°
°
#LKSAddress #Paris #France
Our backyard has undergone quite the transformatio Our backyard has undergone quite the transformation over the past year! From removing our existing deck, pouring a new concrete patio, overhauling the landscaping, installing raised garden beds, and adding finishing touches like our centerpiece urn and outdoor furniture; we wouldn’t have it any other way! It’s truly feels like an extension of our home now. It’s so nice that now when we look outside it just feels like us. What is your favorite part of our backyard project?
°
°
°
°
#LKSAddress #outdoorfurniture #backyardmakeover #outdoorrenovation
Our backyard project is now complete thanks to the Our backyard project is now complete thanks to the finishing touch, our new outdoor furniture. This outdoor furniture from @liveouter is beautiful yet functional and helps to create an extension of our home outdoors. #sponsored

We went with the Charcoal Aluminum Sofa with Armless Chairs 5-seat set and paired that with the new centerpiece of our patio, the OuterStone fire pit. Our favorite part about the seating set is the integral covers, the OuterShell, that will protect our cushions for seasons to come. It makes covering and protecting our new furniture easy and convenient! Have you ever seen anything else like it?
°
°
°
°
#LKSAddress #outdoorfurniture #outdoorliving
Before and after at our front door and covered ent Before and after at our front door and covered entry! This used to be the most disliked part of our exterior. We wanted to lean into traditional elements here to coordinate with our colonial style exterior as we gave it an updated look. Now it feels cohesive with the exterior and our personal style. Special thanks to our partners on this project, @pookylightsus, @peasedoors, and @levelhome. 
°
°
°
°
#LKSAddress #frontdoor #coveredentry #doorhardware
Follow on Instagram

Copyright © 2025 The LKS Address · Theme by 17th Avenue