The LKS Address

Welcome to Our Home Address

  • BLOG
  • SHOP
  • YOUTUBE
  • ABOUT
  • CONTACT

EXPLORE

  • BLOG
  • SHOP
  • YOUTUBE
  • ABOUT
  • CONTACT

Connect

RENOVATION · January 8, 2023

PAINTING OUR DIY KITCHEN ISLAND

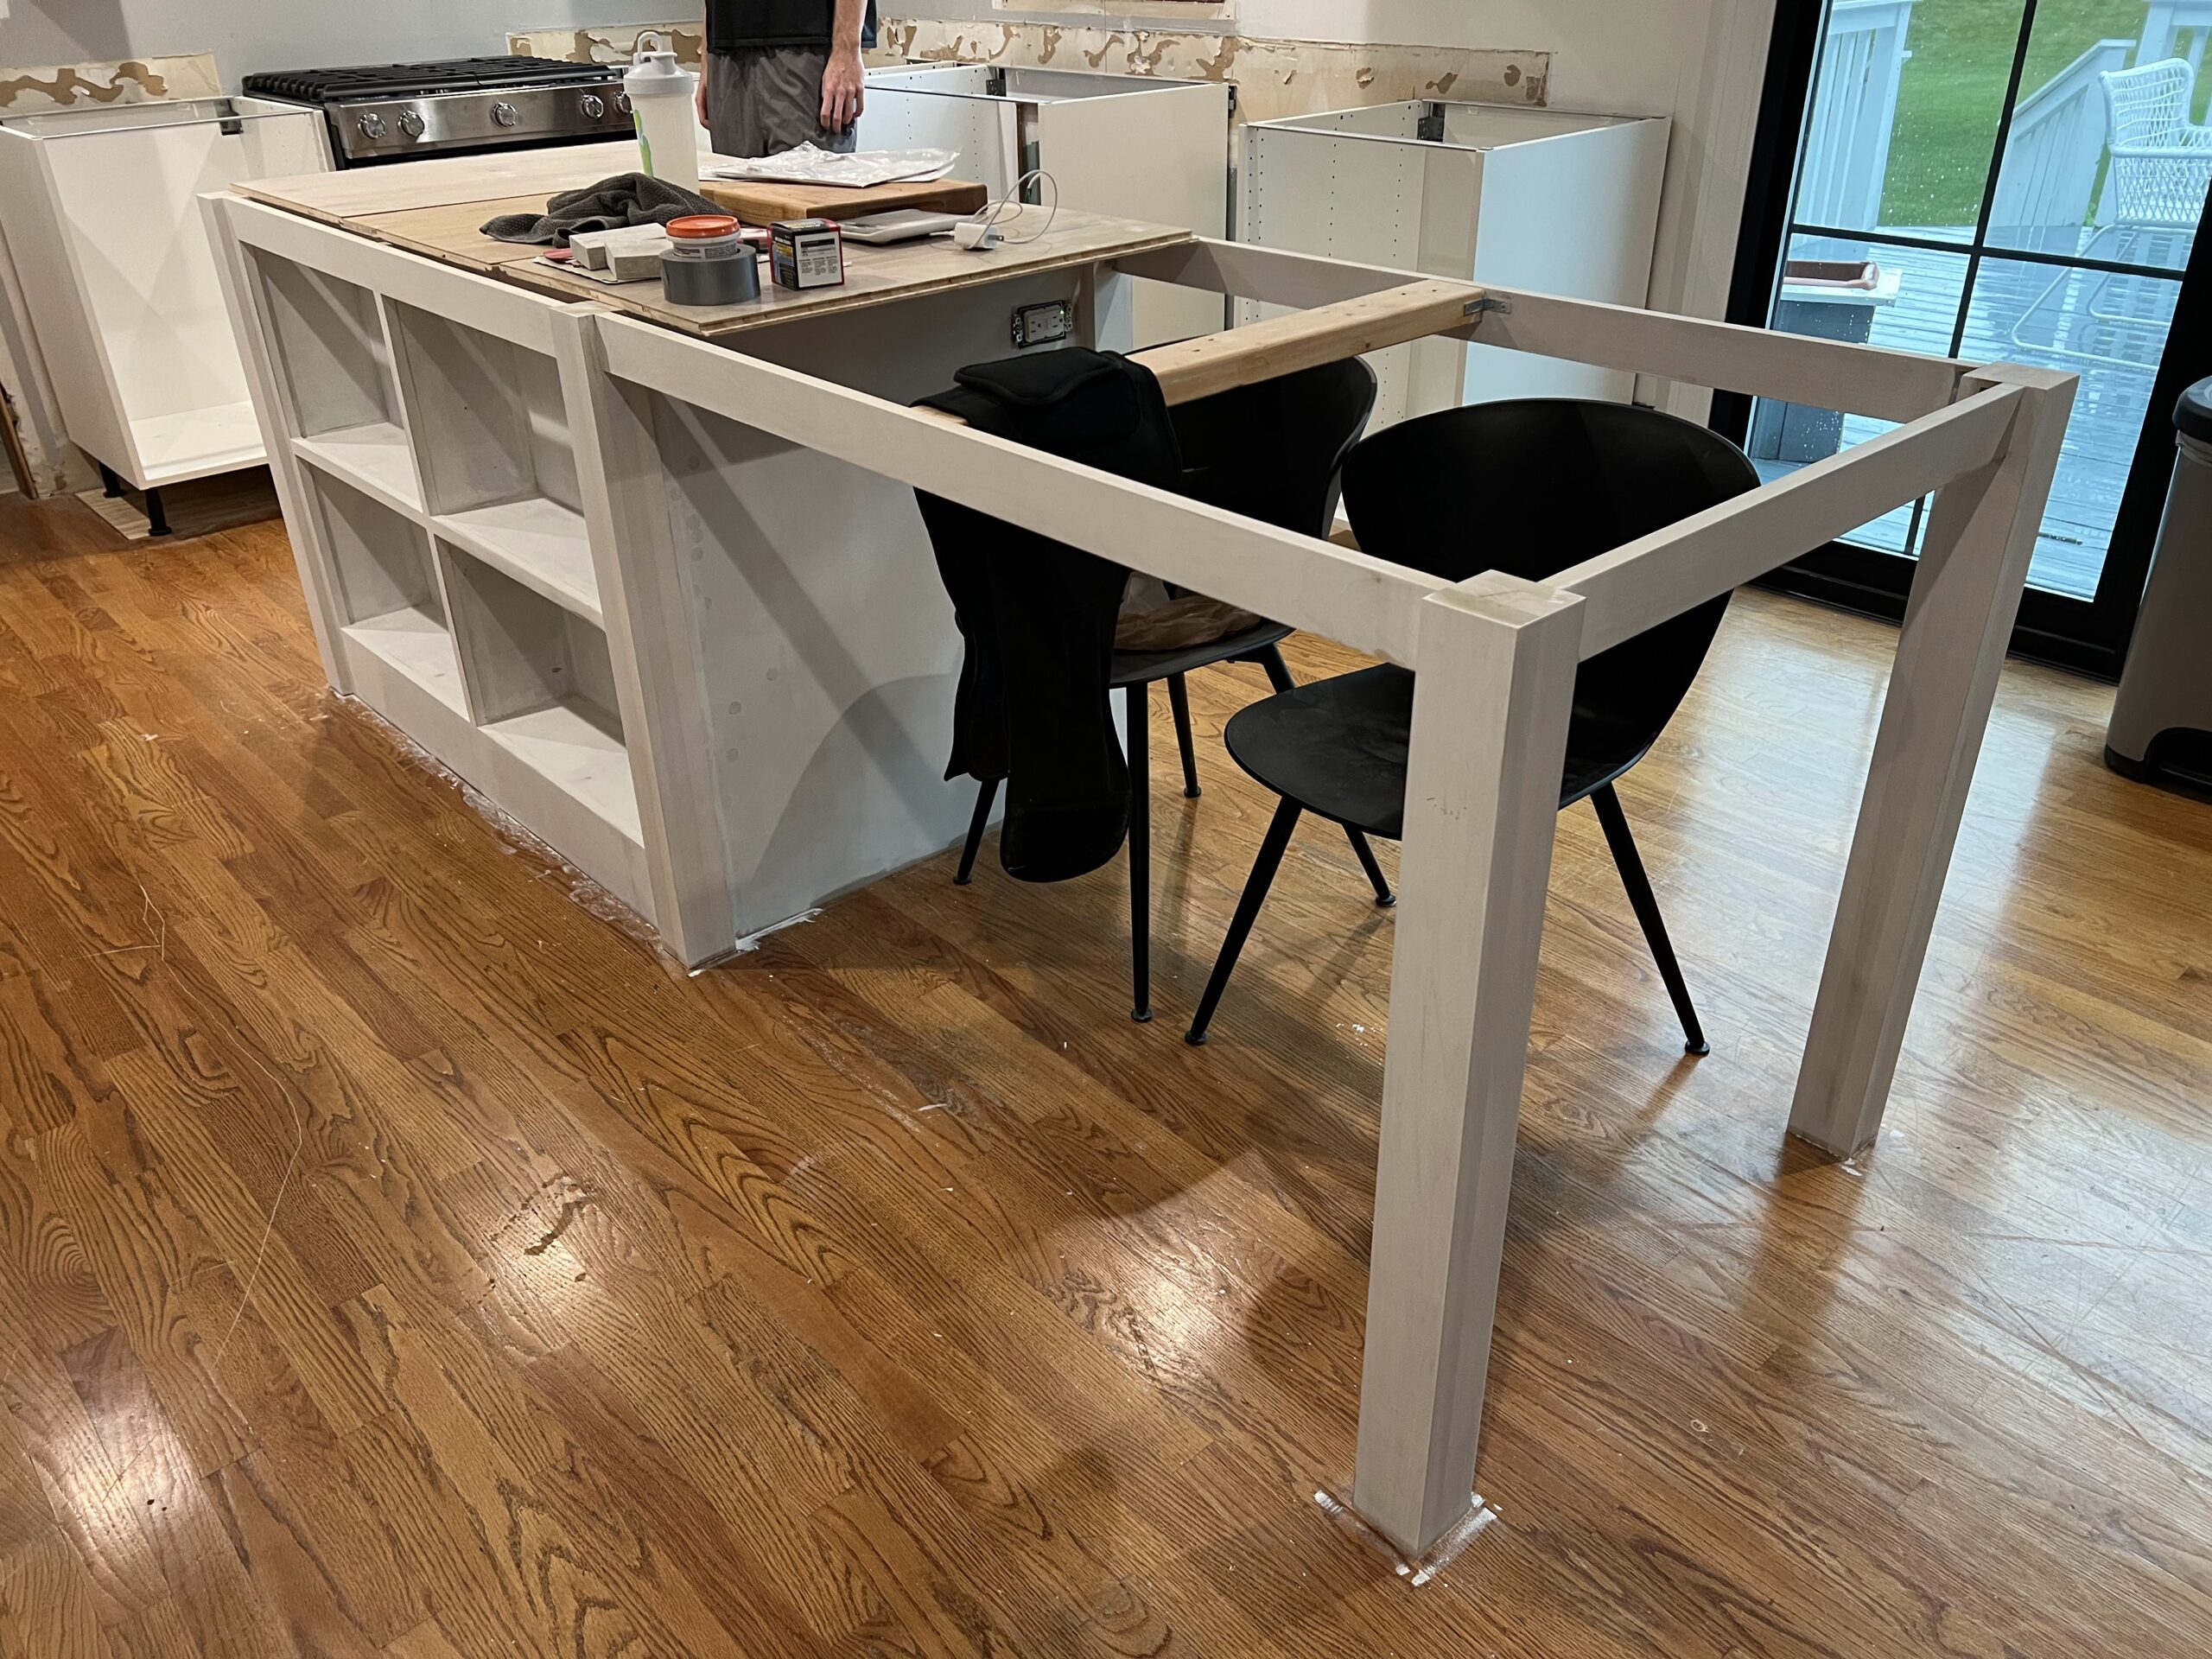
Now that we’ve got our island built, next up is painting our DIY kitchen island. We are going to be painting our island using the Graco Magnum X5 paint sprayer. We’ve never used this paint sprayer before, so this will definitely be a learn as we go process, but we’re really excited to use the product and get our island painted.

If you are interested, we have a YouTube video on the painting process of our DIY custom kitchen island, linked above!

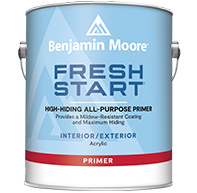
Let’s first talk about the type of paints we are using to paint our kitchen island. Using the proper paint and primer is essential for a long-lasting durable paint finish. For primer, we are going to use one of our favorites, Zinsser BIN Shellac-based primer. This primer can be used in paint sprayers however it will require mineral spirits to clean the sprayer, so we are planning to roll-on the primer. In future paint sprayer projects we have chosen to use Benjamin Moore Fresh Start Arcylic-based primer so we only need water to clean the paint sprayer.

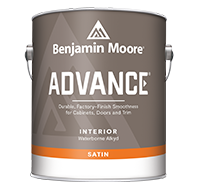
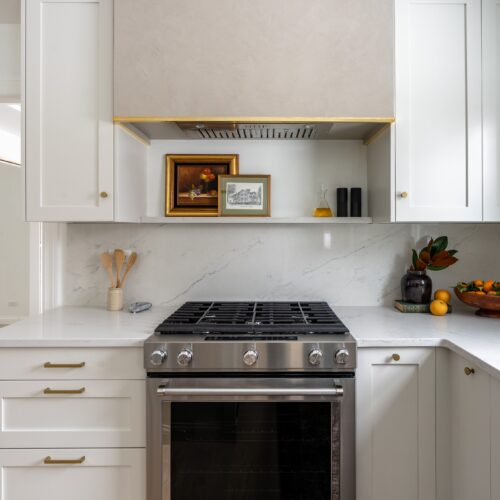
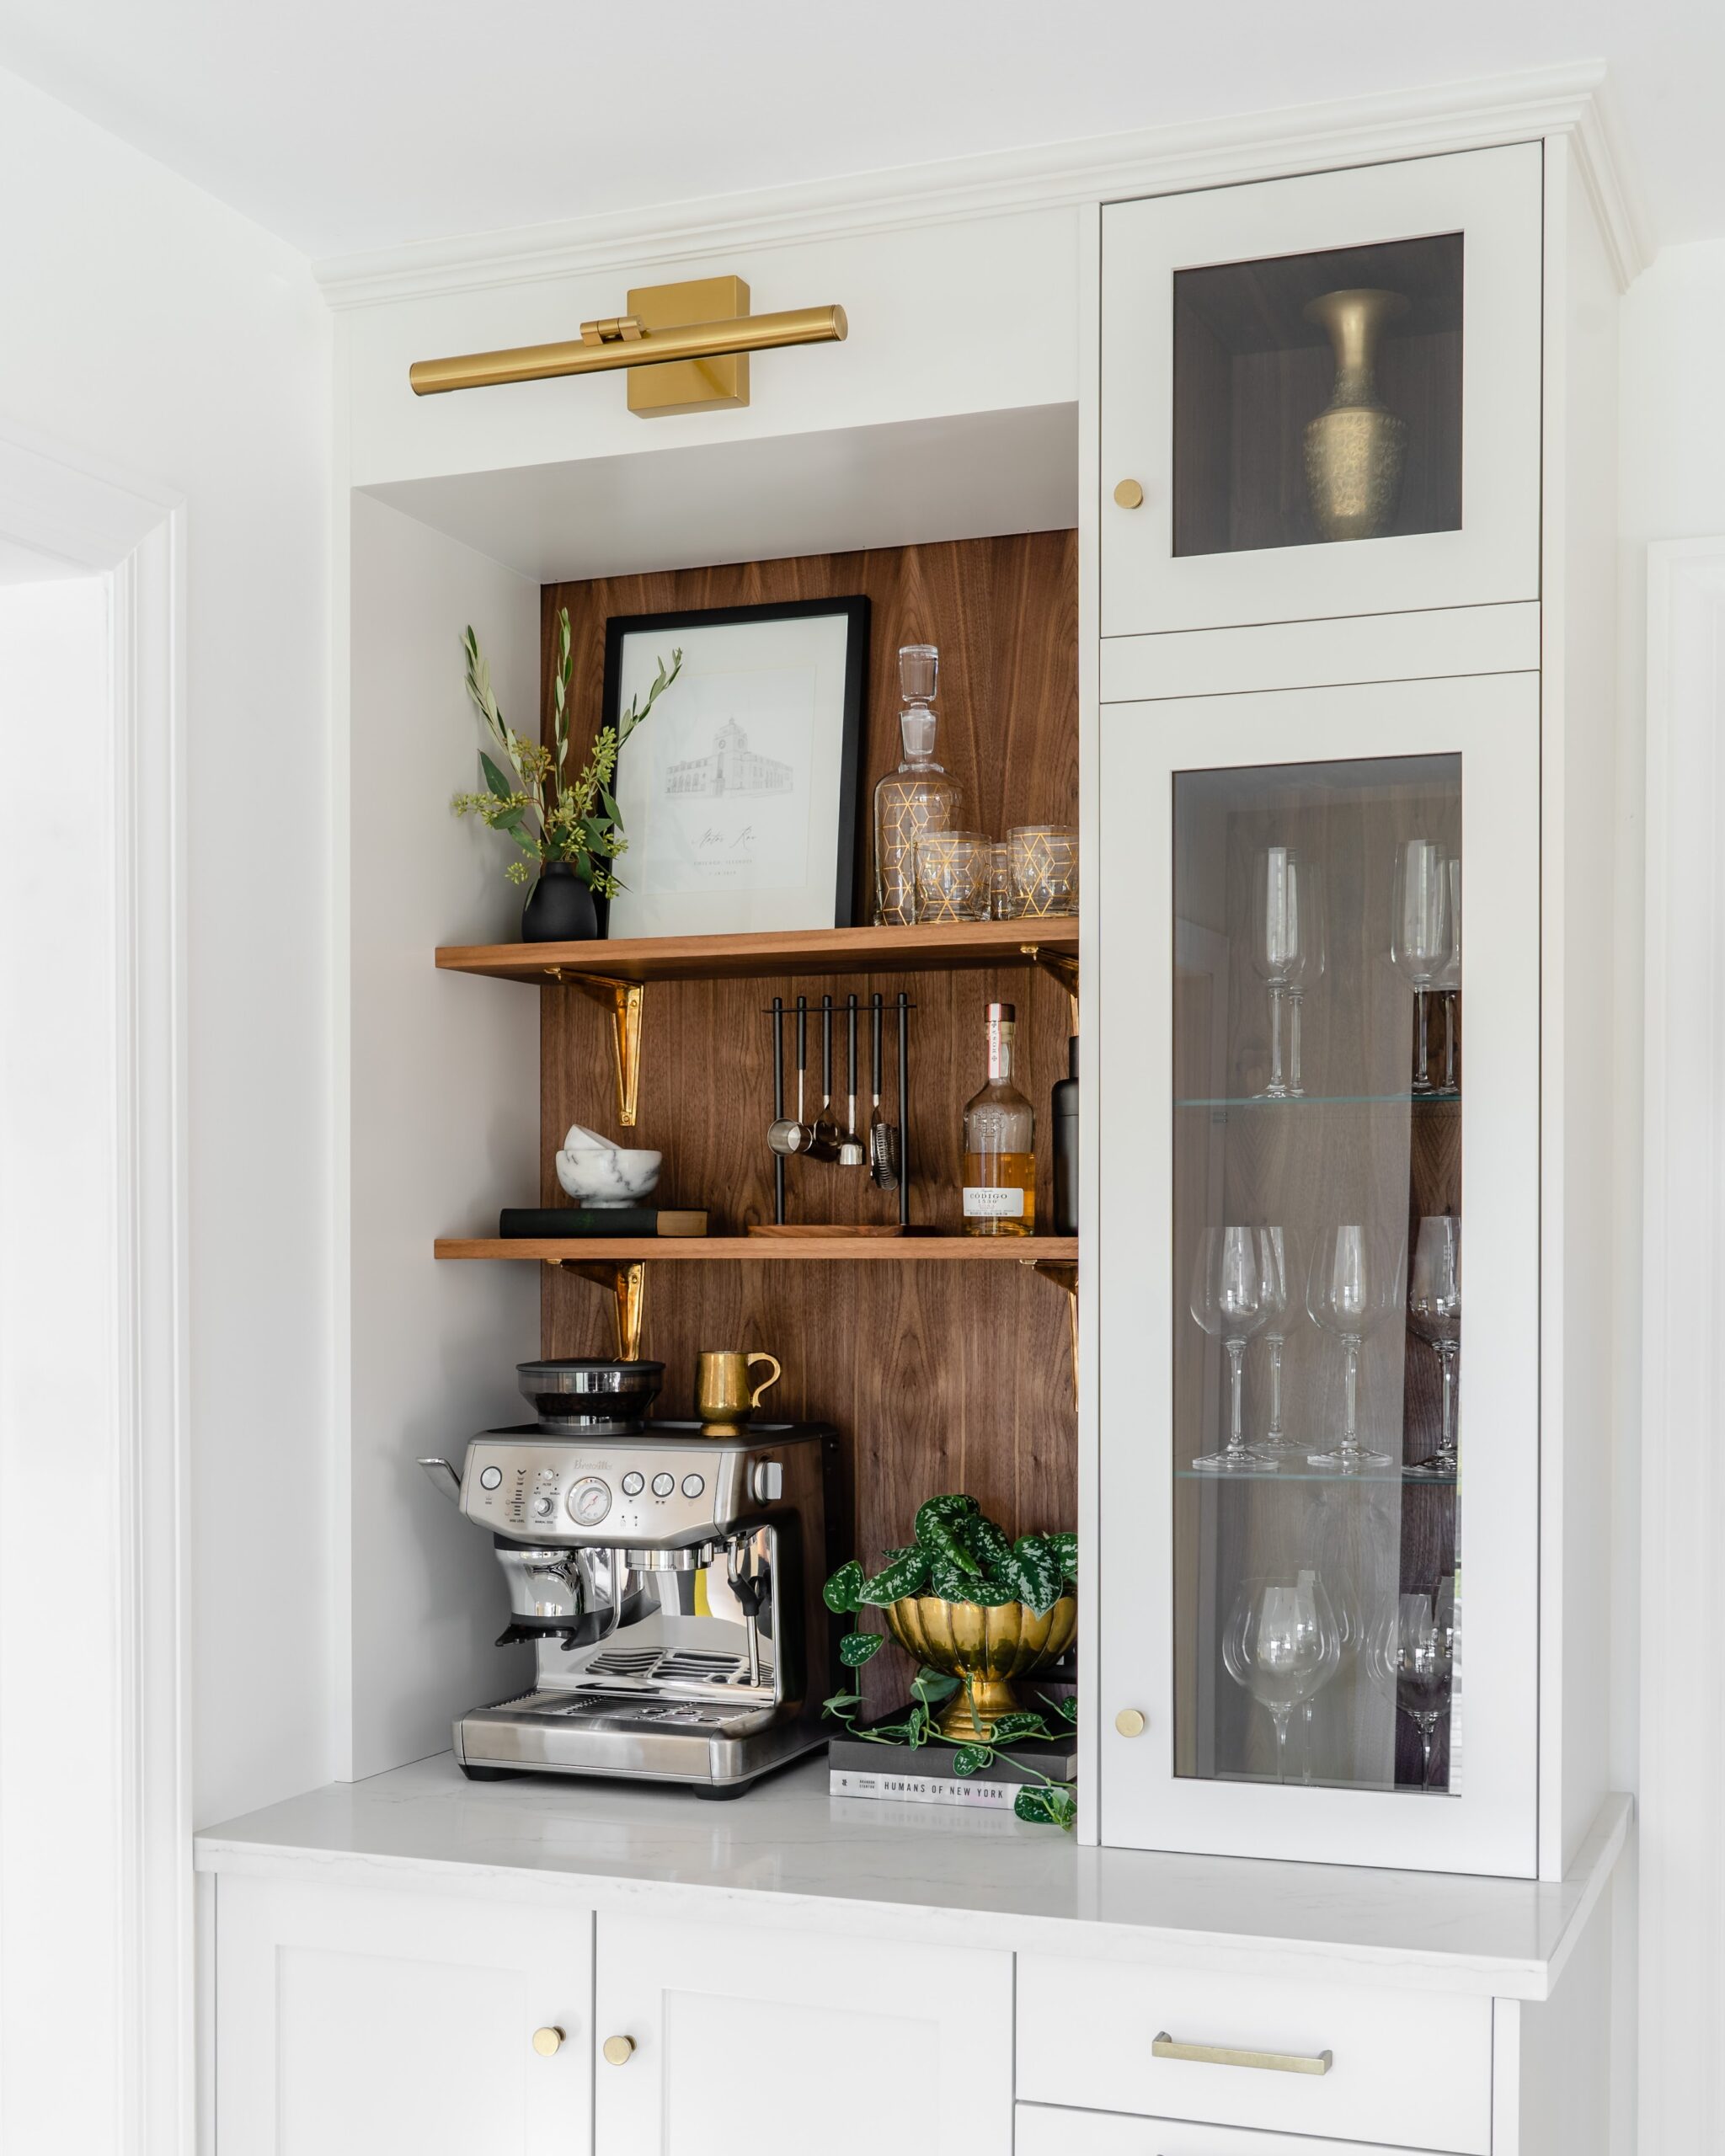
For paint, we are going to use Benjamin Moore Advance paint in satin, which is specifically made for cabinets. This is a waterborne alkyd paint that offers a high-end durable finish for cabinetry and only requires water to clean the paint sprayer.

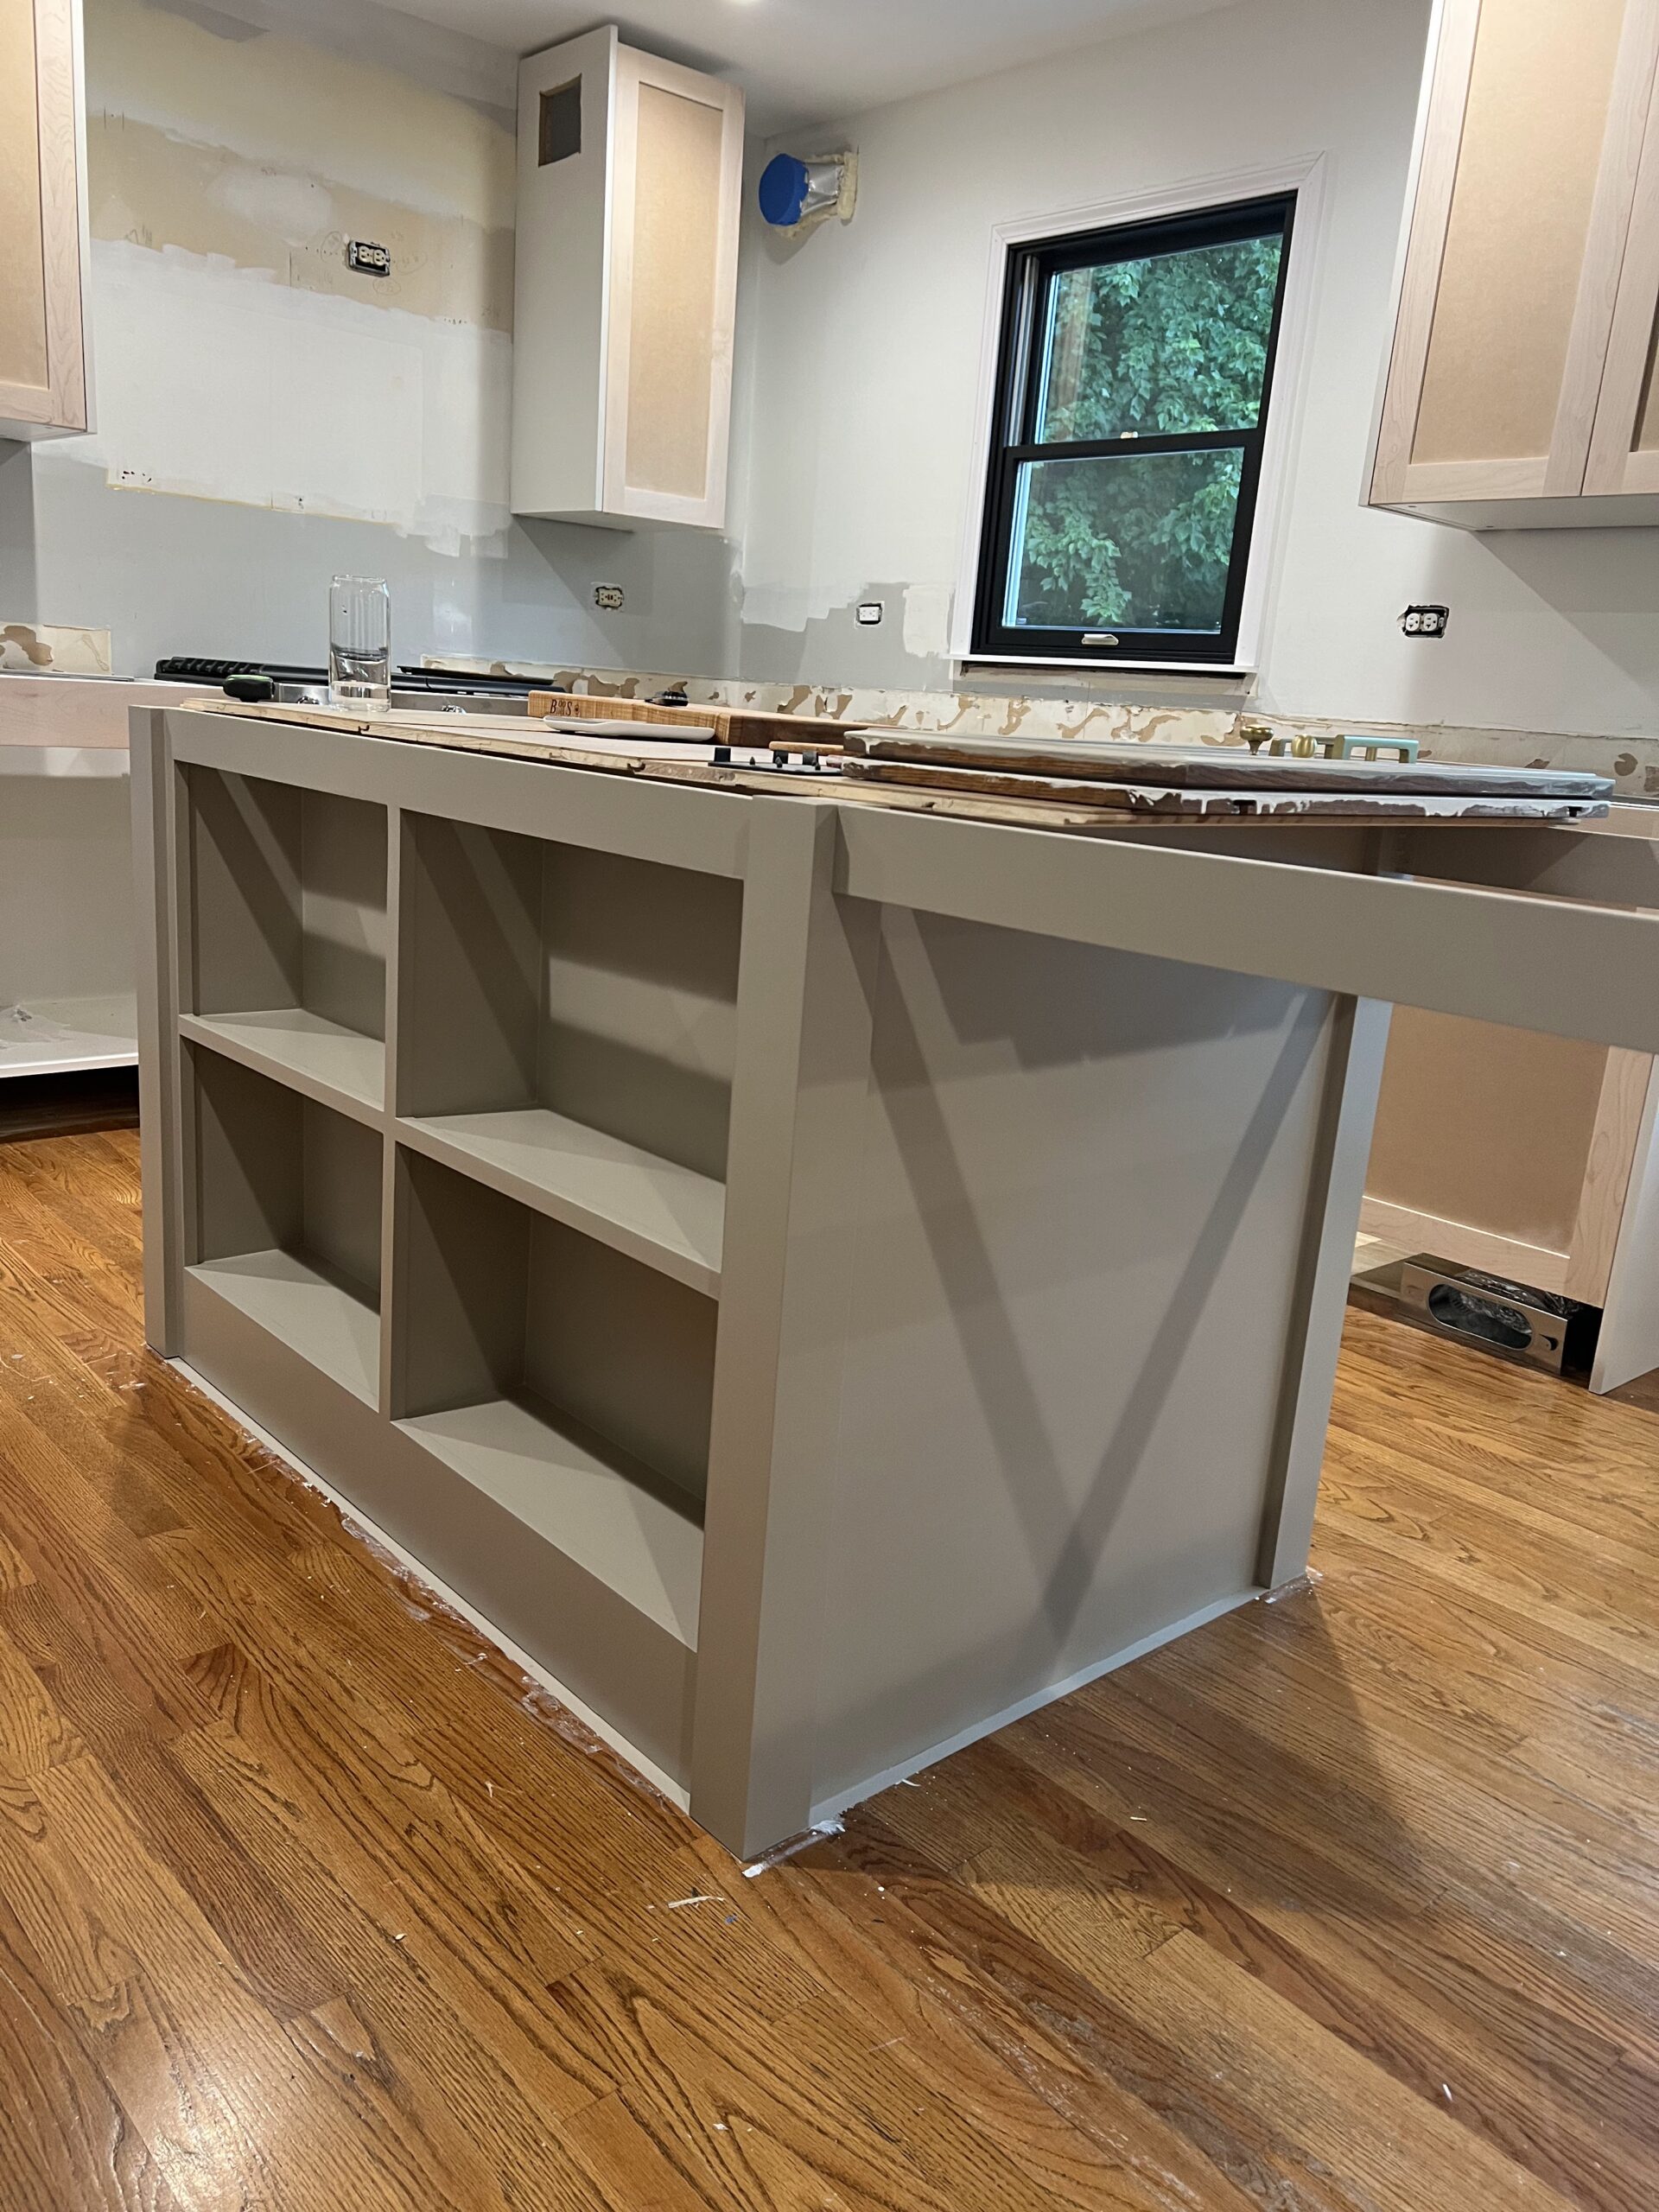
We began by prepping the island for paint and prime:

  • Filling all nail holes with wood filler
  • Sand the entire island with 220 grit sand paper
  • Caulking all of the seams

Then we’re ready to start priming:

  • Wipe entire island with tack cloth
  • Apply primer (we decided to brush and roll on the primer)
  • Sand the entire island with 220 grit sand paper
Kitchen island primed

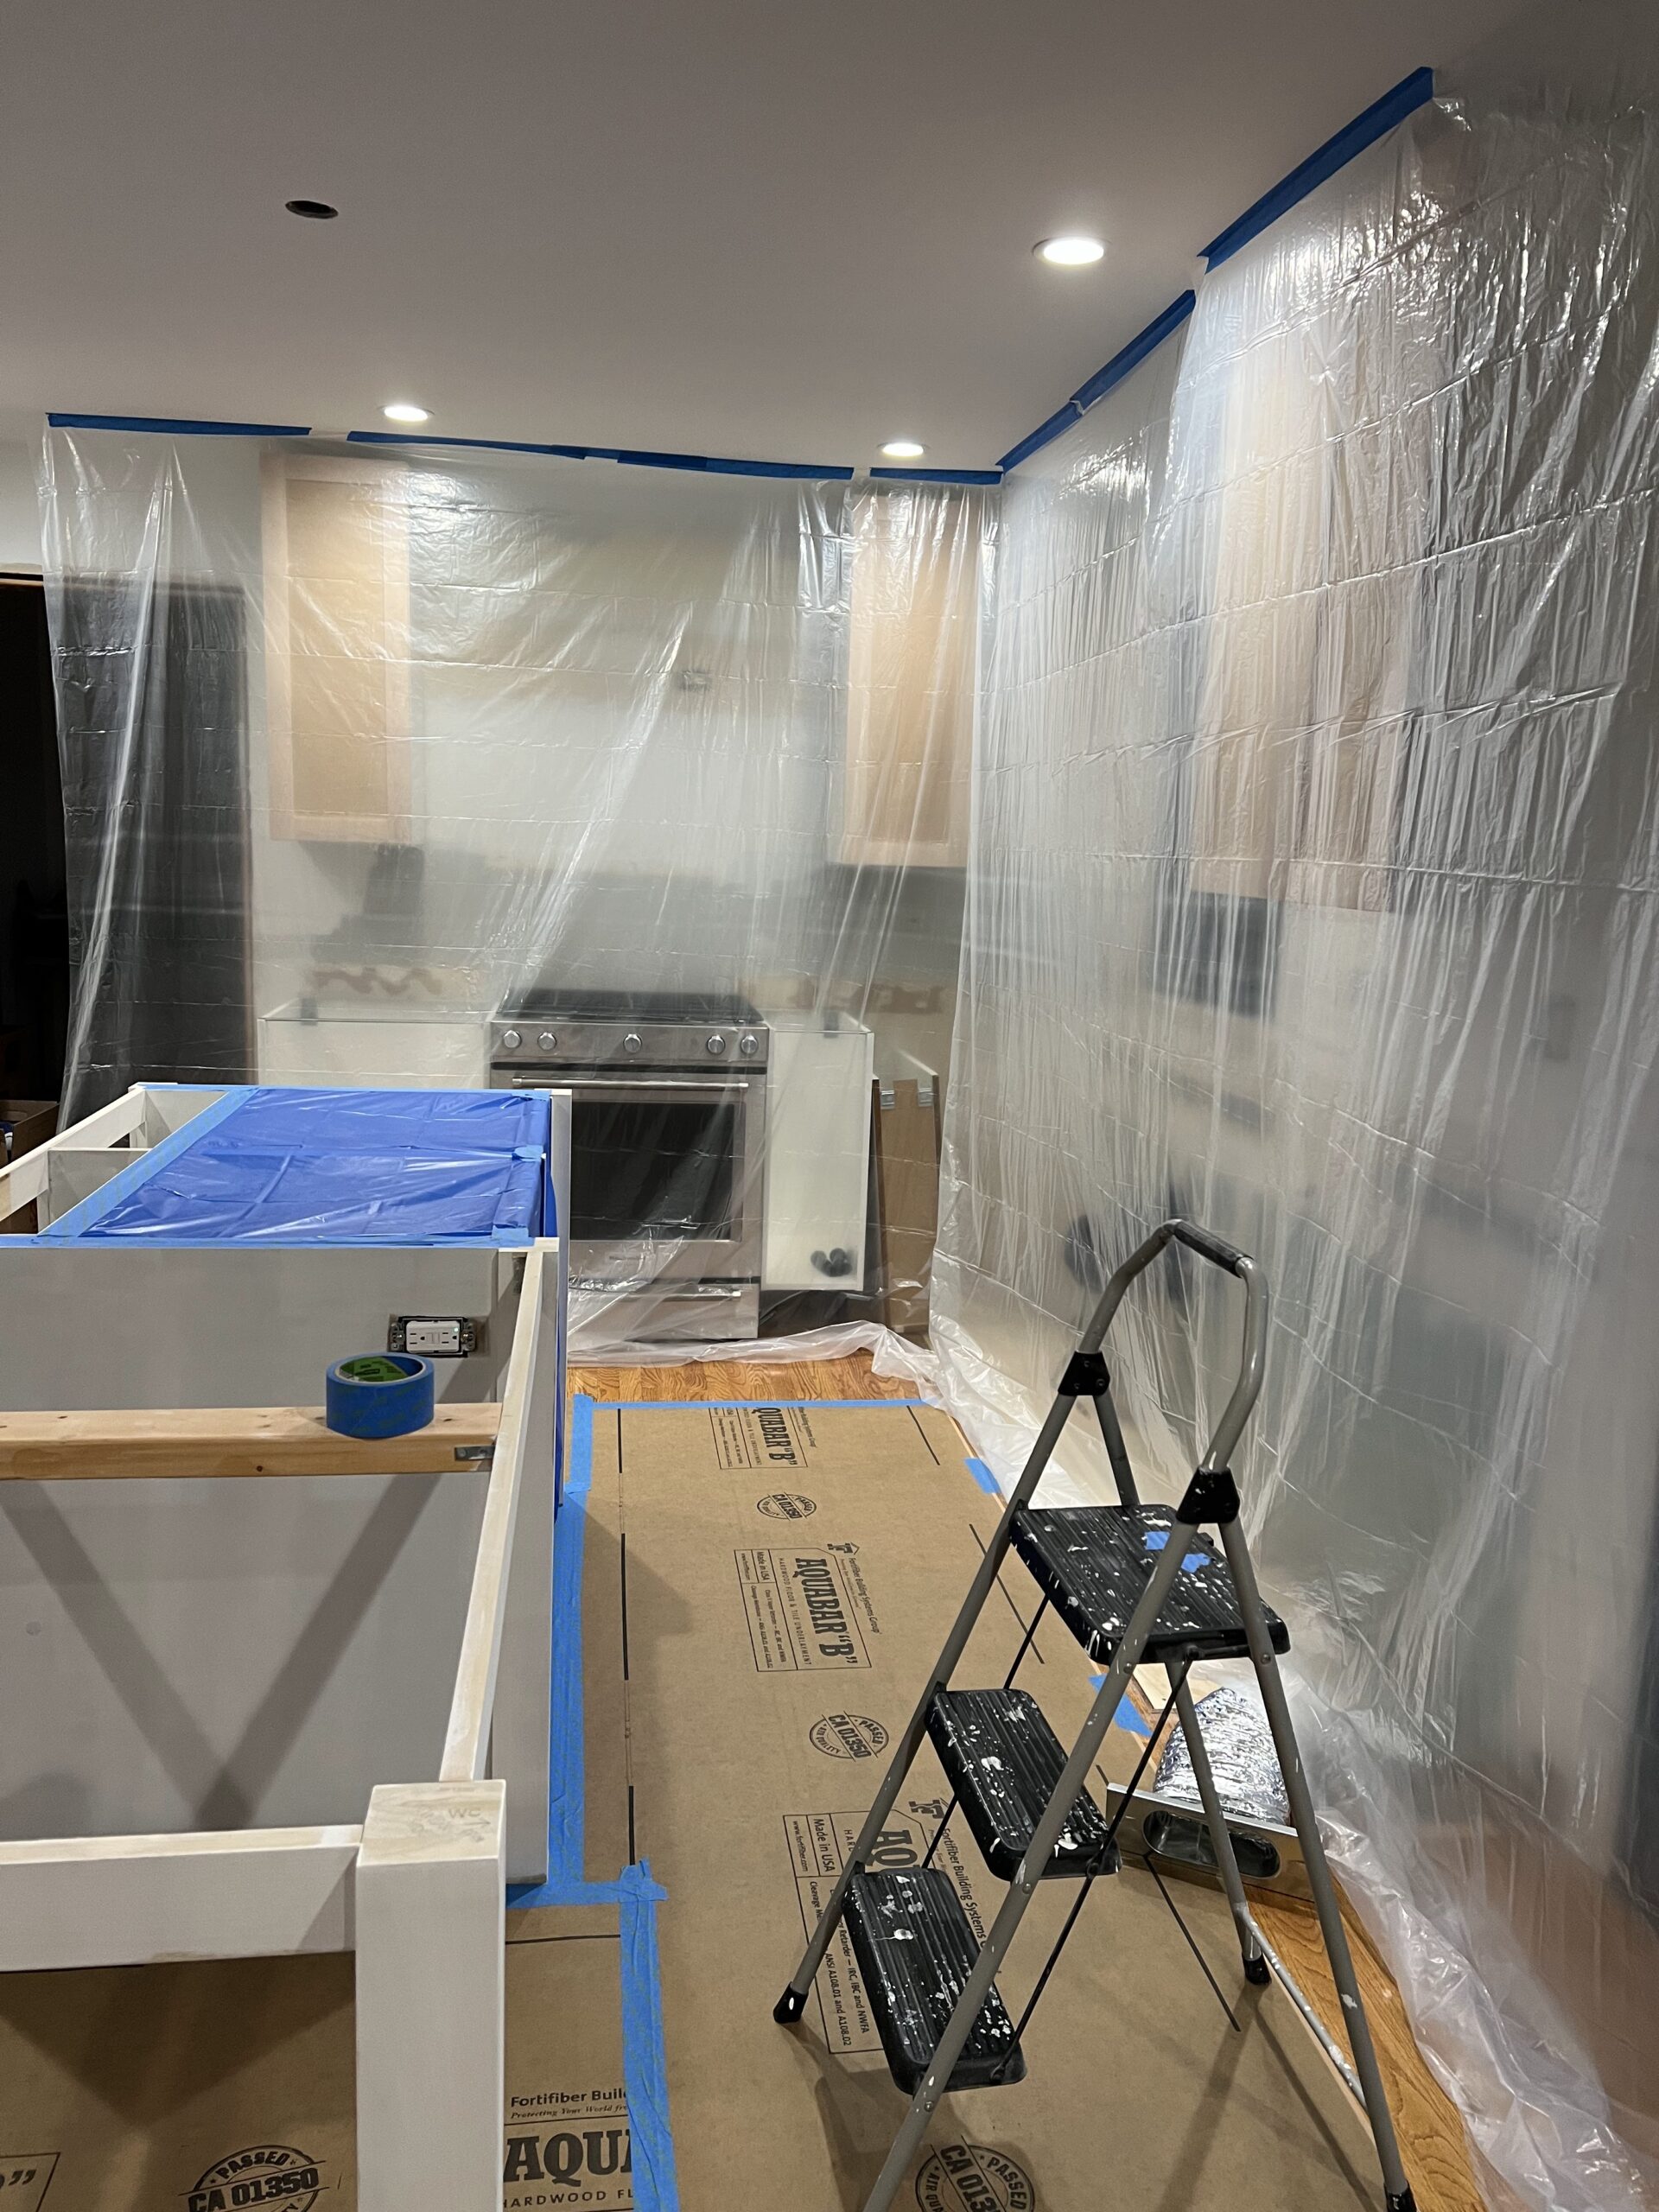
Now we’re going to prep for the paint sprayer. If you haven’t used a paint sprayer before and you are spraying in a finished or interior space, a bulk of the time will be spent prepping to spray. We masked off the entire kitchen using large rolls of plastic sheets and tape. We also covered all the floor using ram board. I would estimate this took us a few hours and you do not want to rush through it because once you start spraying the paint will be in the air everywhere.

Paint sprayer masking prep

Paint spraying process:

  • Prep the room you are spraying in (we used rolls of plastic sheets and tape)
  • Dress in the appropriate PPE (we used a paint respirator, protective glasses, and a paint suit)
  • Prep the sprayer (we followed the Graco instructions included)
  • Set the spray speed (we typically kept it at the midpoint)
  • Start spraying!

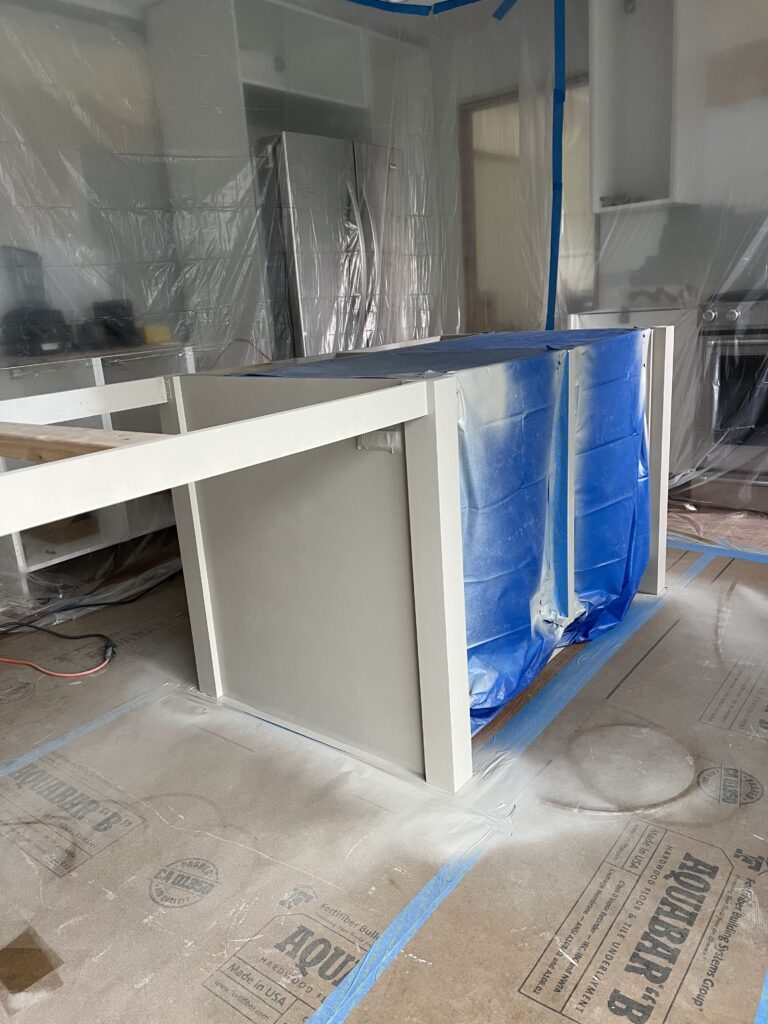
A quick tip after spraying, keep a roller or paint brush handy. A few minutes after we finished spraying, we went around the island and rolled any spots that had drips. This is an important step to ensure a professional smooth finish.
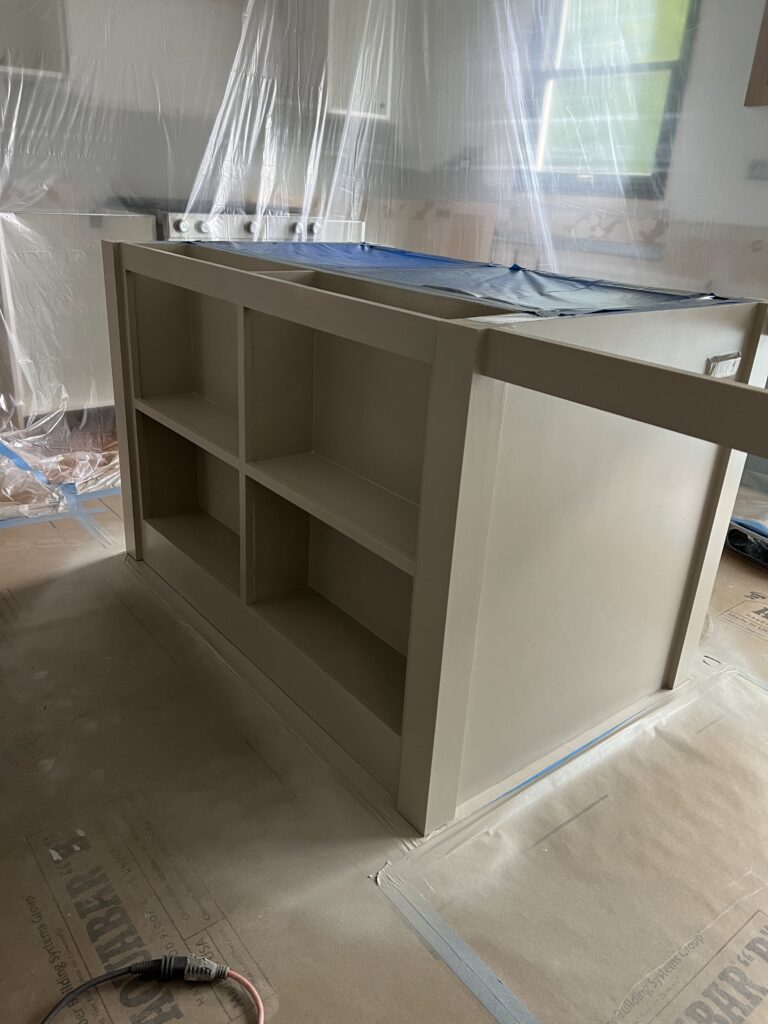
In between coats:

  • Let paint dry based on paint dry time (BM Advance is 16 hours between coats)
  • Sand with 220 grit sand paper
  • Wipe again with tack cloth

We then sprayed a second and final coat. After a few hours we took up all of the masking and let fully dry for 16 hours before any usage.

If you have any questions about painting cabinets using a paint sprayer, feel free to leave a comment or reach out to us!

Posted By: thelksaddress · In: RENOVATION

DIY INSTALL IKEA KITCHEN CABINETS
STUGA ENGINEERED WOOD FLOORS

You’ll Also Love

OUR KITCHEN RENOVATION REVEAL
DIY PLASTER RANGE HOOD
CUSTOM WALNUT COFFEE BAR
About Photo
Hi! We are Lauren and Kameron, the creators behind the LKS Address. Together, we are working to pursue our passions of design, renovation, and architecture.

EXPLORE

  • BLOG
  • SHOP
  • YOUTUBE
  • ABOUT
  • CONTACT

thelksaddress

Let’s build some doors for these bookcases! It’s not a library door unless it has a brass grille, so we couldn’t forget those. We weren’t sure if we’d do doors or not and the build would have been much simpler without them. But we’re glad all of you pushed us to do the doors because we love how they turned out!
°
°
°
°
#LKSAddress #homelibrary #billybookcase #library #ikeahack #darkgreen
Elevating IKEA is one of our favorite things to do Elevating IKEA is one of our favorite things to do and we’re so excited about finishing up the library bookcases! We’ve made it through assembling the Billy bookshelves, rough framing, building our face frame, painting, adding inset detail trim, and installing our picture lights. We’ve only got a few things left to complete, and up next are our semi-custom brass grille doors!
°
°
°
°
#LKSAddress #homelibrary #billybookcase #library #ikeahack #darkgreen
Kam and I have been talking about going to Paris f Kam and I have been talking about going to Paris for years, we finally made it a priority and went to Paris for a week in October! We immediately fell in love with the city and it’s probably my favorite city I have ever visited. We left feeling so inspired. I cannot wait to go back and learn more about Parisian culture. If you’ve been to Paris, tell us your favorite part. If you haven’t been, we’d love to hear one reason you can’t wait to visit!

Paris Highlights:
@jacquemartandre - beautiful house museum
@copains.paris - gluten-free bakery
@veuveclicquot - touring their champagne house
@jentemple - special thanks to Jen for helping start our research with a bunch of personal recommendations!
°
°
°
°
#LKSAddress #Paris #France
Our backyard has undergone quite the transformatio Our backyard has undergone quite the transformation over the past year! From removing our existing deck, pouring a new concrete patio, overhauling the landscaping, installing raised garden beds, and adding finishing touches like our centerpiece urn and outdoor furniture; we wouldn’t have it any other way! It’s truly feels like an extension of our home now. It’s so nice that now when we look outside it just feels like us. What is your favorite part of our backyard project?
°
°
°
°
#LKSAddress #outdoorfurniture #backyardmakeover #outdoorrenovation
Our backyard project is now complete thanks to the Our backyard project is now complete thanks to the finishing touch, our new outdoor furniture. This outdoor furniture from @liveouter is beautiful yet functional and helps to create an extension of our home outdoors. #sponsored

We went with the Charcoal Aluminum Sofa with Armless Chairs 5-seat set and paired that with the new centerpiece of our patio, the OuterStone fire pit. Our favorite part about the seating set is the integral covers, the OuterShell, that will protect our cushions for seasons to come. It makes covering and protecting our new furniture easy and convenient! Have you ever seen anything else like it?
°
°
°
°
#LKSAddress #outdoorfurniture #outdoorliving
Before and after at our front door and covered ent Before and after at our front door and covered entry! This used to be the most disliked part of our exterior. We wanted to lean into traditional elements here to coordinate with our colonial style exterior as we gave it an updated look. Now it feels cohesive with the exterior and our personal style. Special thanks to our partners on this project, @pookylightsus, @peasedoors, and @levelhome. 
°
°
°
°
#LKSAddress #frontdoor #coveredentry #doorhardware
Follow on Instagram

Copyright © 2025 The LKS Address · Theme by 17th Avenue