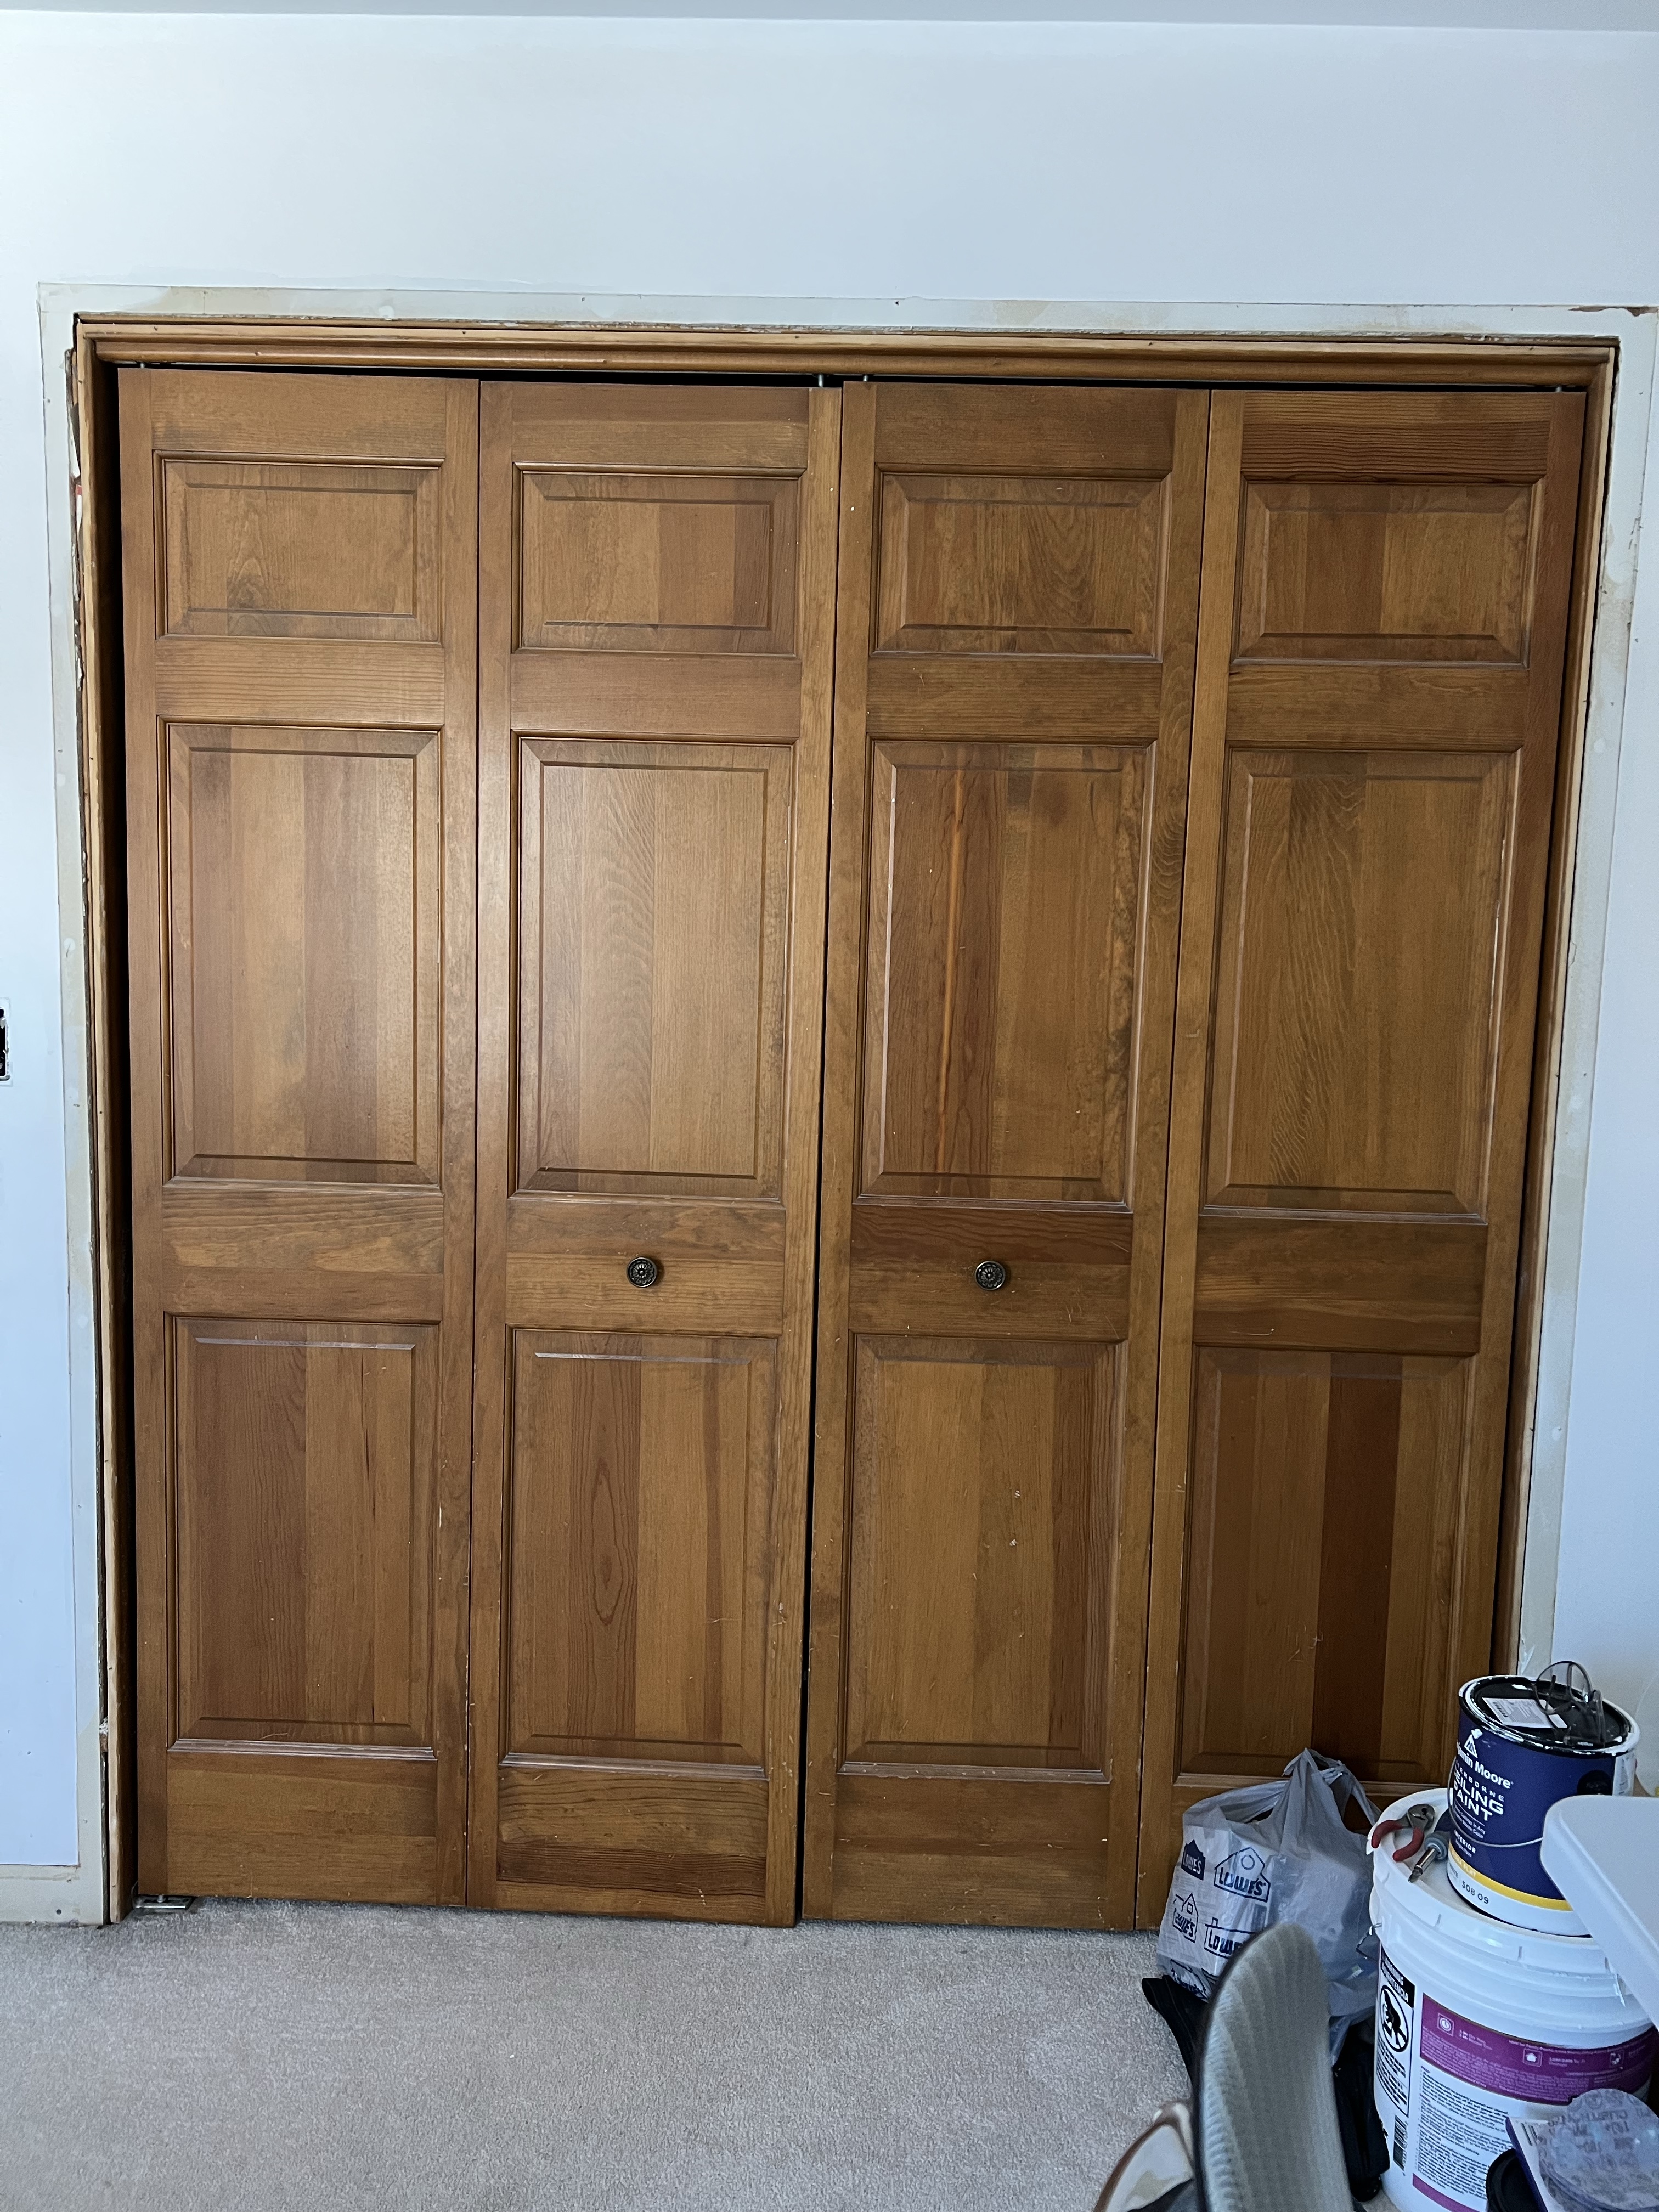
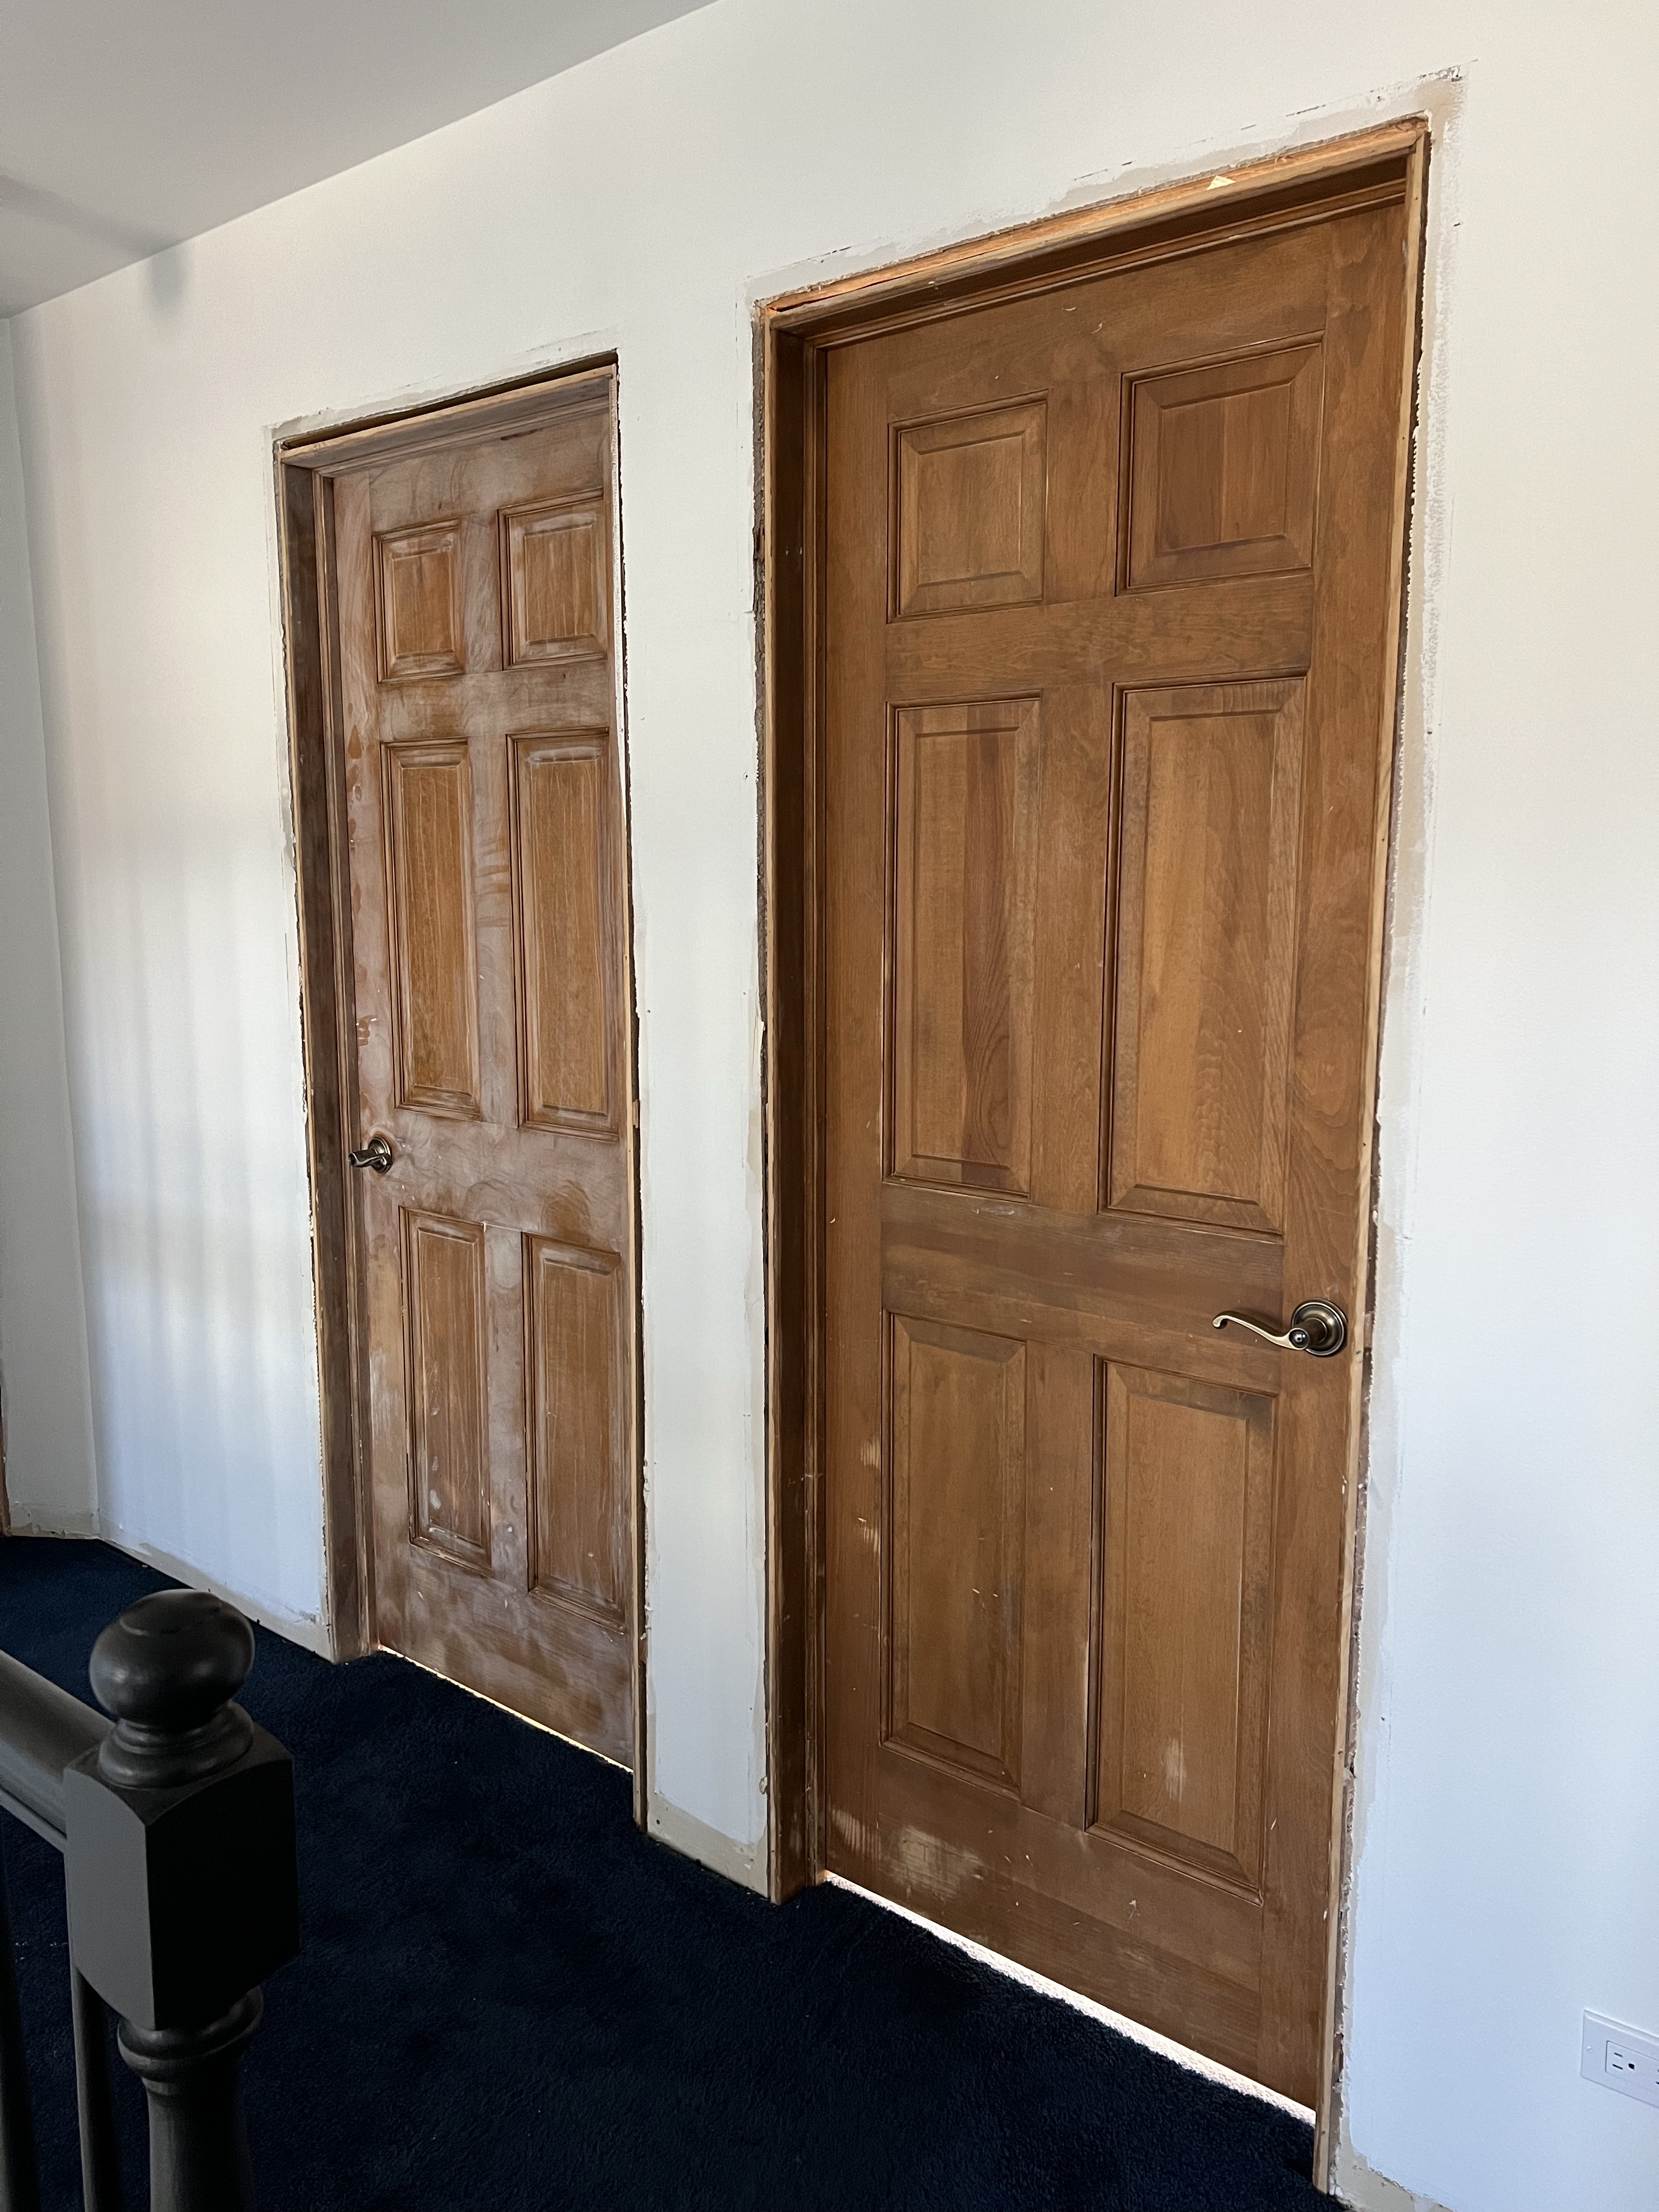
Now that our first floor reno has settled in, it is time to begin working on our second floor! The first project we’re going to be doing on our second floor is refinishing all of our existing interior wood (oak) doors and painting them. In total, we’re going to be refinishing and painting 14 doors and 3 sets of closet doors. This is going to be a time-consuming project!
THIS PAGE MAY CONTAIN AFFILIATE LINKS FROM WHICH I RECEIVE A SMALL COMMISSION.
As usual, we vlogged throughout the whole process of refinishing our doors. You can better understand the ups and downs of this project, mainly because of all of the time spent. You can check out our YouTube vlog linked above.
Prepping the Doors
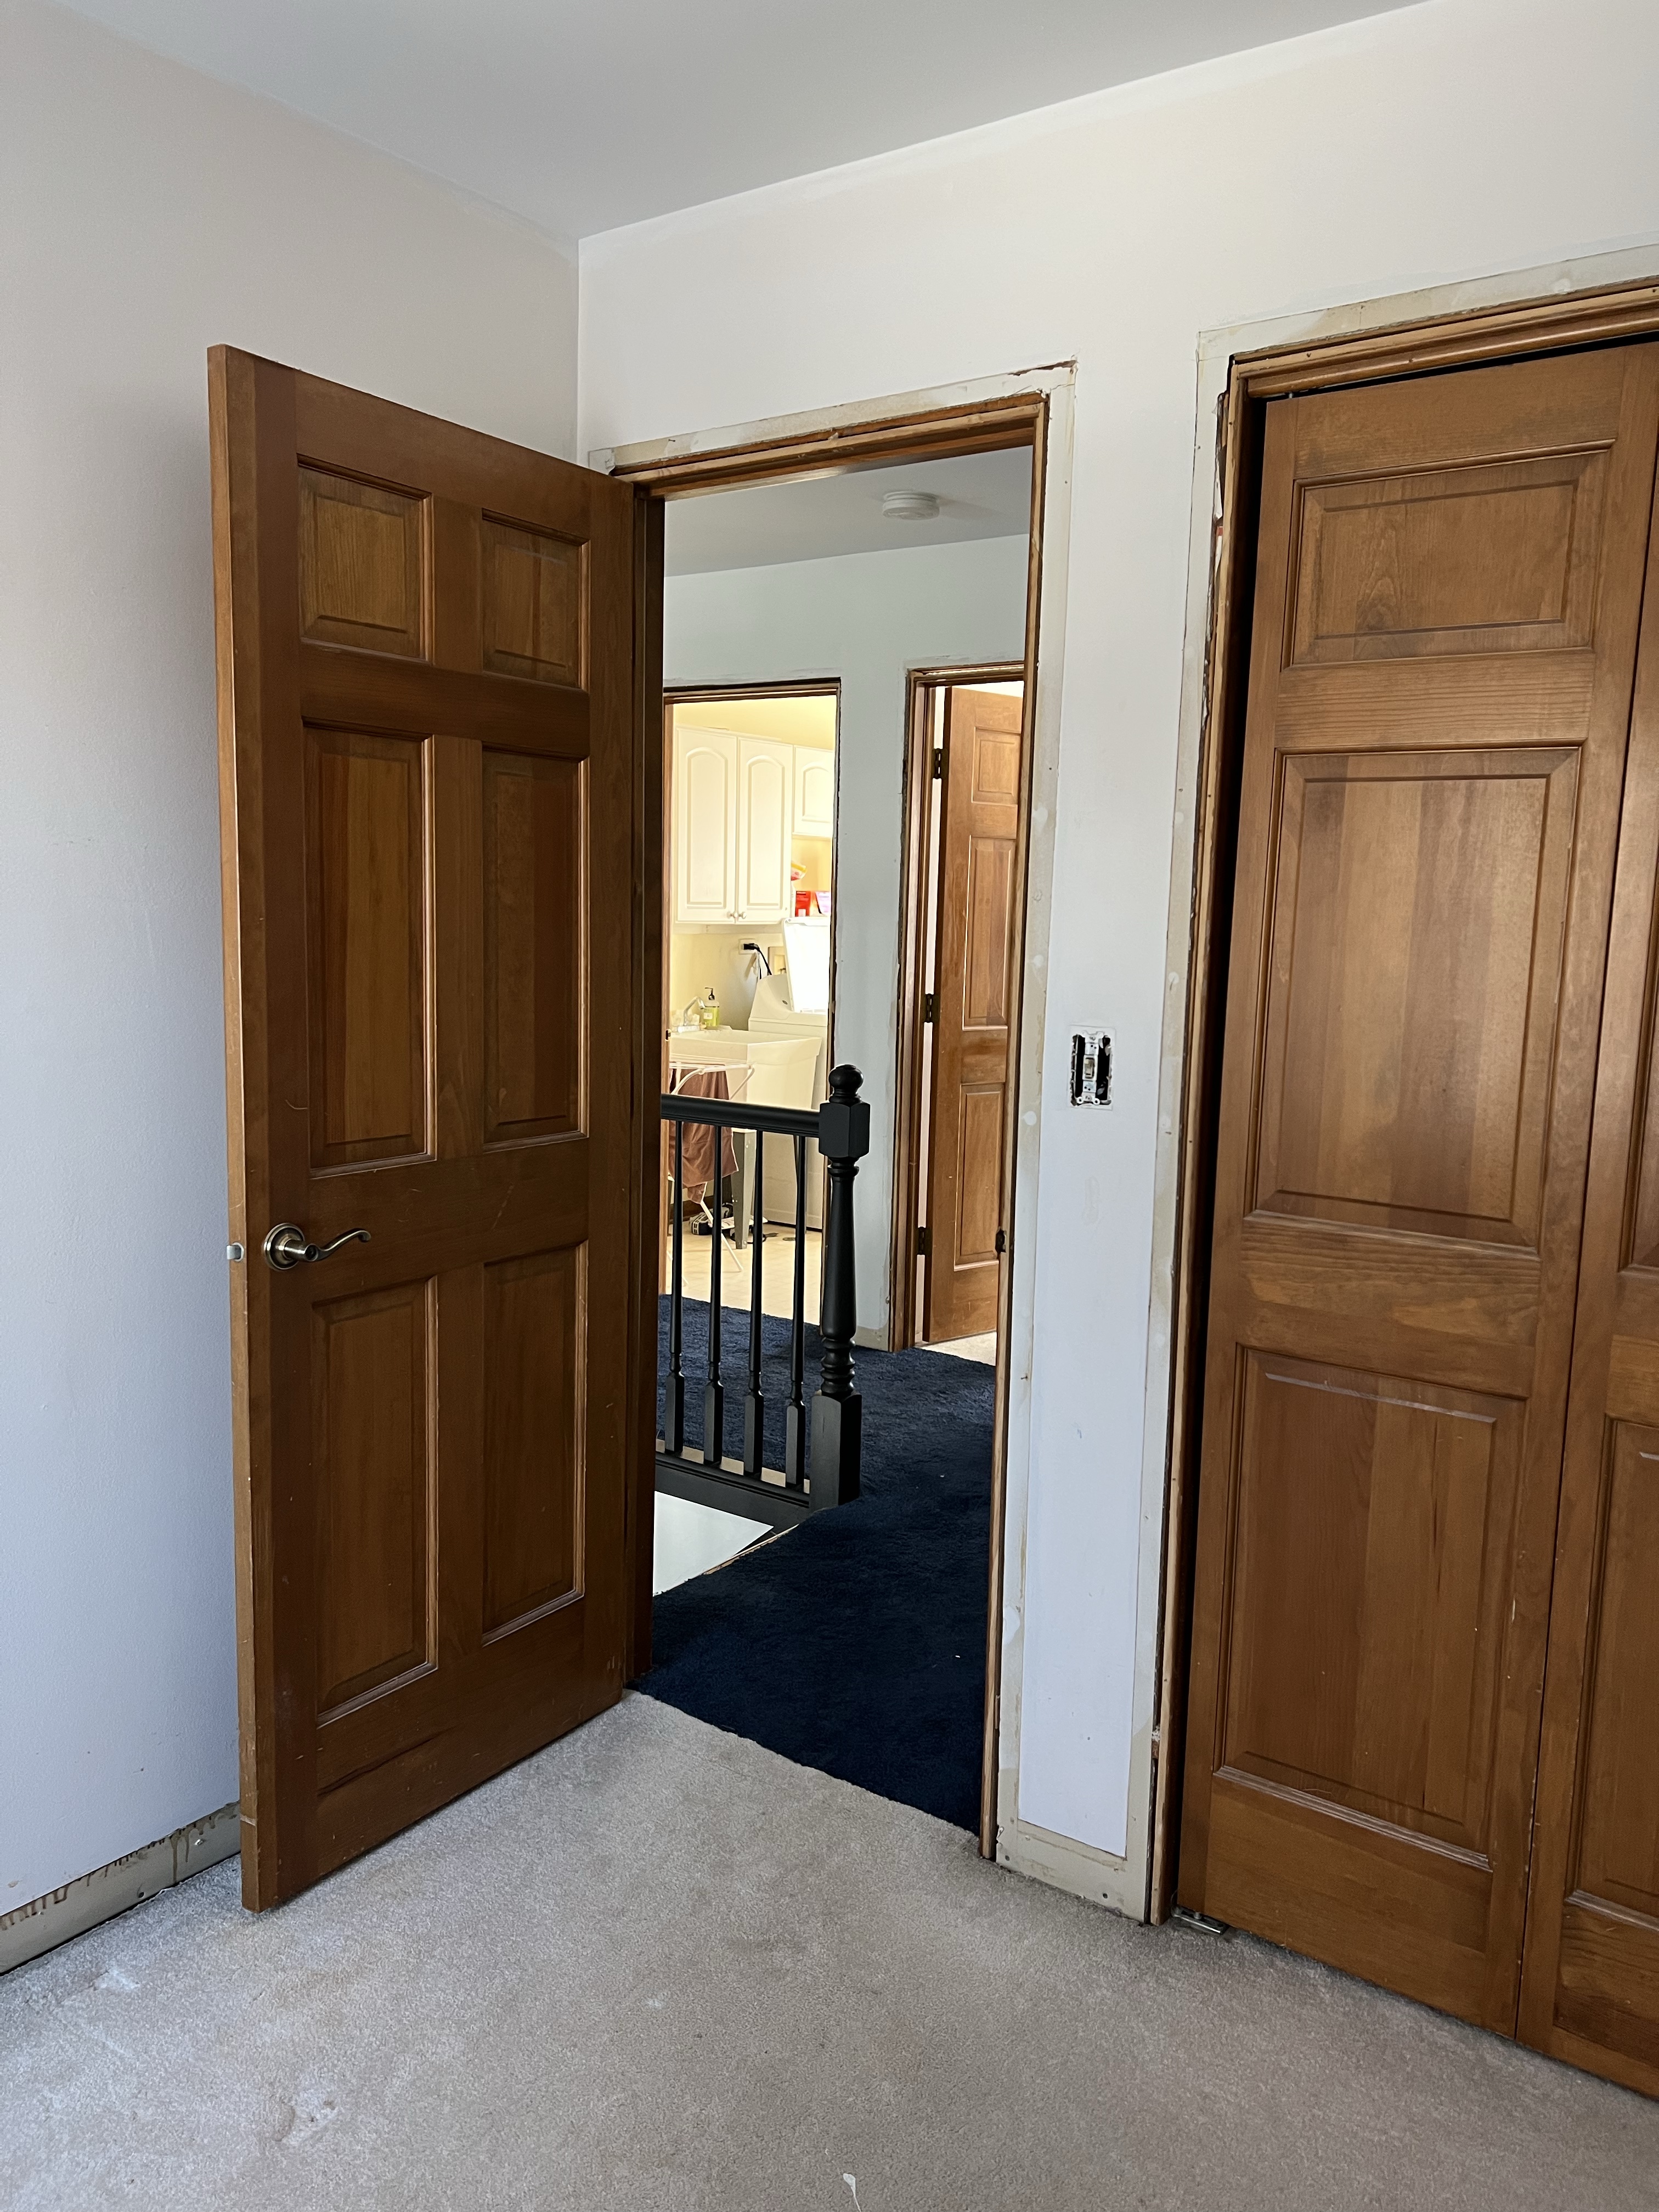
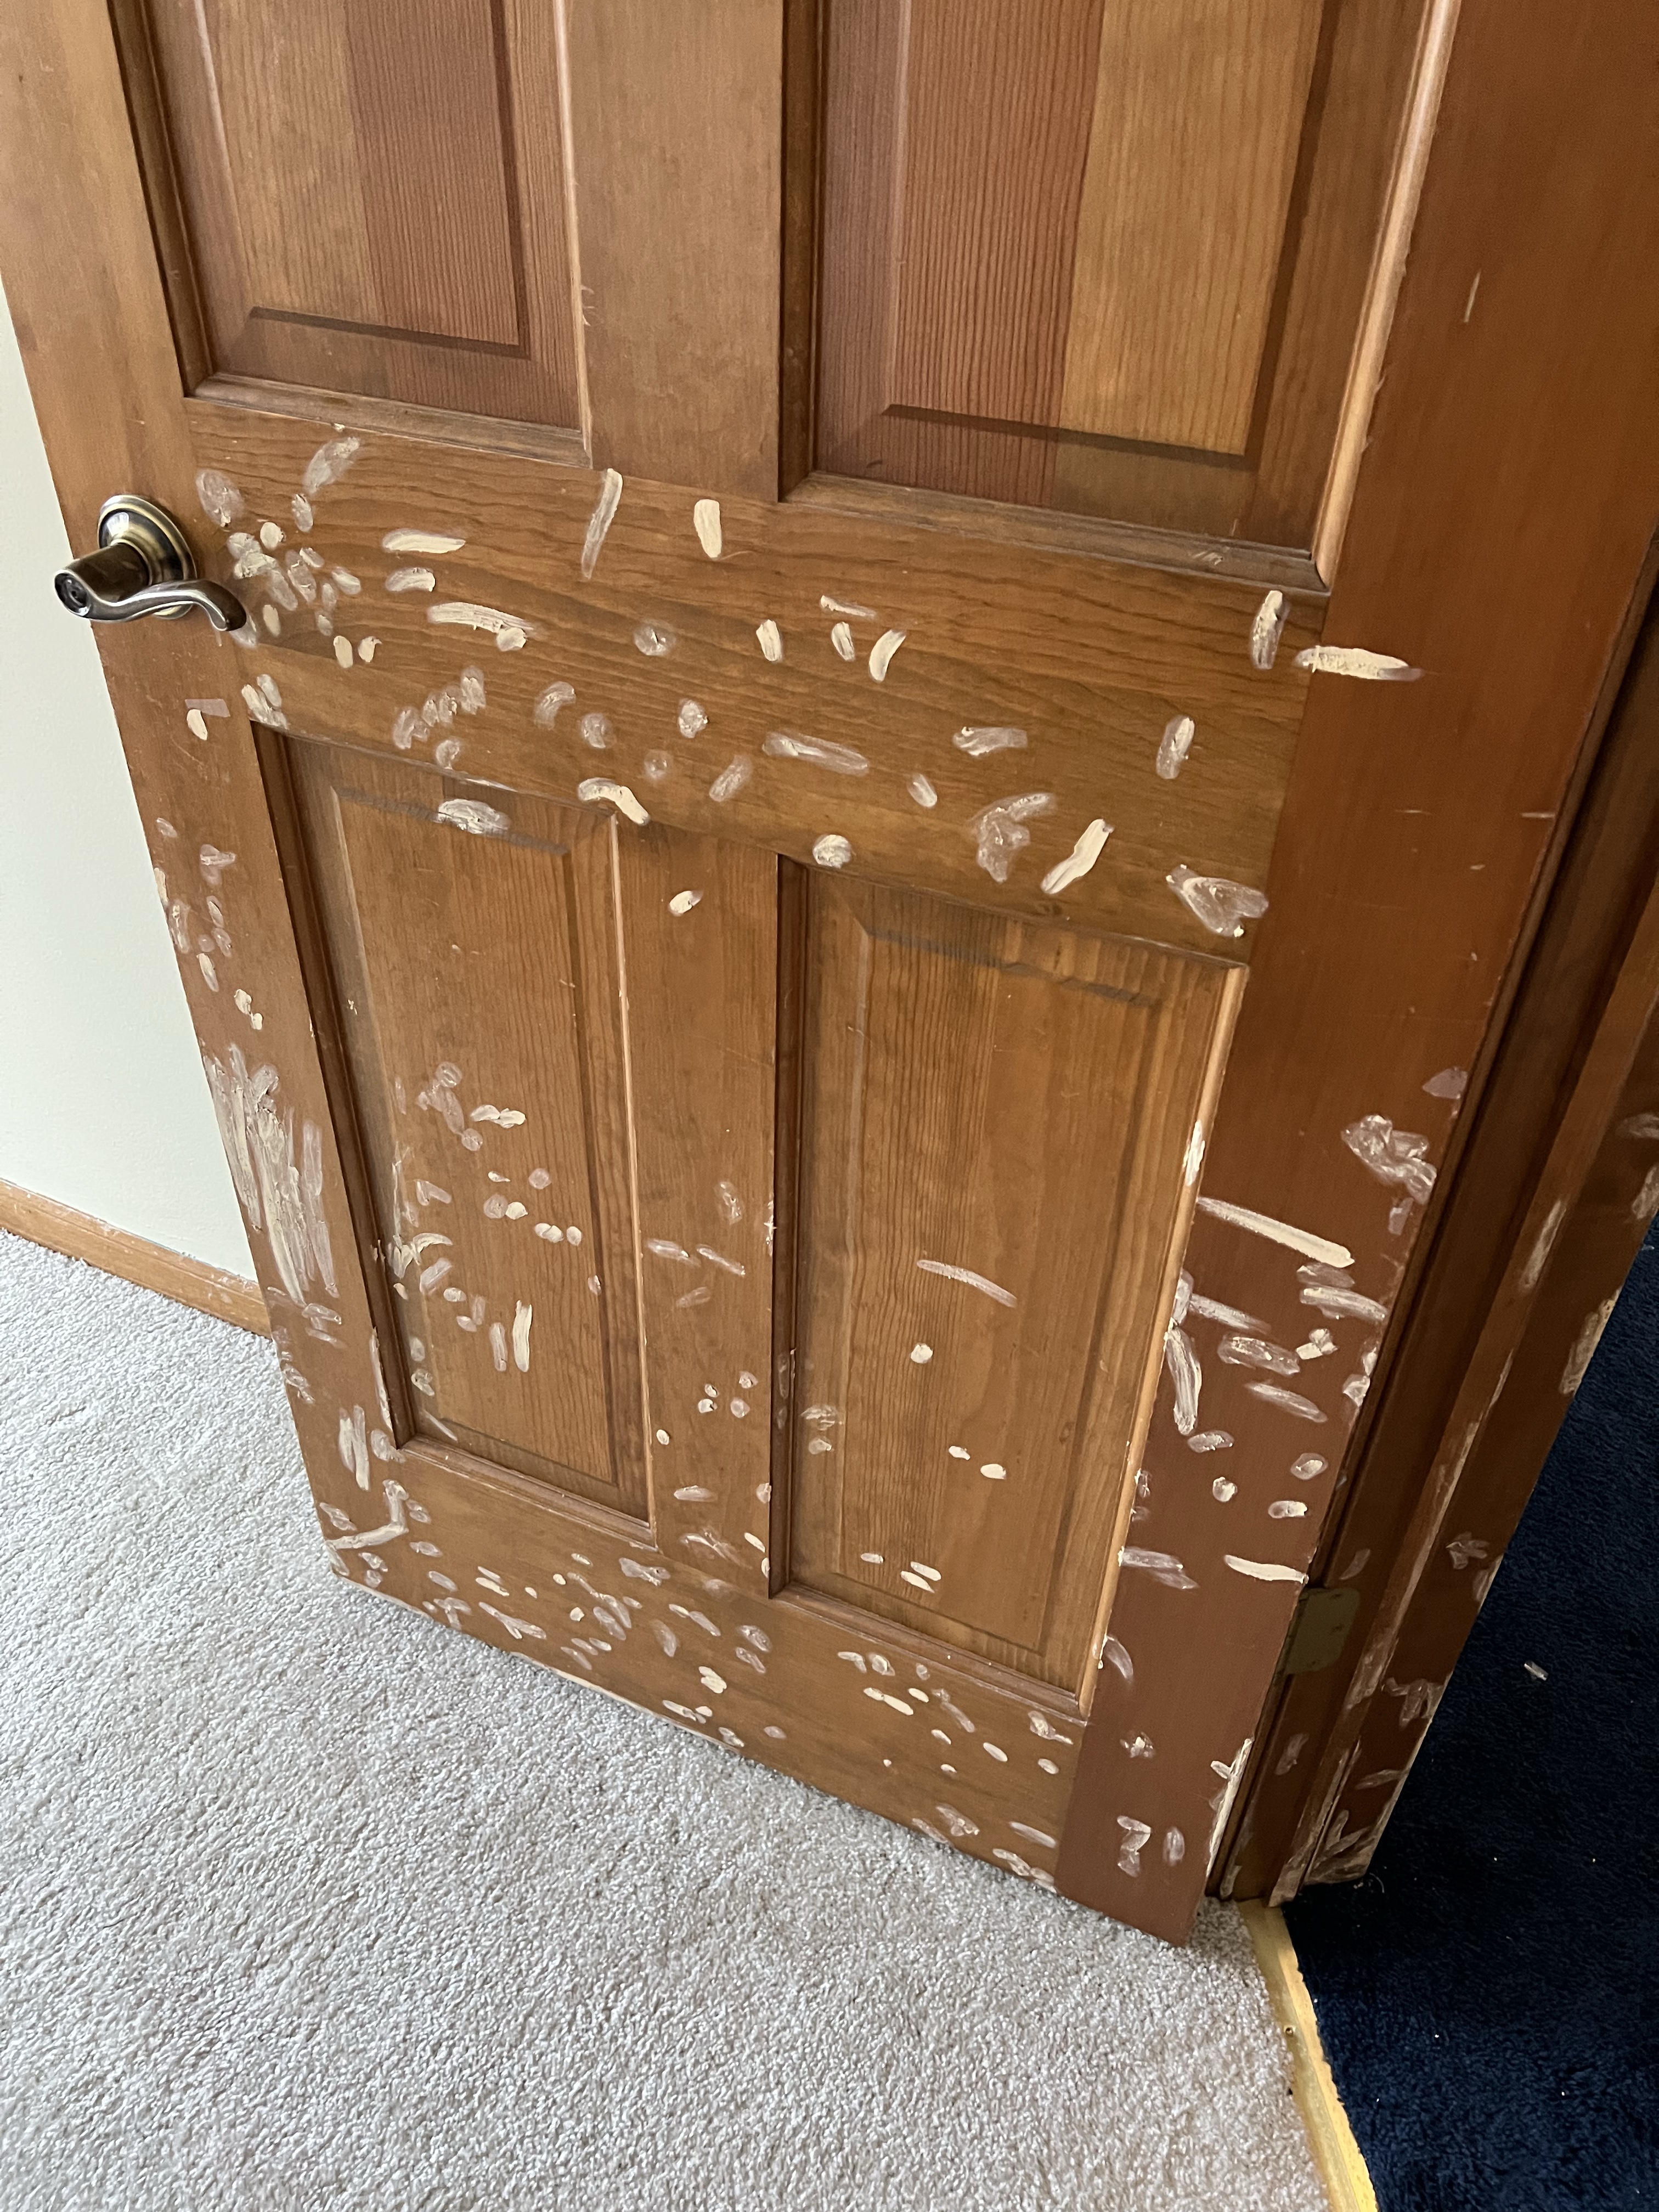
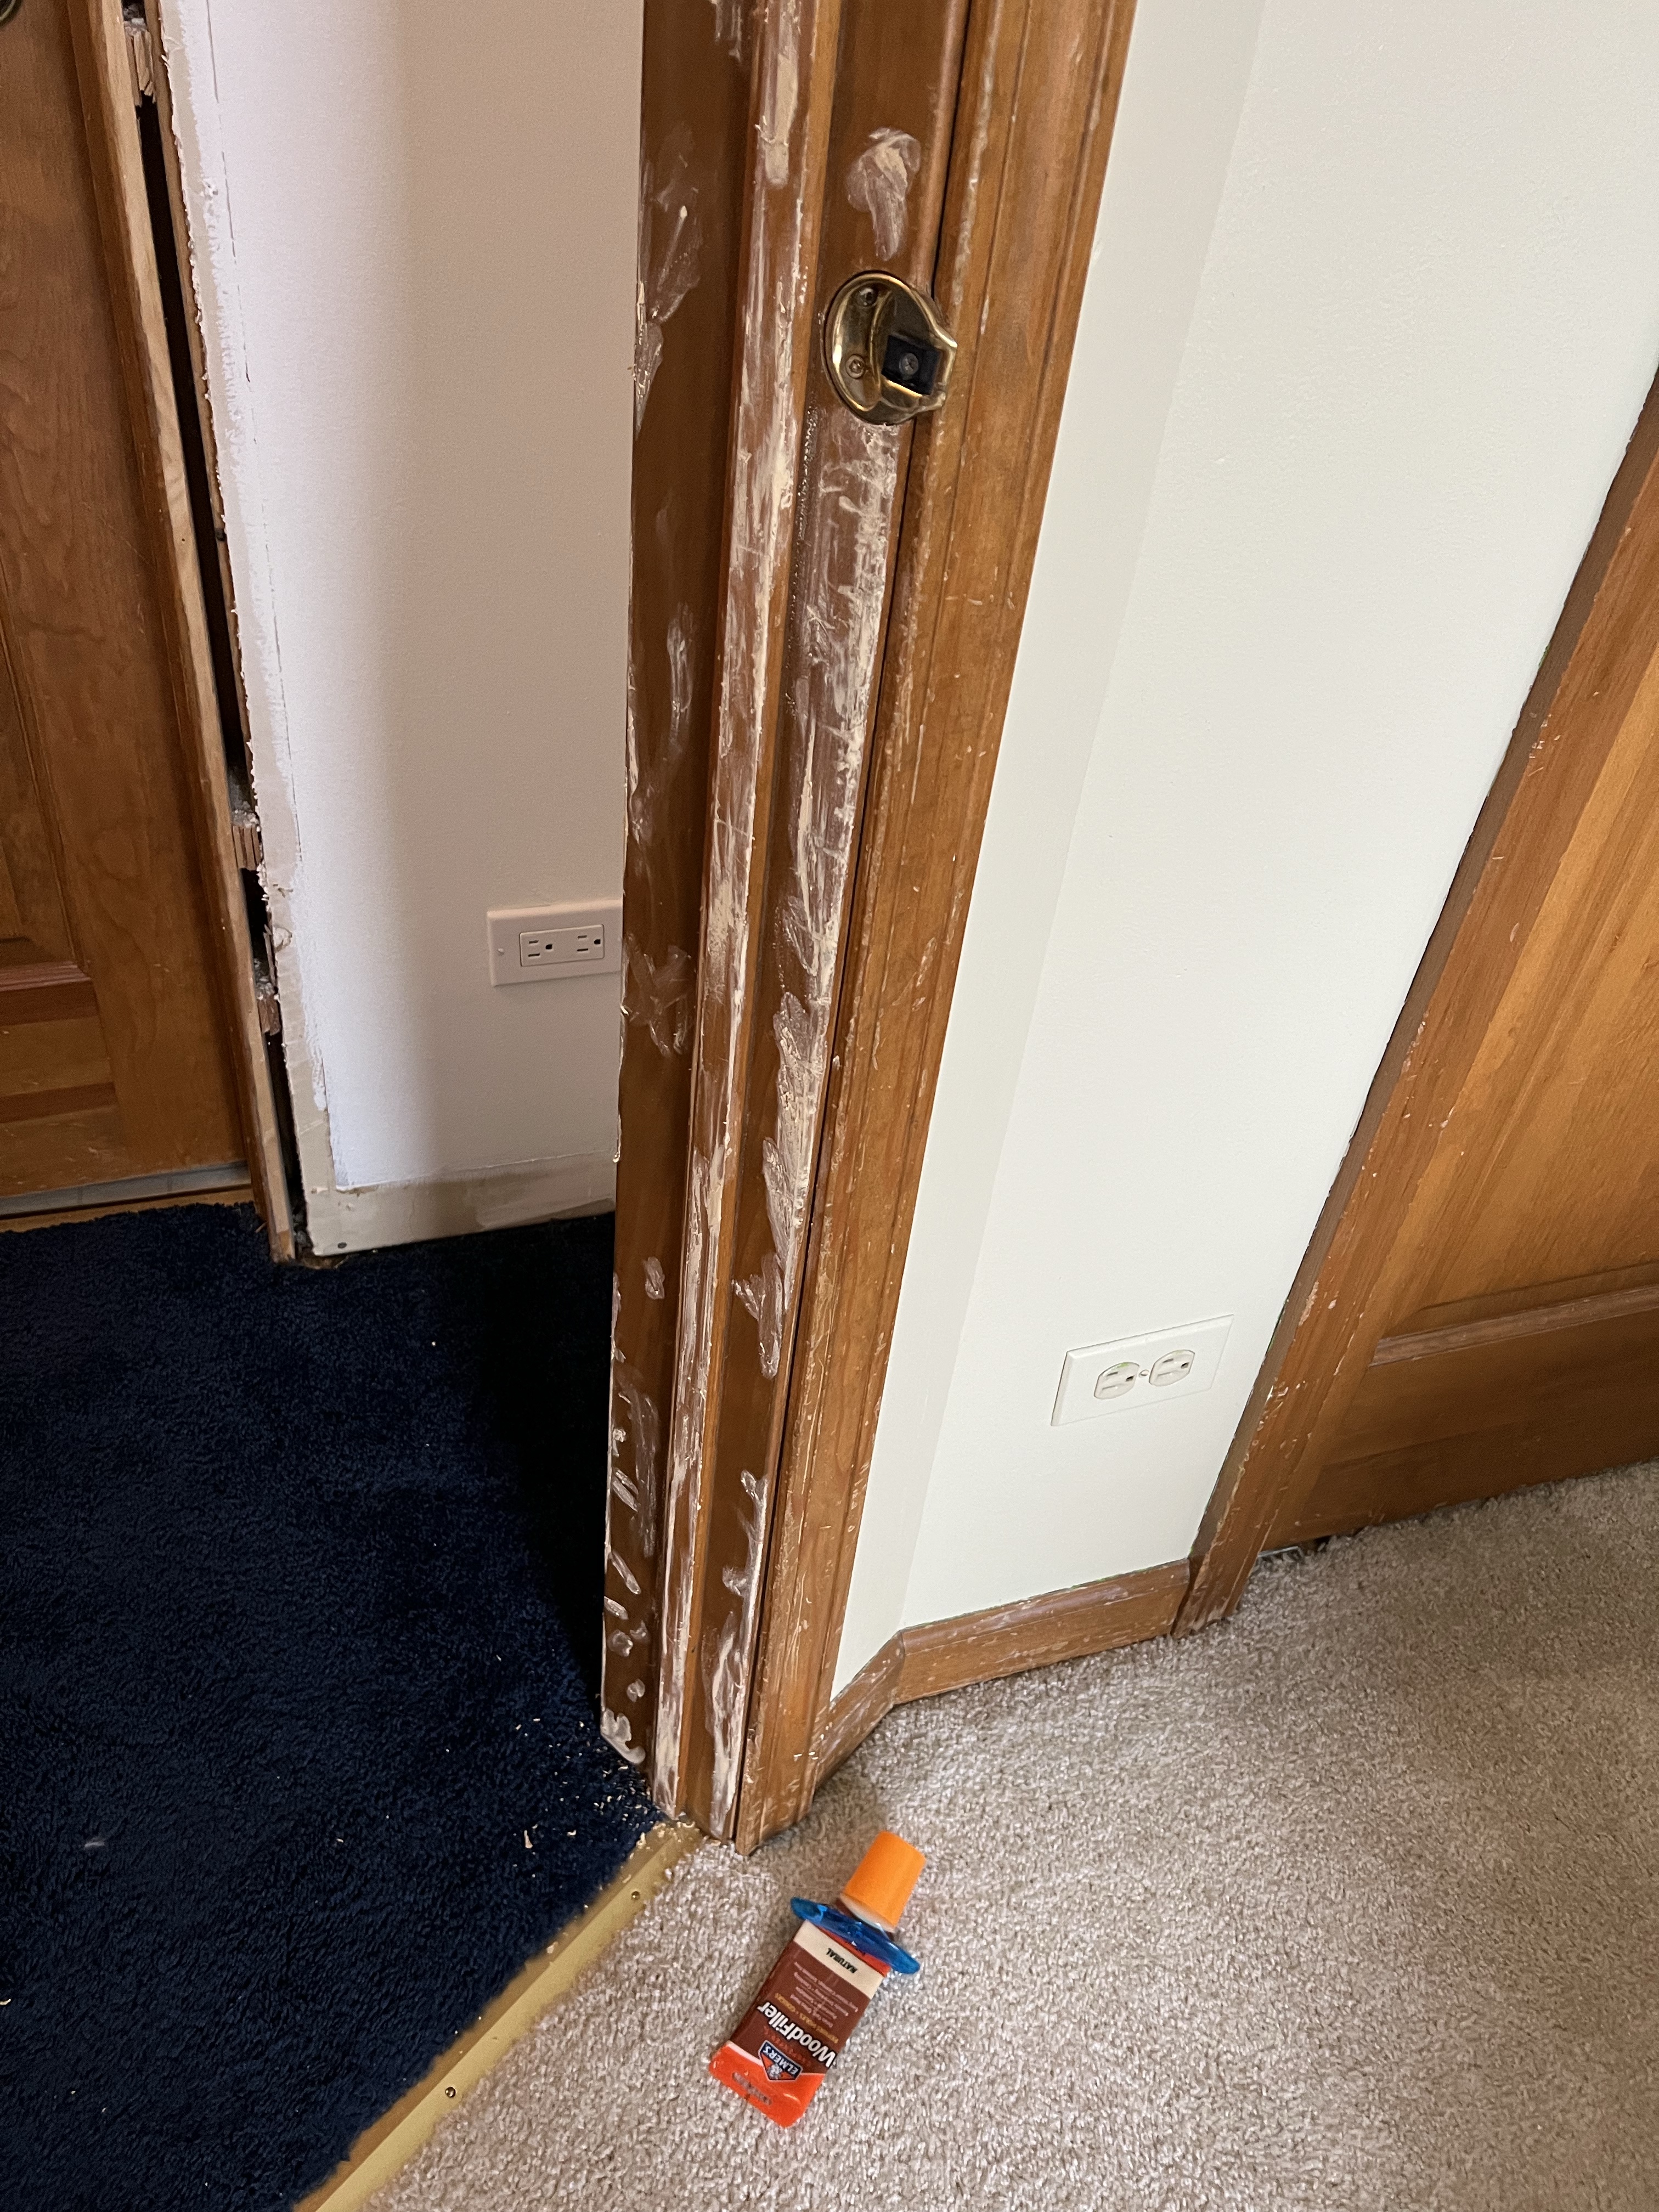
Before we get painting, we’ve got a lot of prep work we need to do first. If you’re reading this blog post and considering doing this project, it probably means you’ve got old doors just like us. Our doors are 30 years old and they look like it. They’re covered in nicks and scratches and we want to address that before we pick up a paint brush.
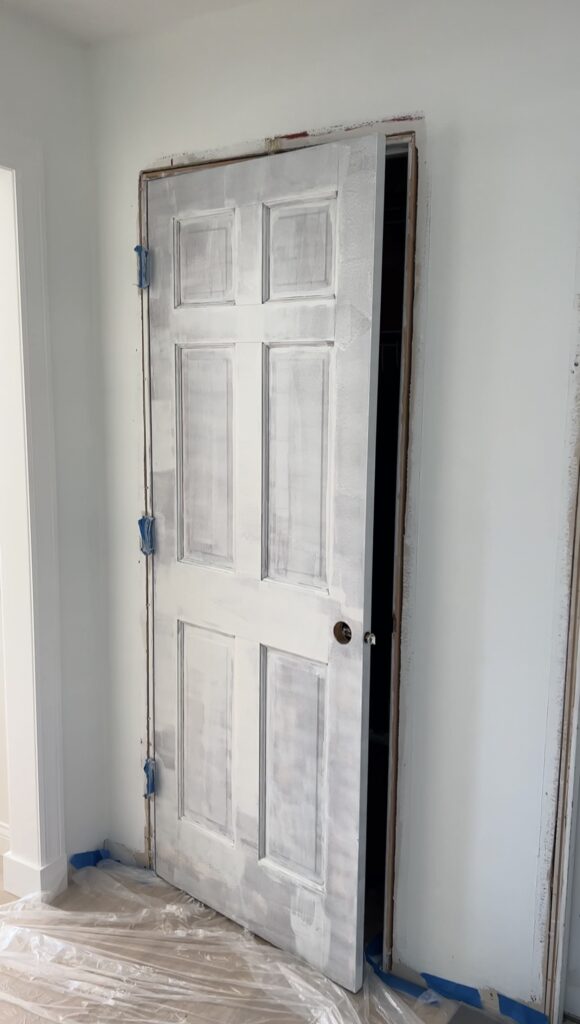
To start, we’re wood filling all of said nicks and scratches using our go-to wood filler, Elmer’s wood fill in natural. We found it most efficient to apply with a plastic putty knife since we’ve got a lot of area to cover on all of these doors. We’re doing this at every single door.
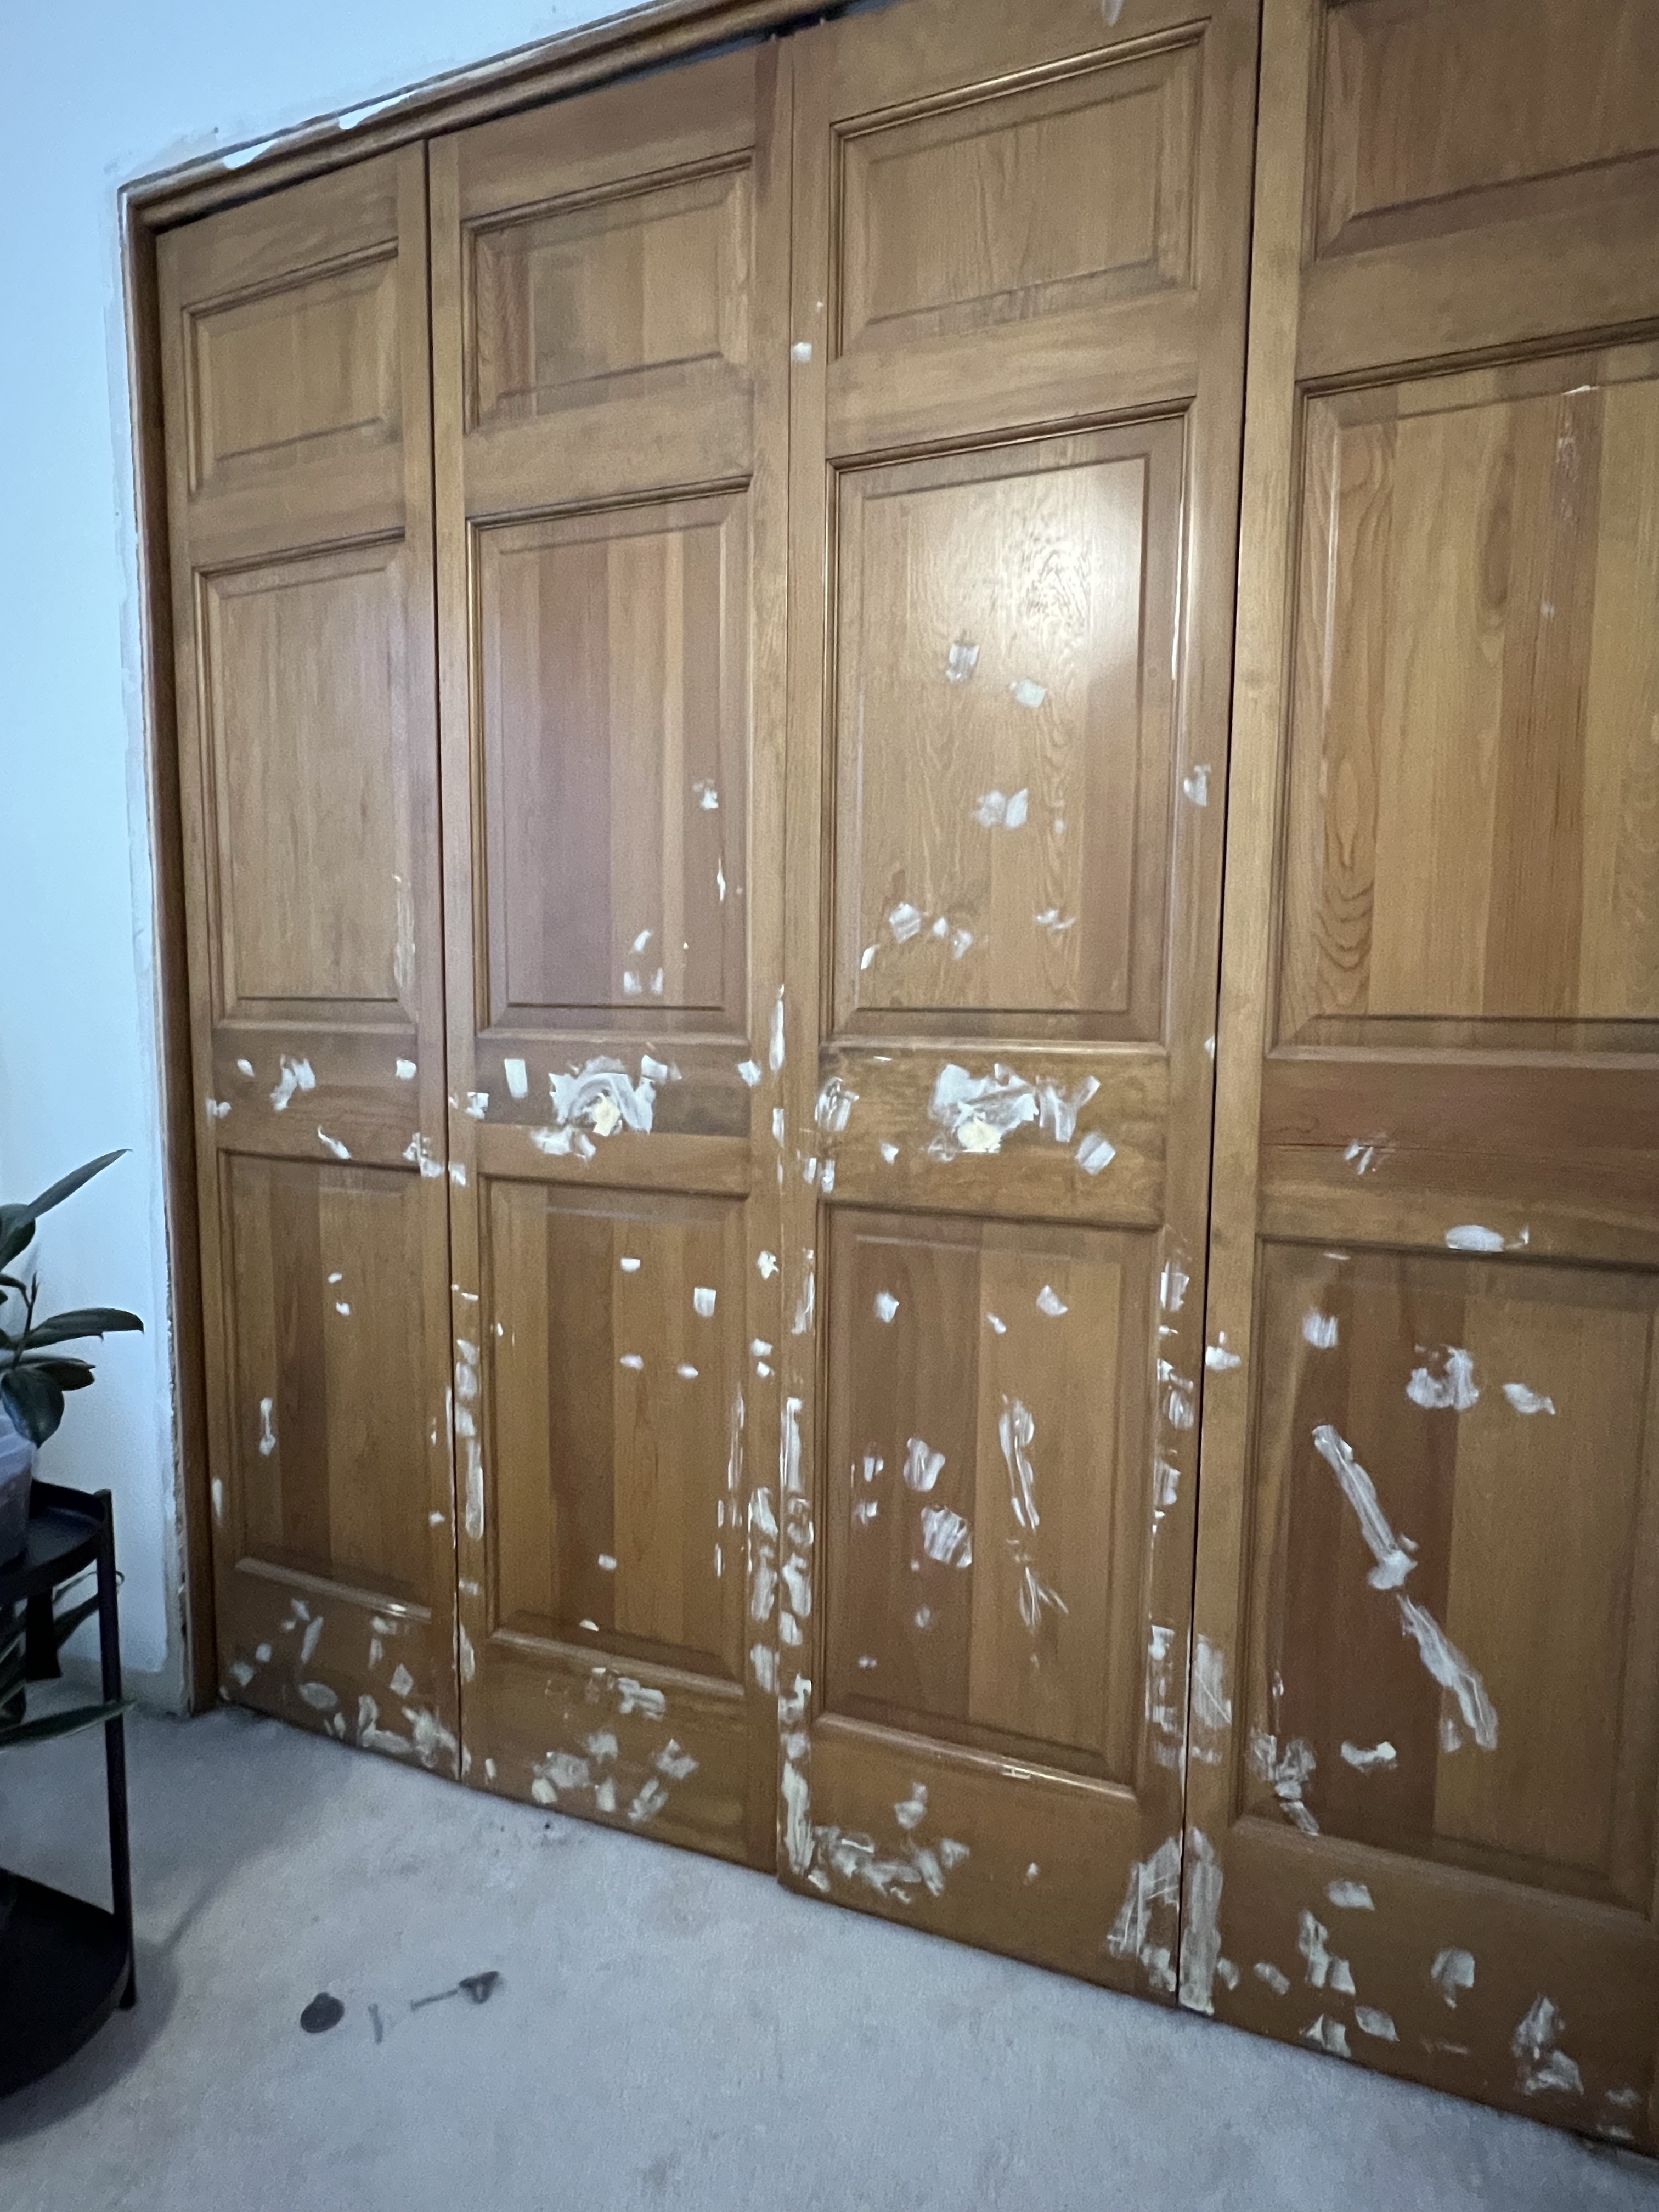
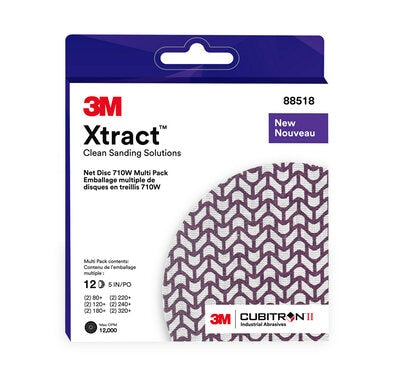
After we got all of the doors wood filled, we sanded down all of the doors. This was both to smooth out the wood filler and to remove any existing finish so the primer adheres well. For this, we’re using our favorite 3M extract sanding discs in 180 grit with our Dewalt orbital sander attached to our shop vac. If you have the ability to connect your sander to a vacuum it will greatly help in reducing the amount of dust. We’re also going in with the same sanding discs by hand at any detail we cannot get to with the orbital sander.
With that complete, it is time for the final paint prep. We’re vacuuming any leftover dust, then going in with krud kutter to give the doors a thorough cleaning. Lastly, using a tack cloth right before painting to ensure we have a clean and dust-free surface.
Priming the Doors
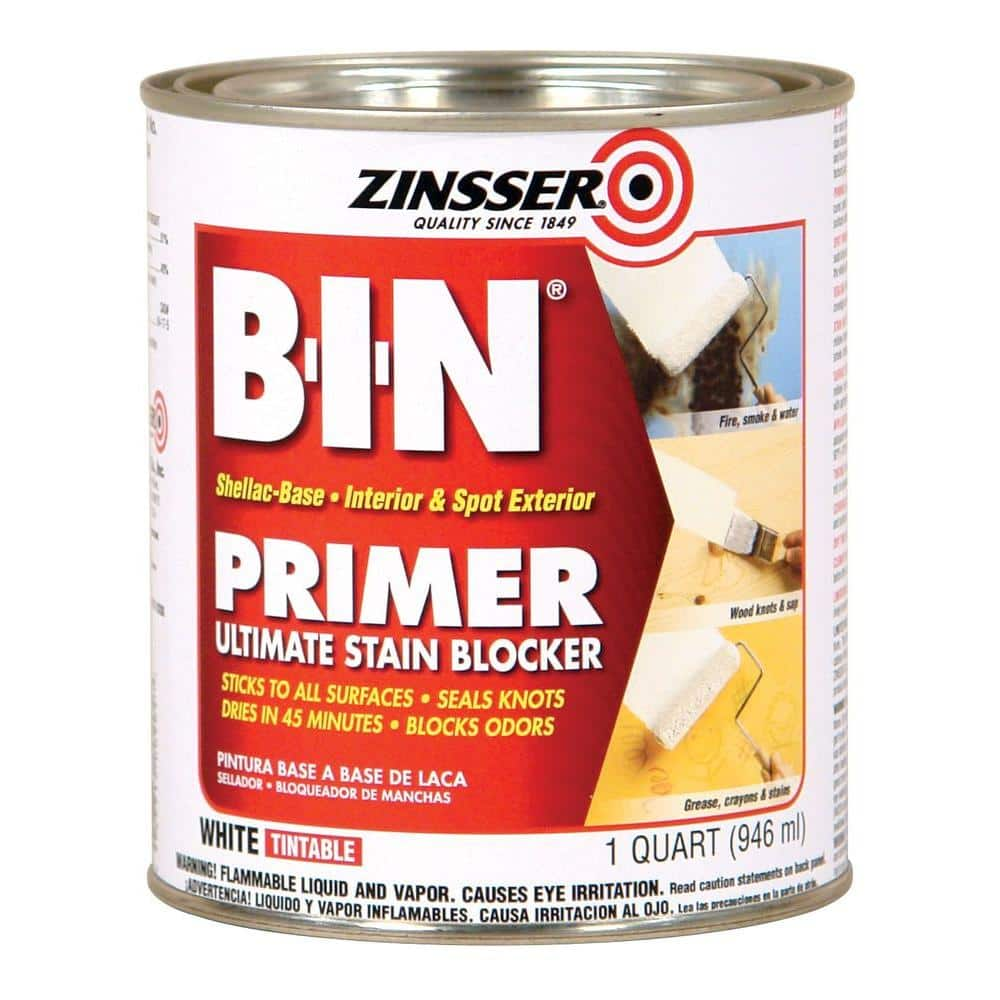
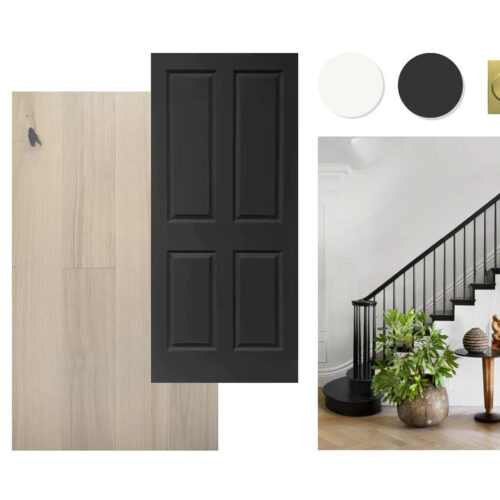
Let’s talk about the type of paints we are using to paint these existing wood doors. Using the proper paint and primer is essential for a long-lasting durable paint finish. For primer, we are going to use Zinsser BIN shellac primer, which provides great adhesion.
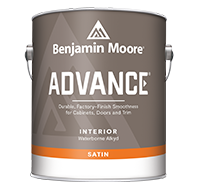
For paint, we are going to use Benjamin Moore Advance paint in satin, which is specifically made for doors, trim, and cabinets. This is a waterborne alkyd paint that offers a high-end durable finish.
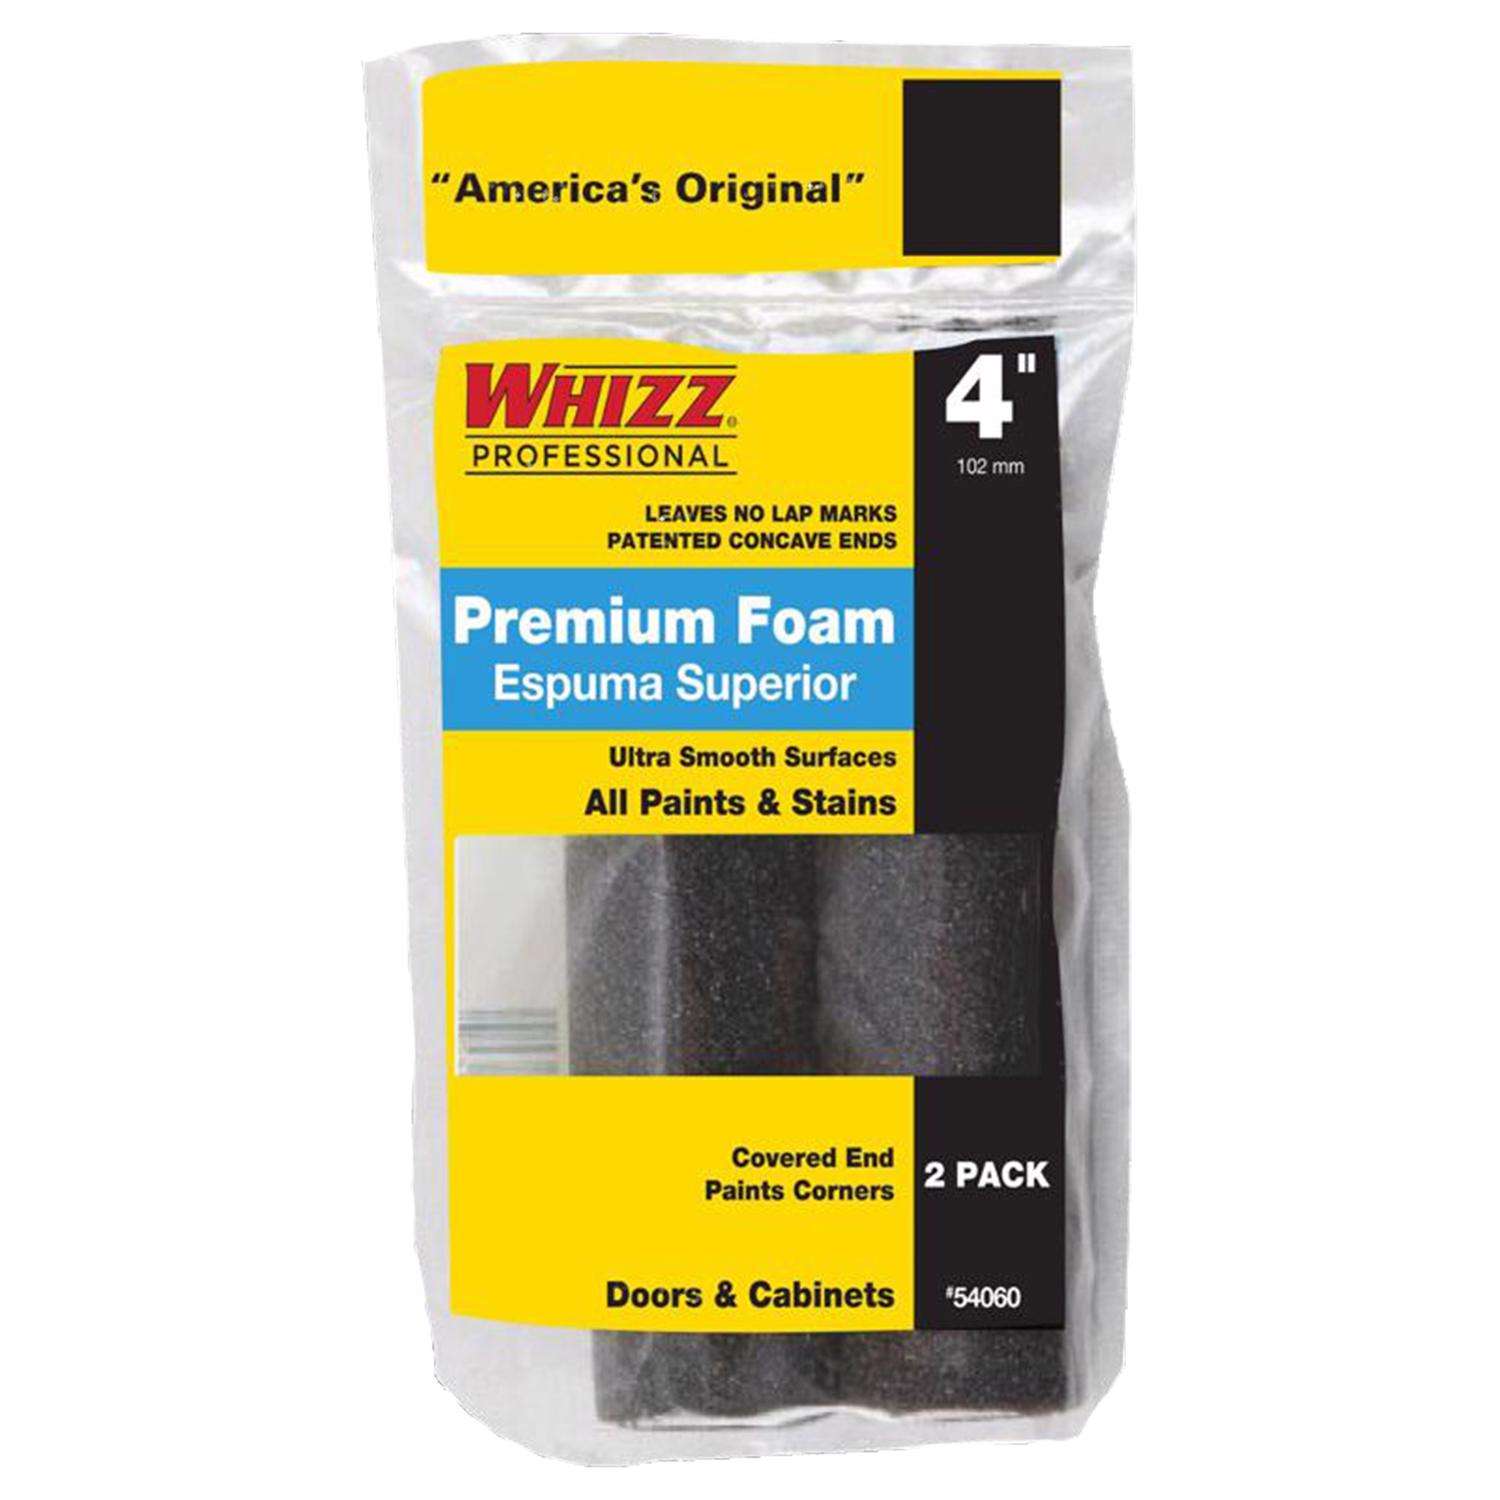
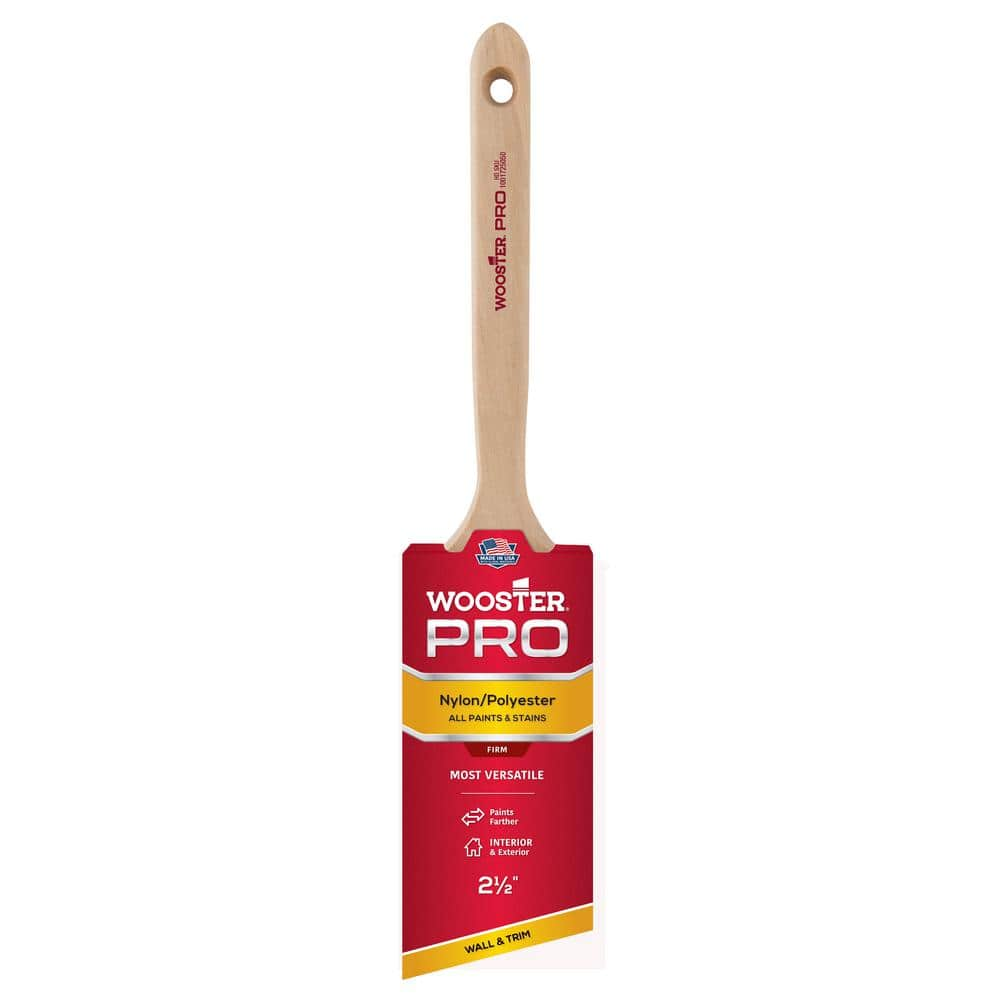
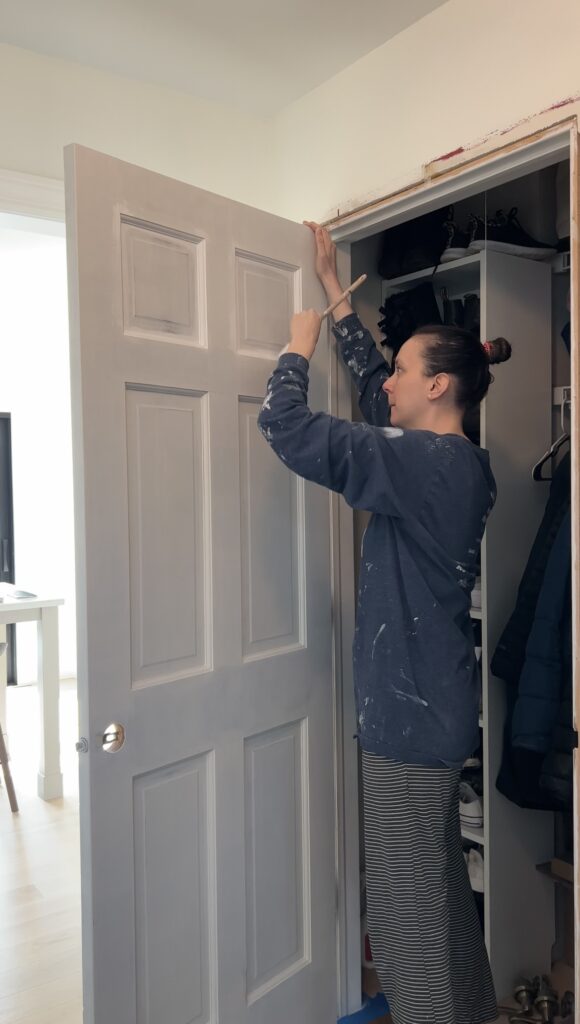
For both painting and priming, we’ll be using a combination of brush and roller. Because there are two of us, Kam and I are planning to divide and conquer (especially because we’ve got so many doors to paint!). I will be using our favorite Wooster brush to brush on any detail areas that cannot be rolled. Kam will follow behind me using our favorite Whizz foam roller and rolling all of the flat areas.
For the primer coat, we each went at our own pace and did not care if the brushed on areas dried before Kam caught up to rolling because we’d be sanding the doors before we went in for final paint. Each door took about 30 minutes front and back for one coat. We ended up doing 2 coats of primer on all of the doors. In hindsight, I think I should have strongly considered doing 3 coats so all wood was thoroughly covered.
After the primer dried, we did a light sand using the same sanding method mentioned about (orbital sander for flat areas, hand sanding for detailed areas) except with 220 grit sandpaper this time. We’re very serious about our paint finish so this is an essential step if you want it smooth and professional looking! We also again vacuumed up any dust and used a tack cloth before painting. You can start to understand why this project is so time consuming!
Painting the Doors
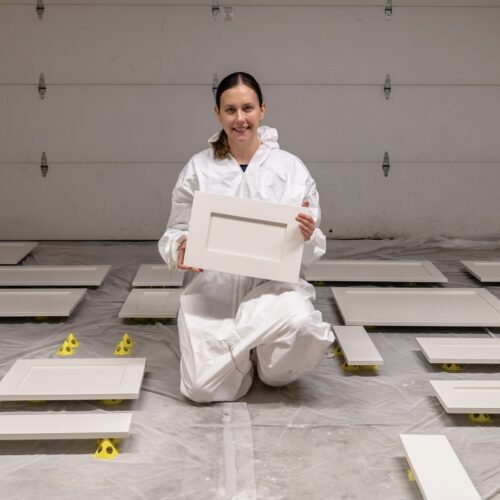
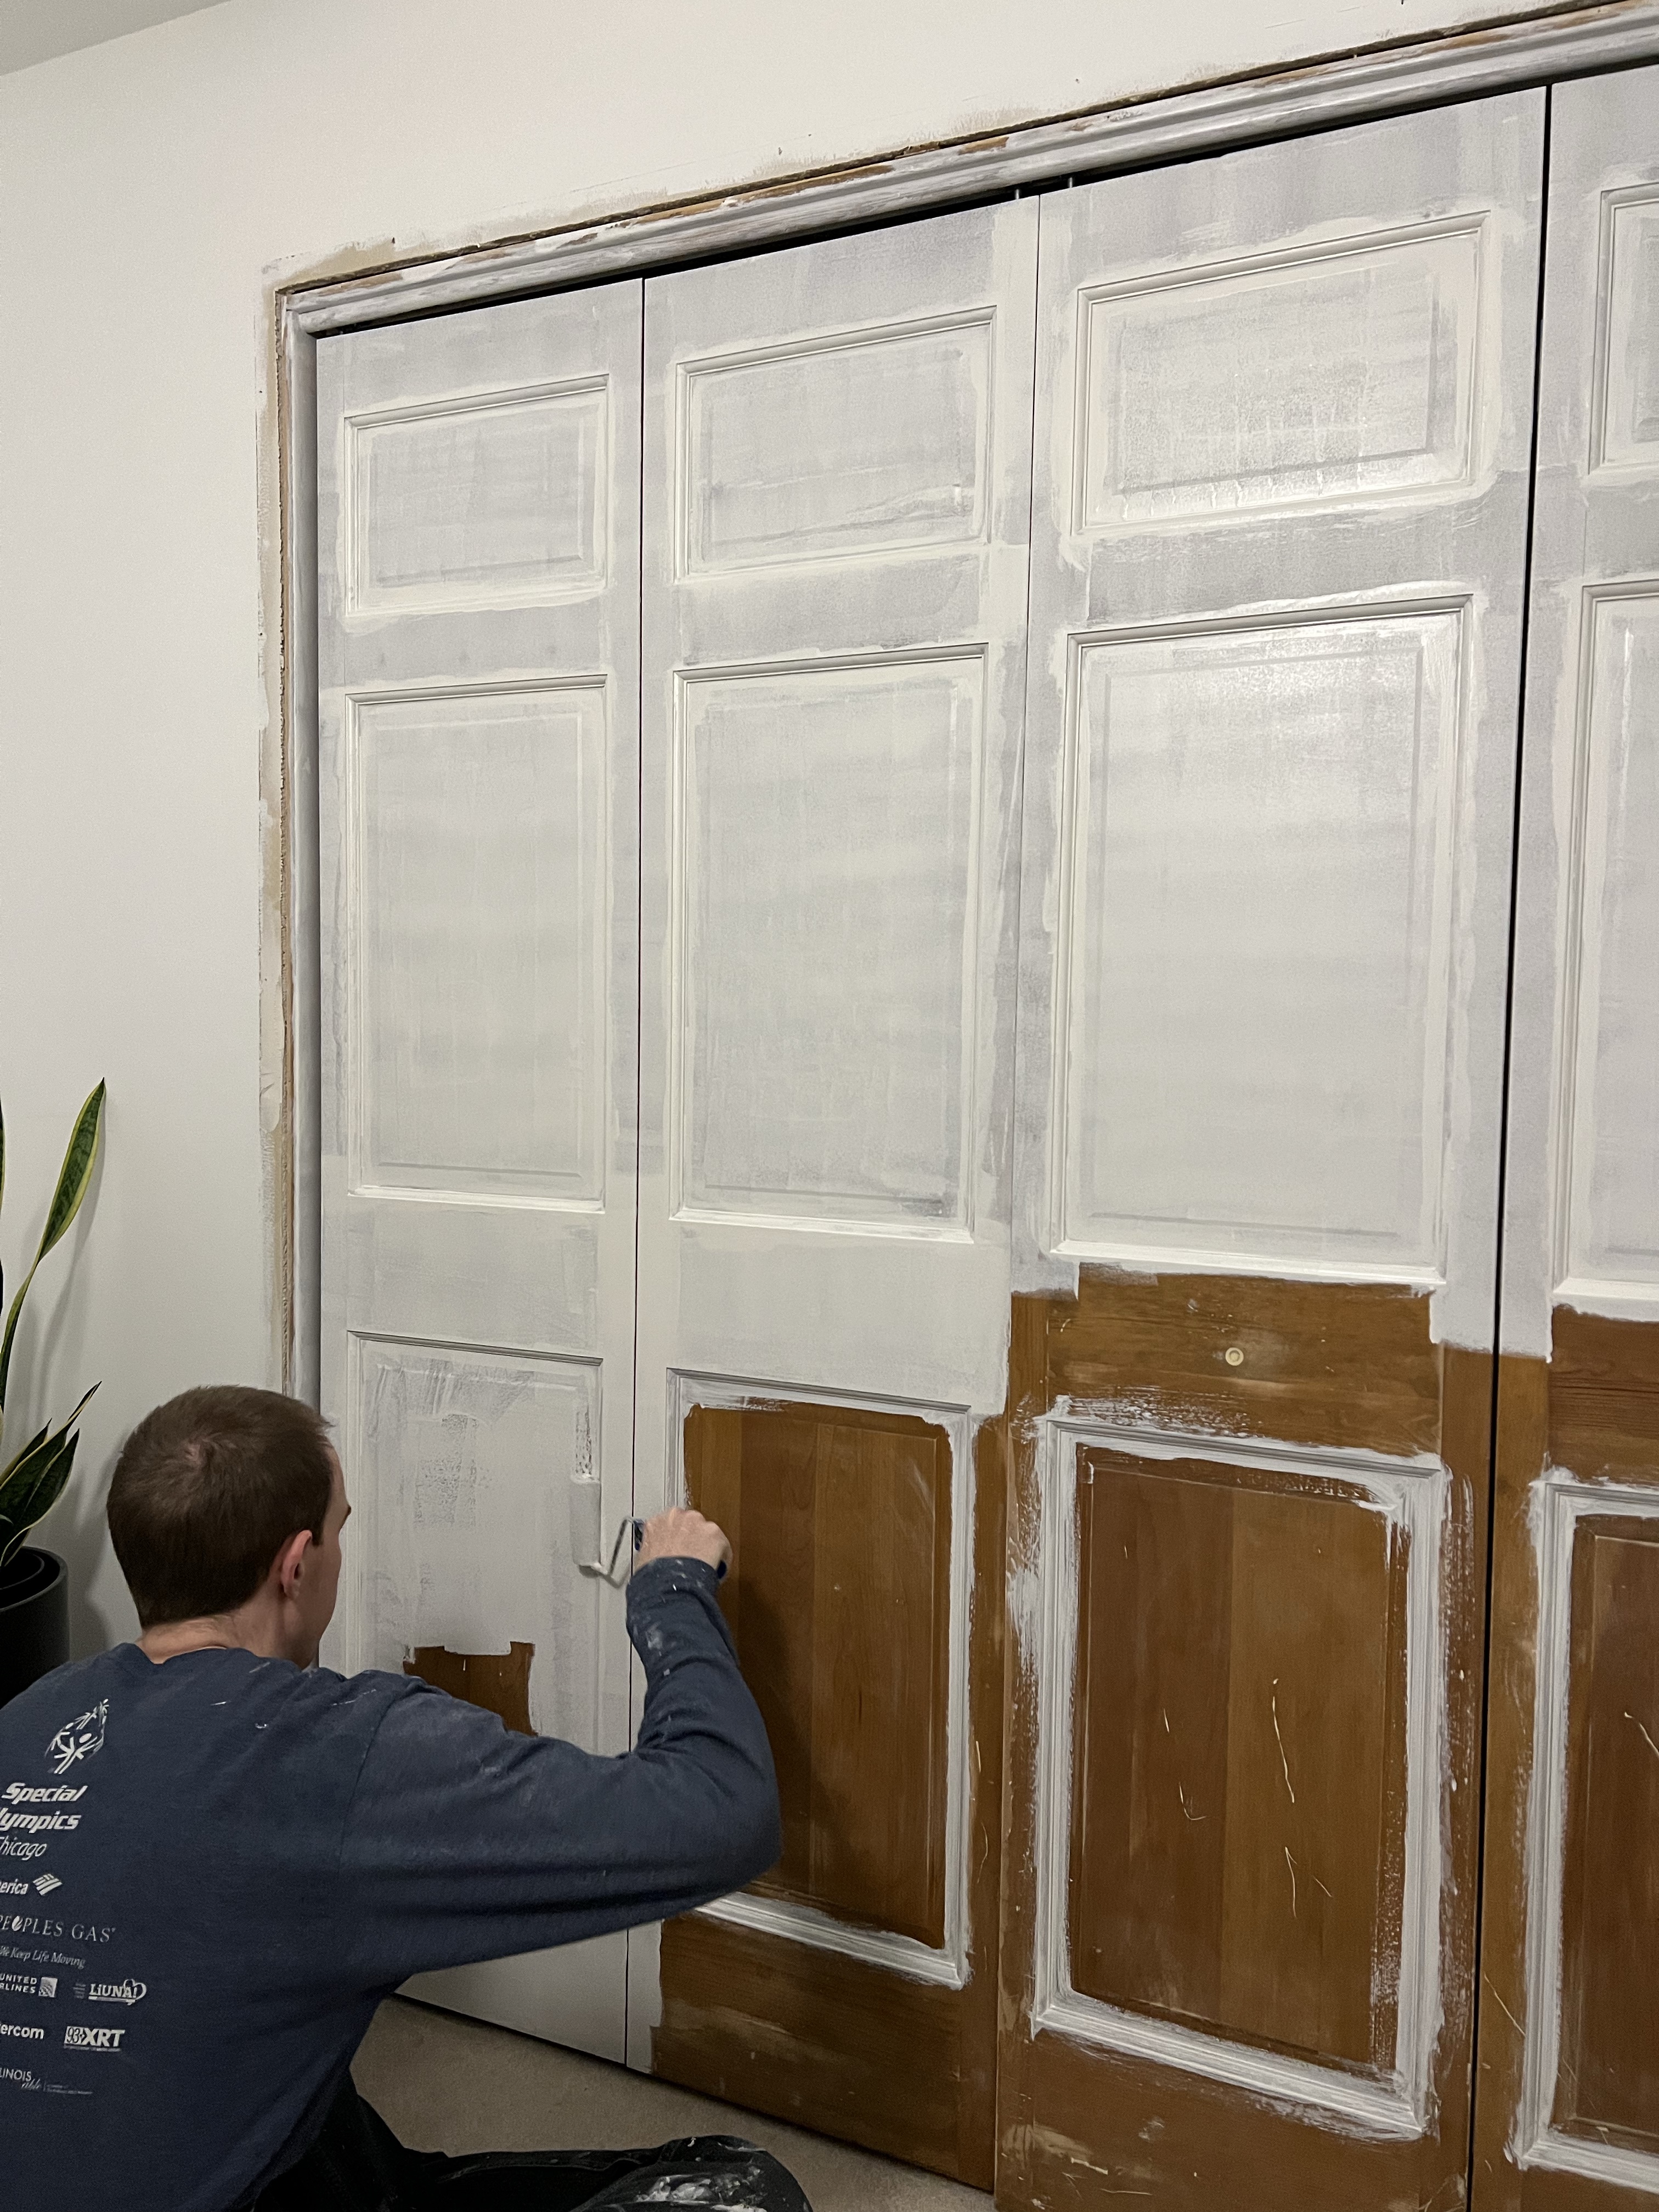
It is finally time for paint! By this point in the process, we questioned everything, but were so far deep we had to finish! Same as applying the primer, I went in with a paint brush first and Kam followed behind with a roller on all flat areas. The only difference here is I only did one side of the door at a time making sure Kam followed right behind me so the paint did not have a chance to set. This will help ensure a smooth coat.
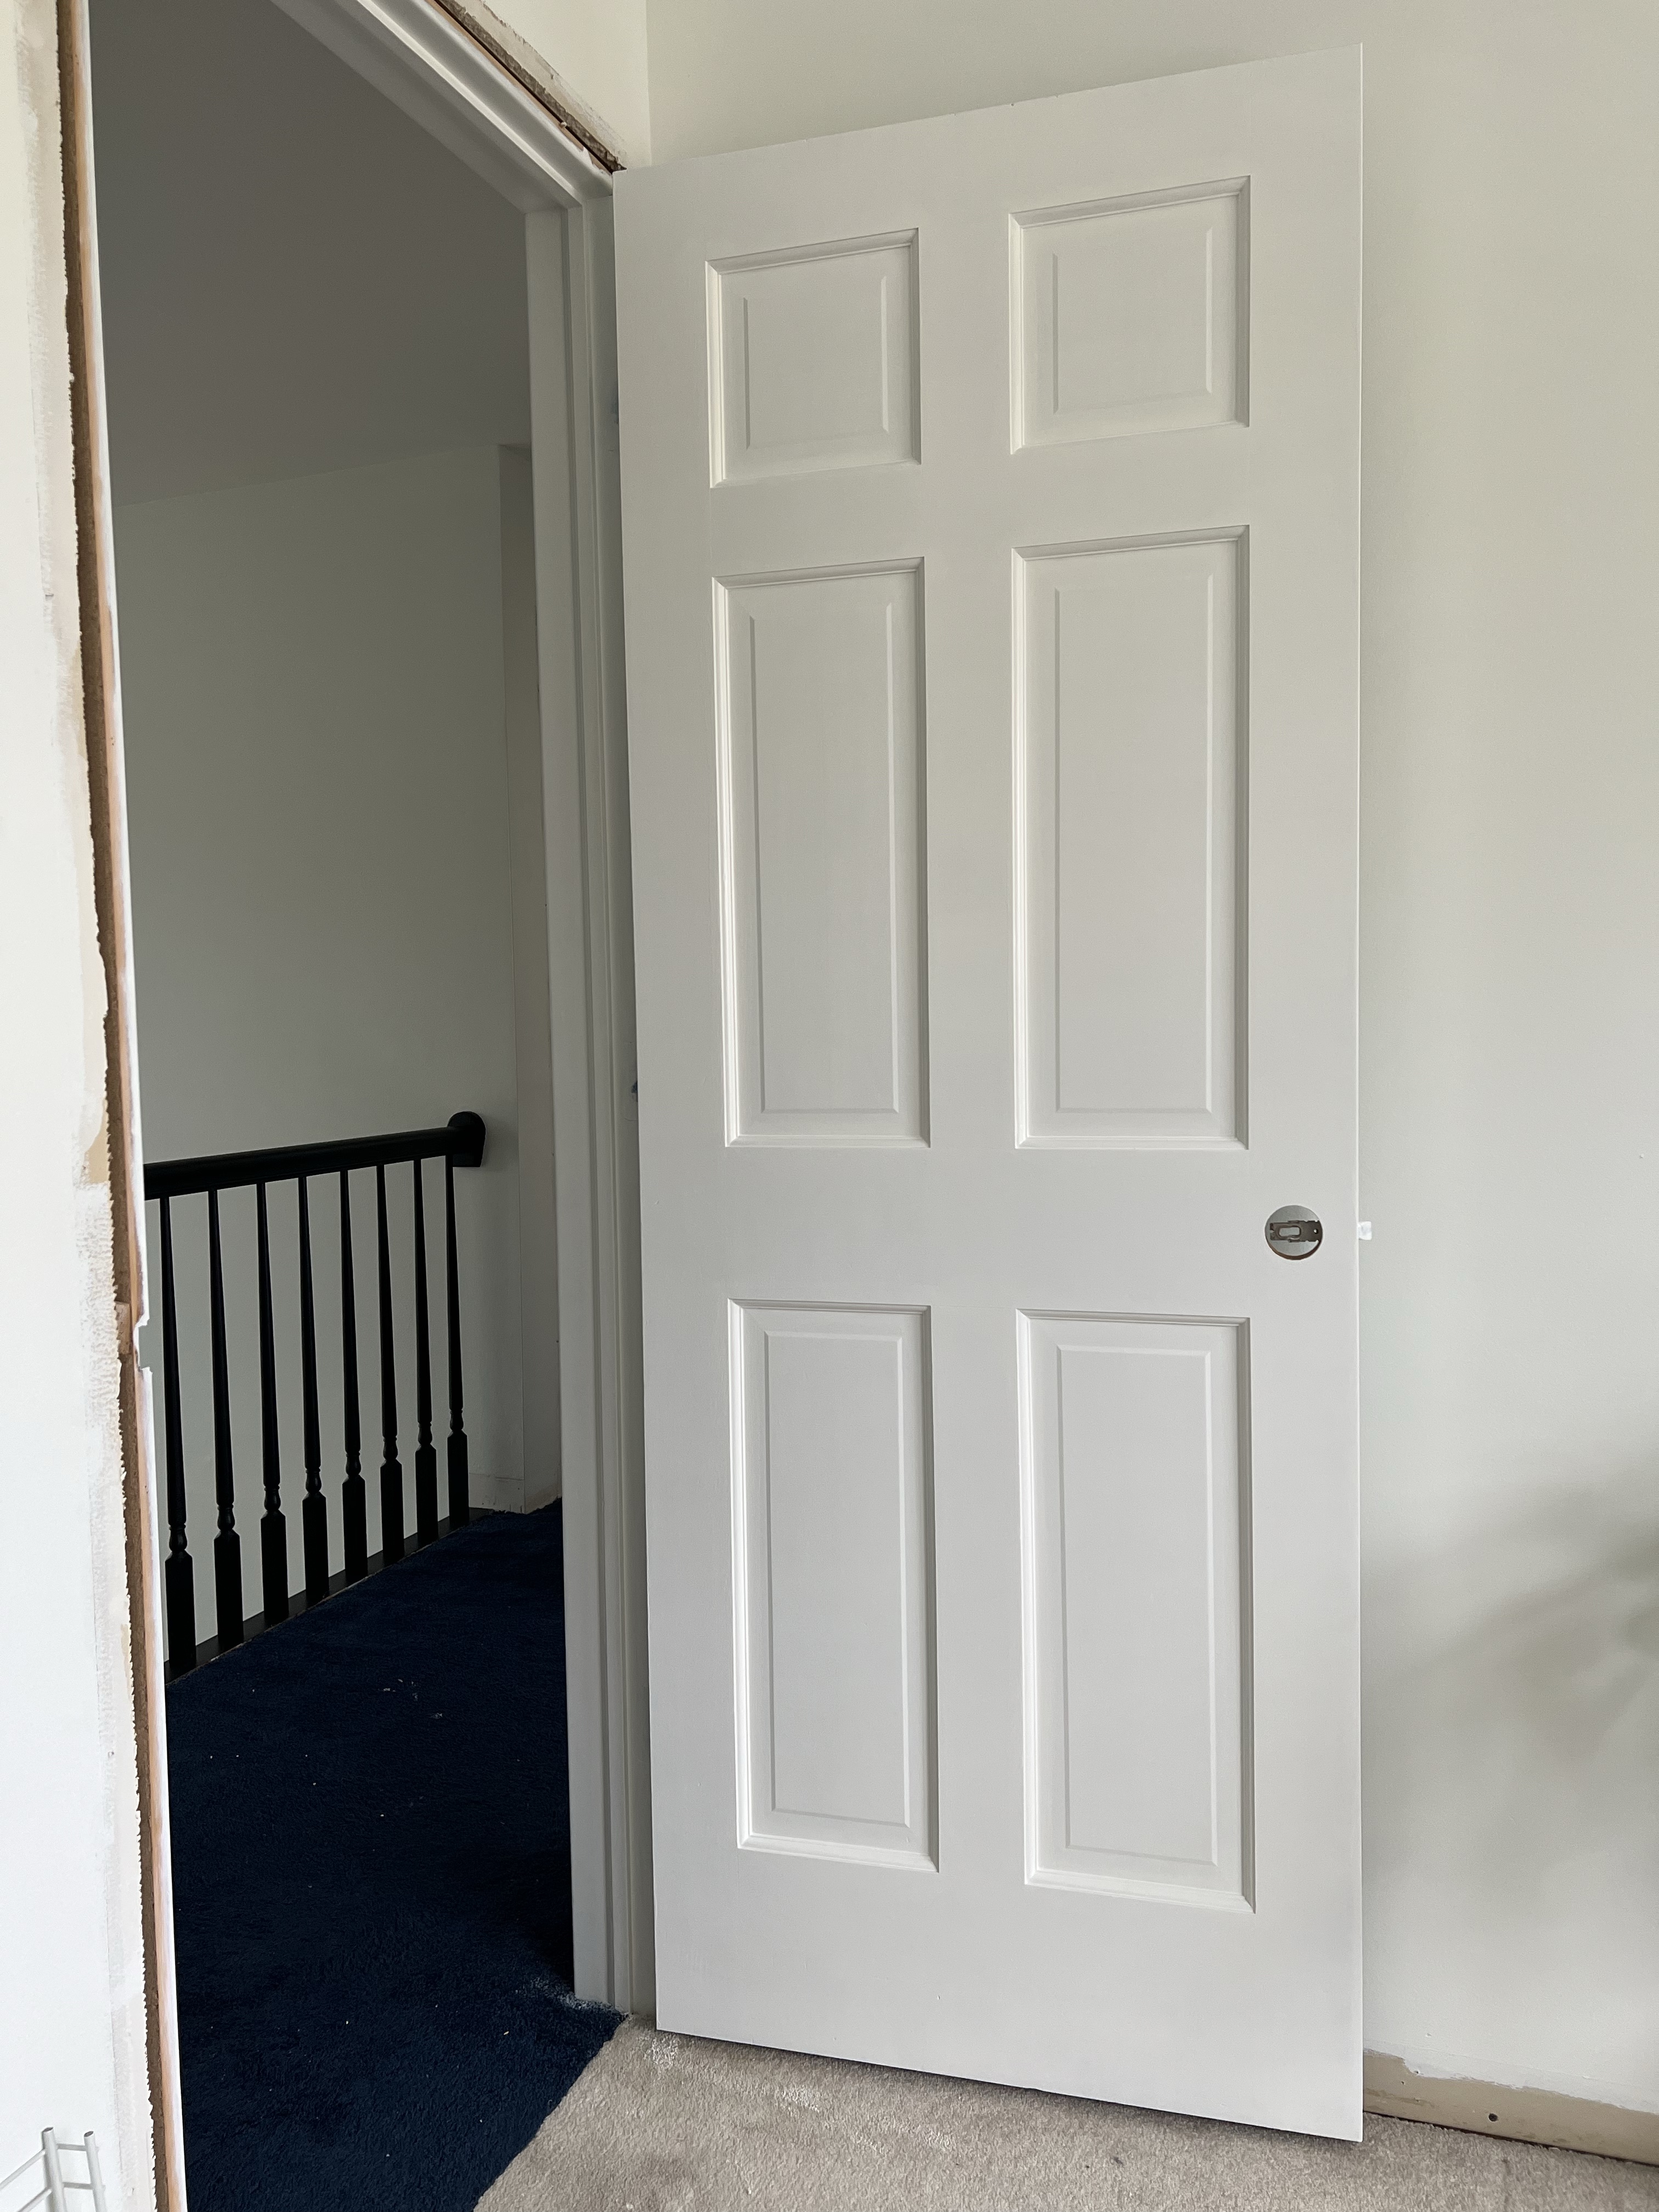
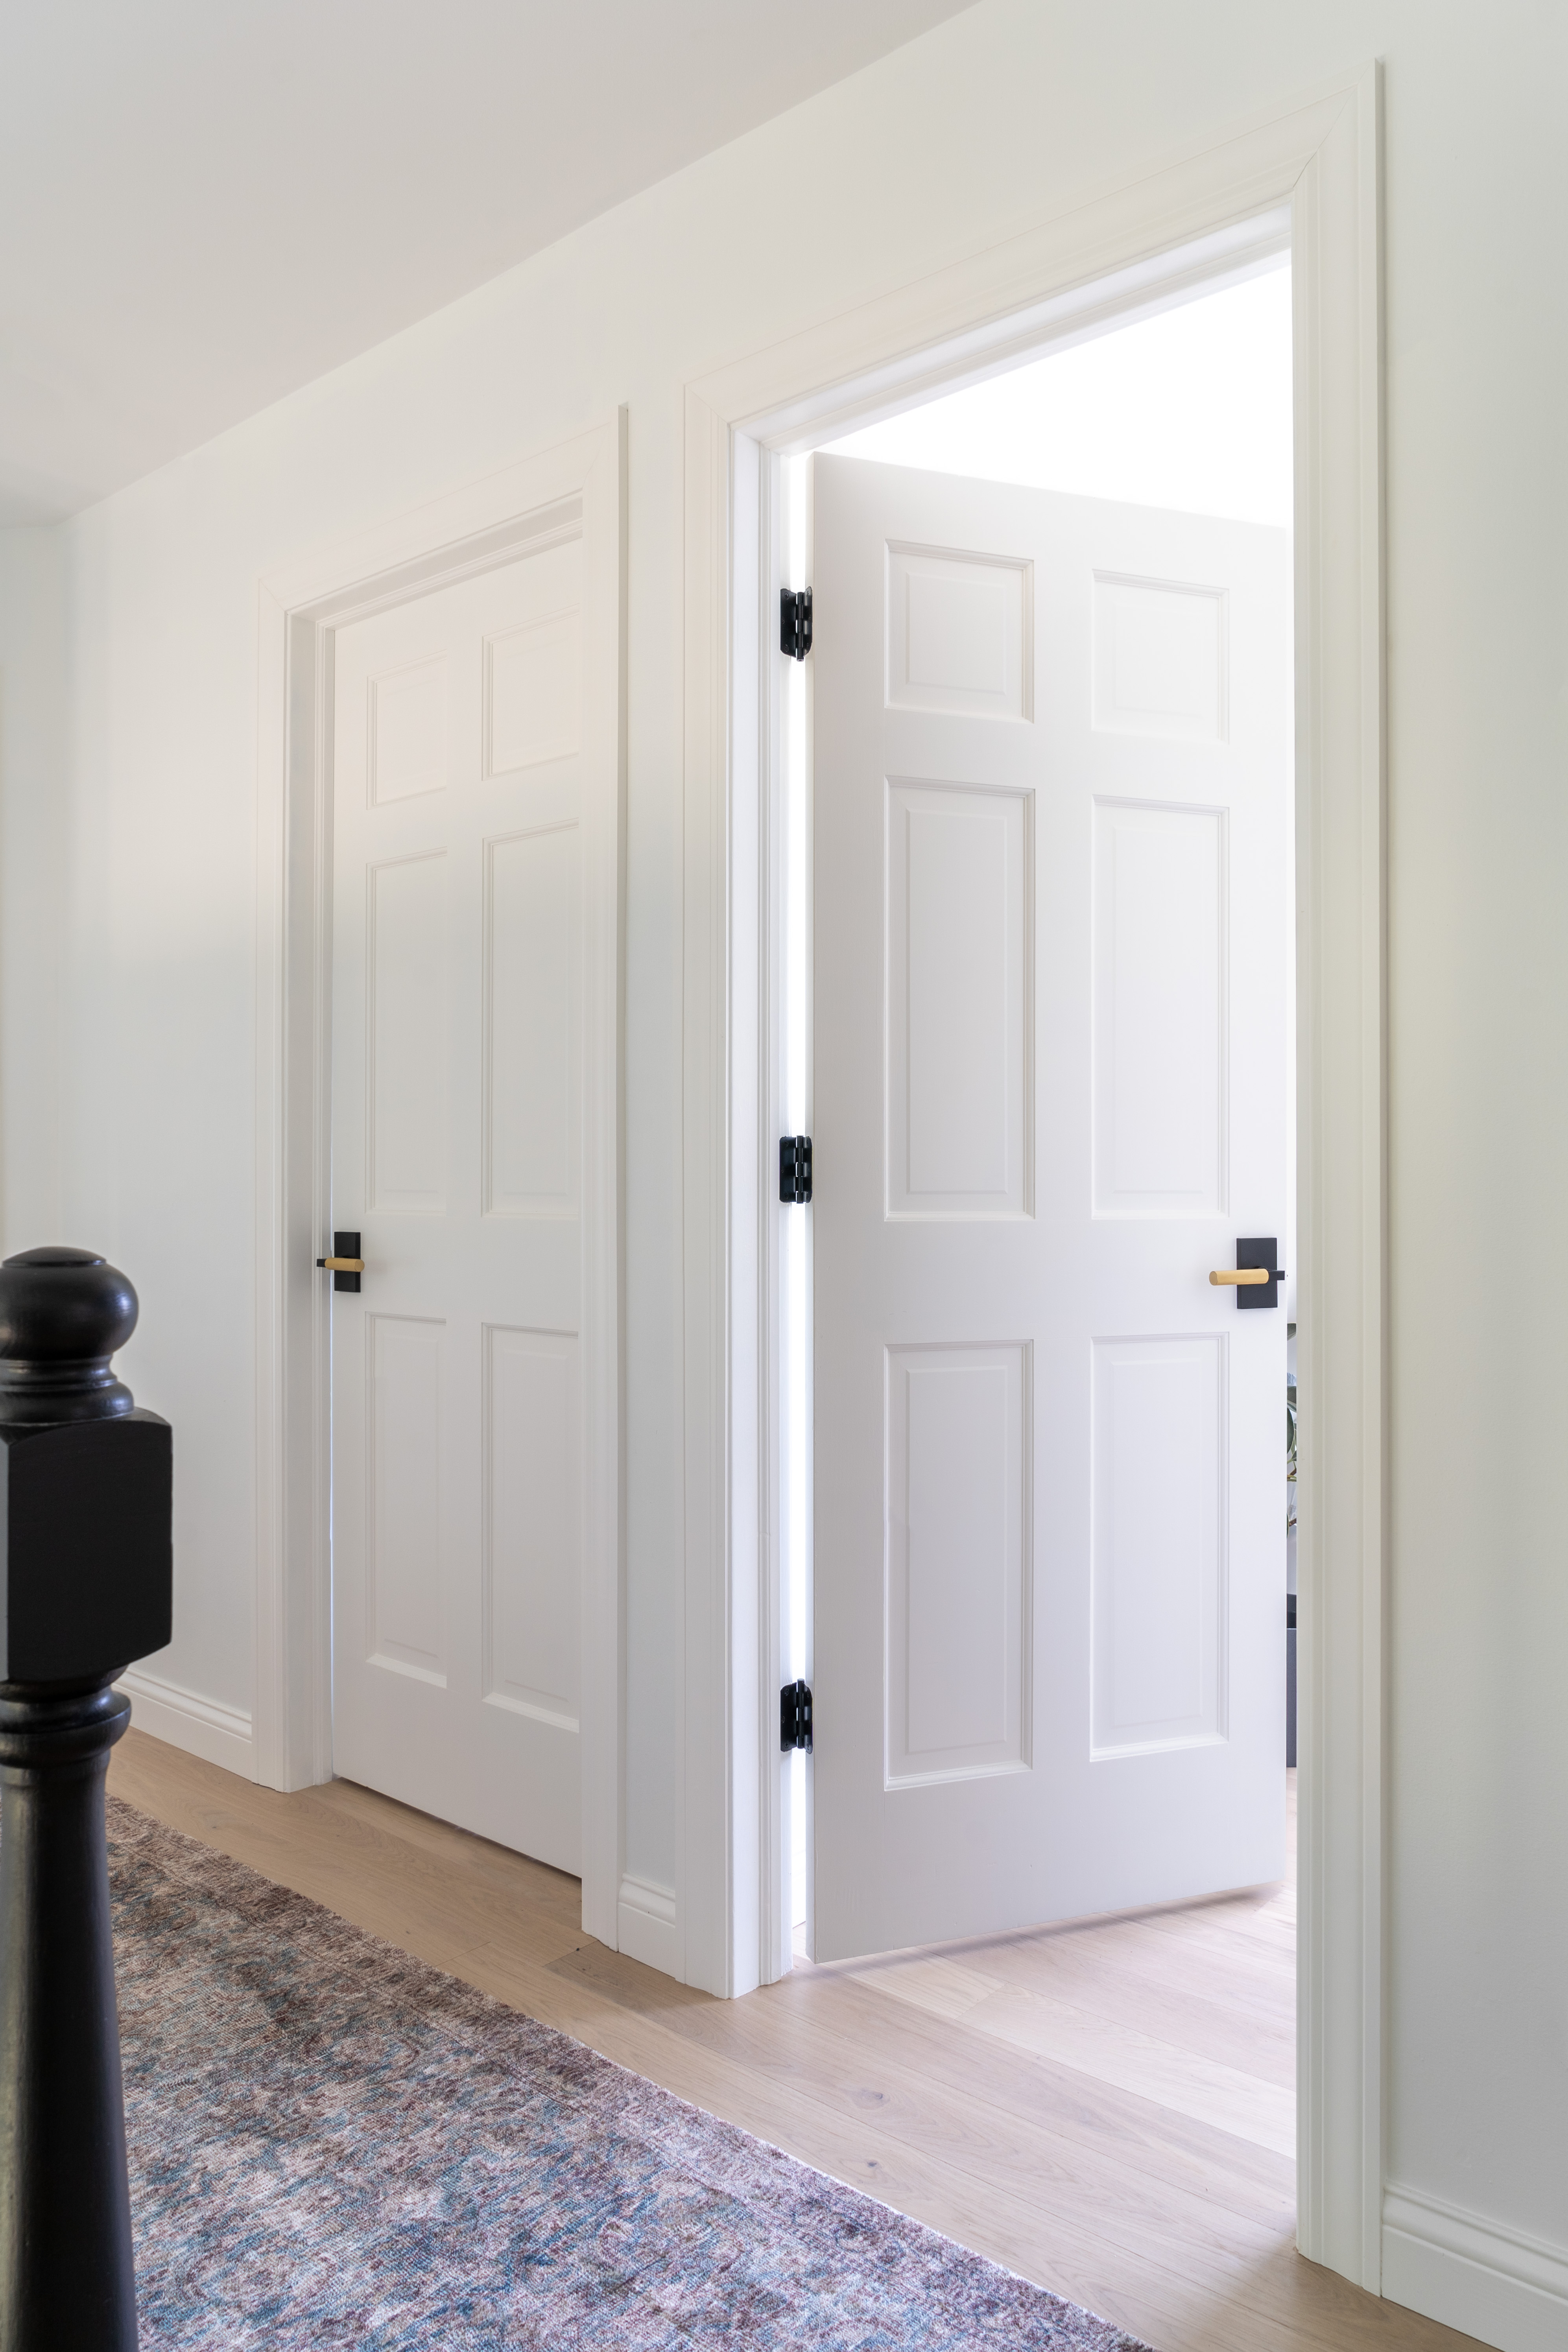
Because we chose a white paint in the color Chantilly Lace over medium-dark wood doors, we needed 3 coats to get solid coverage. On the last coat we felt the brushed areas had proper coverage, so we only rolled the flat areas again. Even though that meant 5 coats total (2 coats primer and 3 coats paint) which took forever, once these doors started to get closer to completion we knew this whole project was worth it!
Replacing the Door Hardware
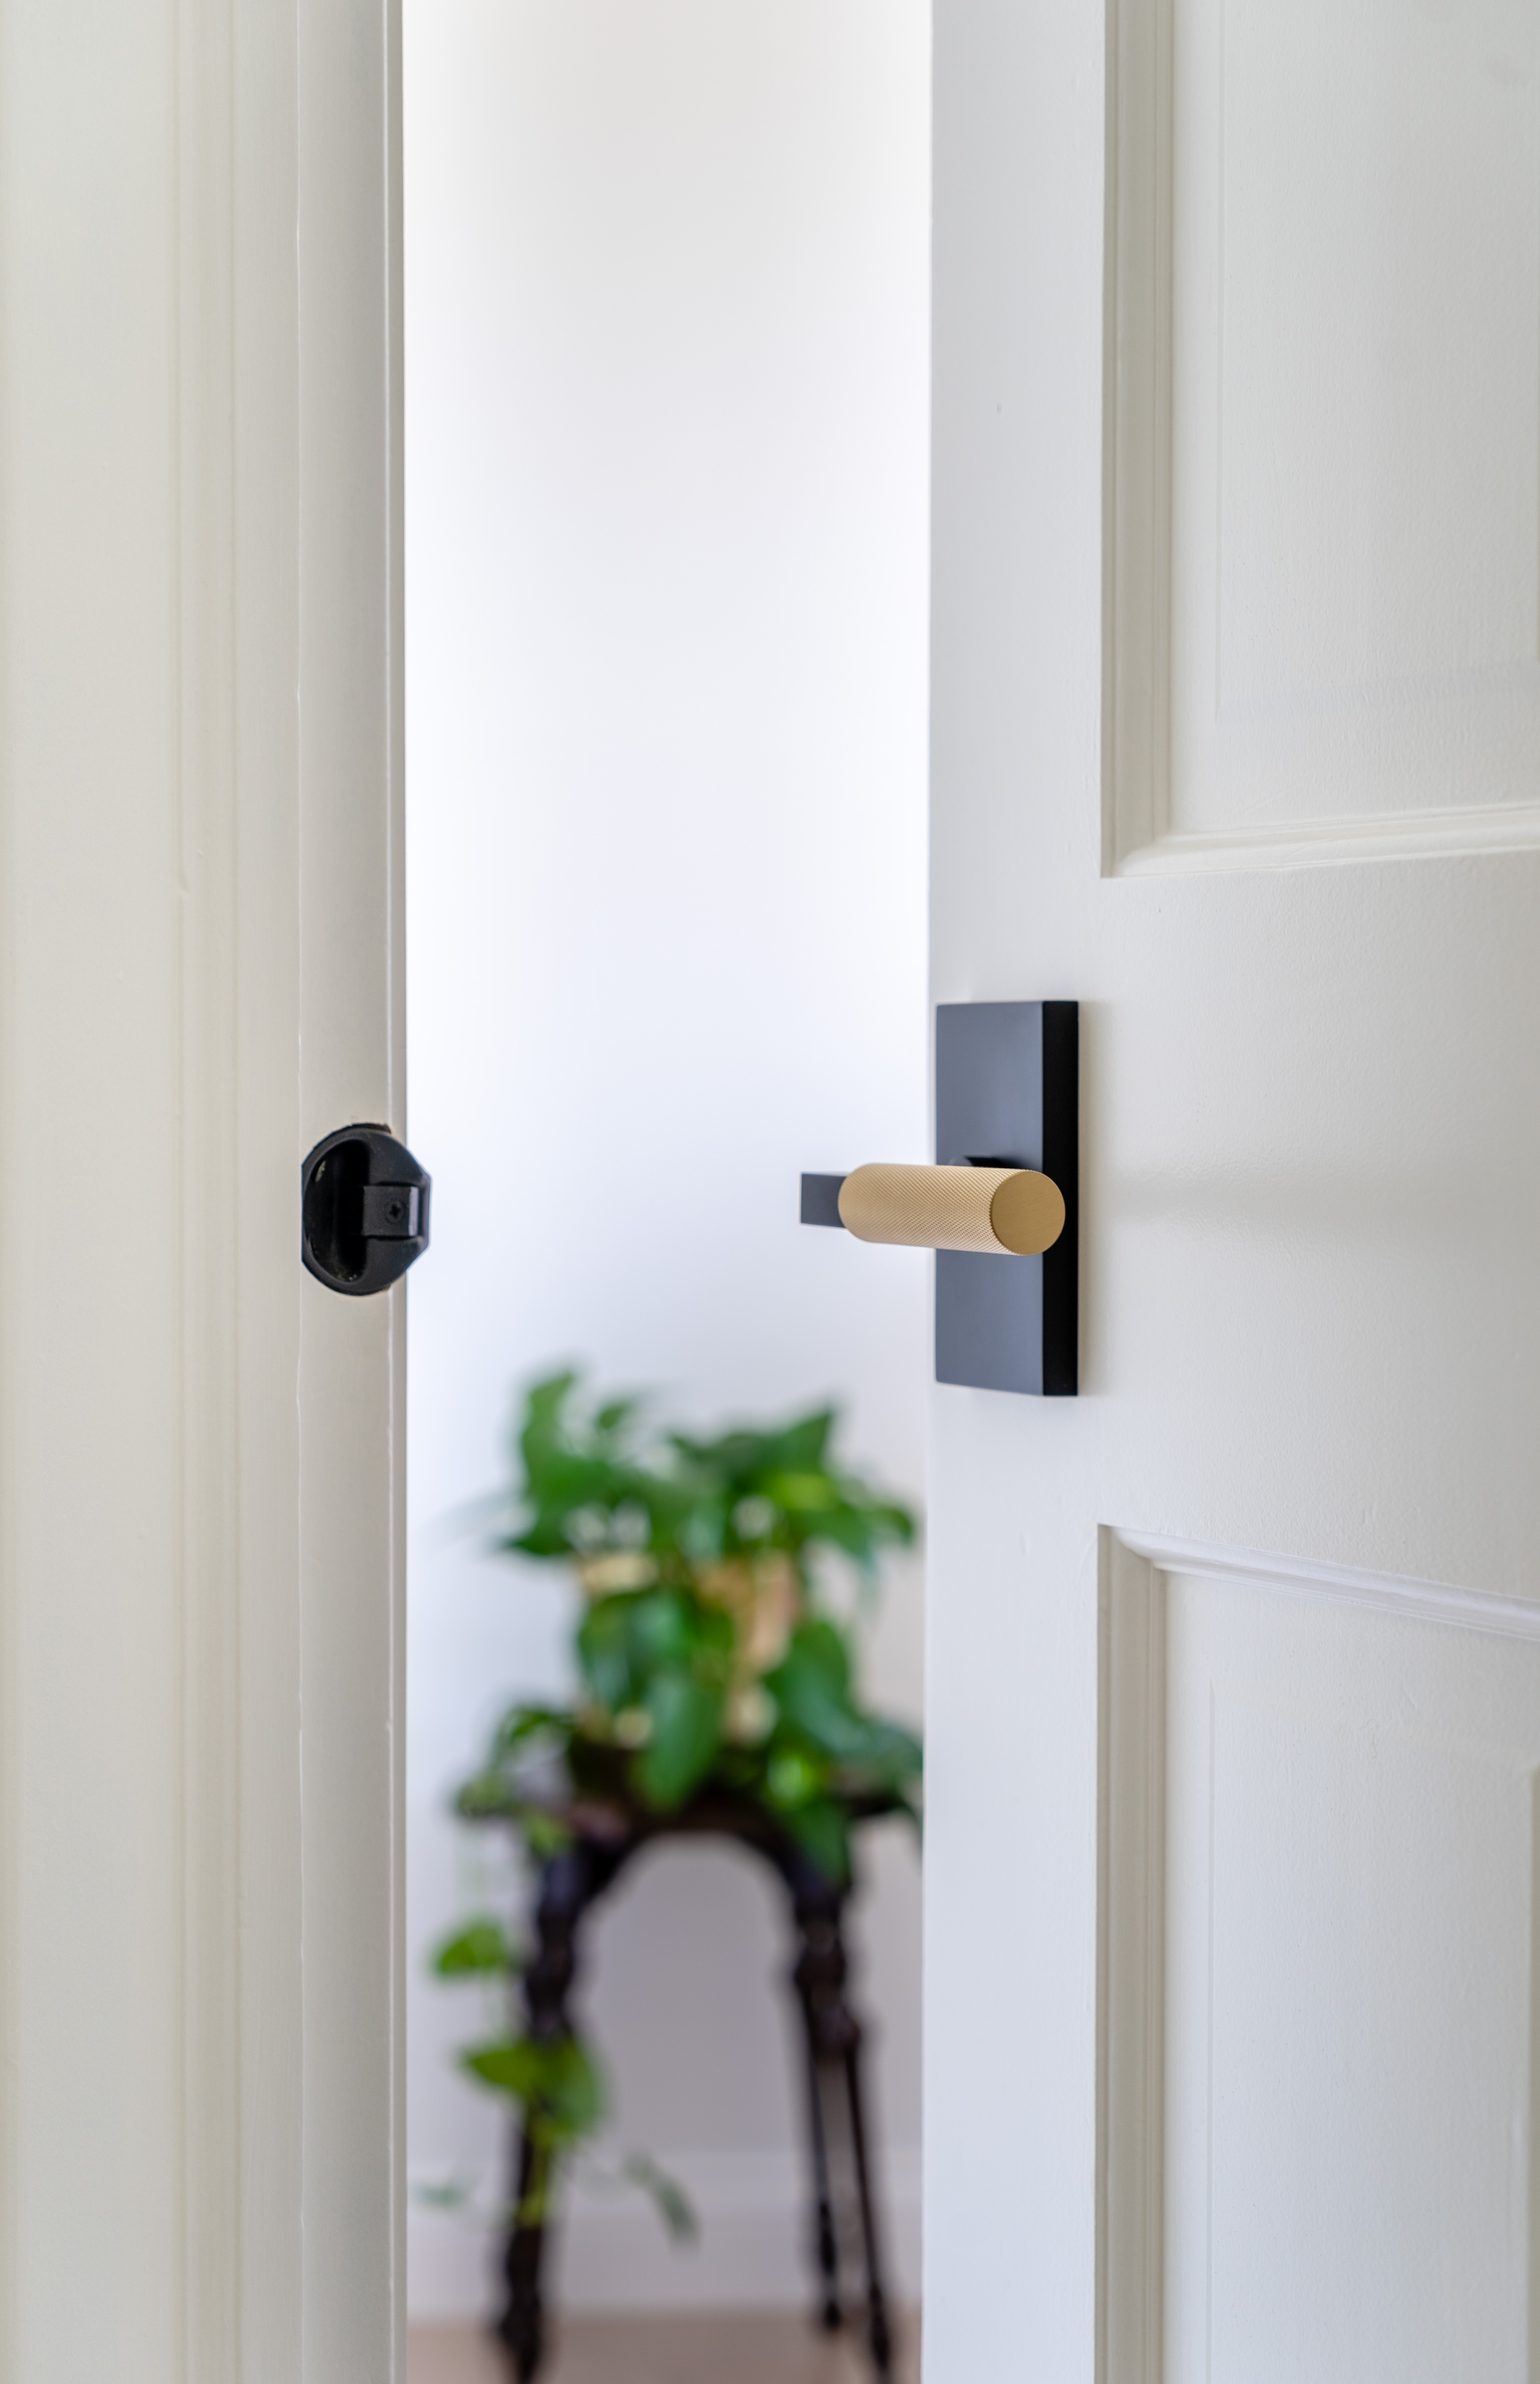
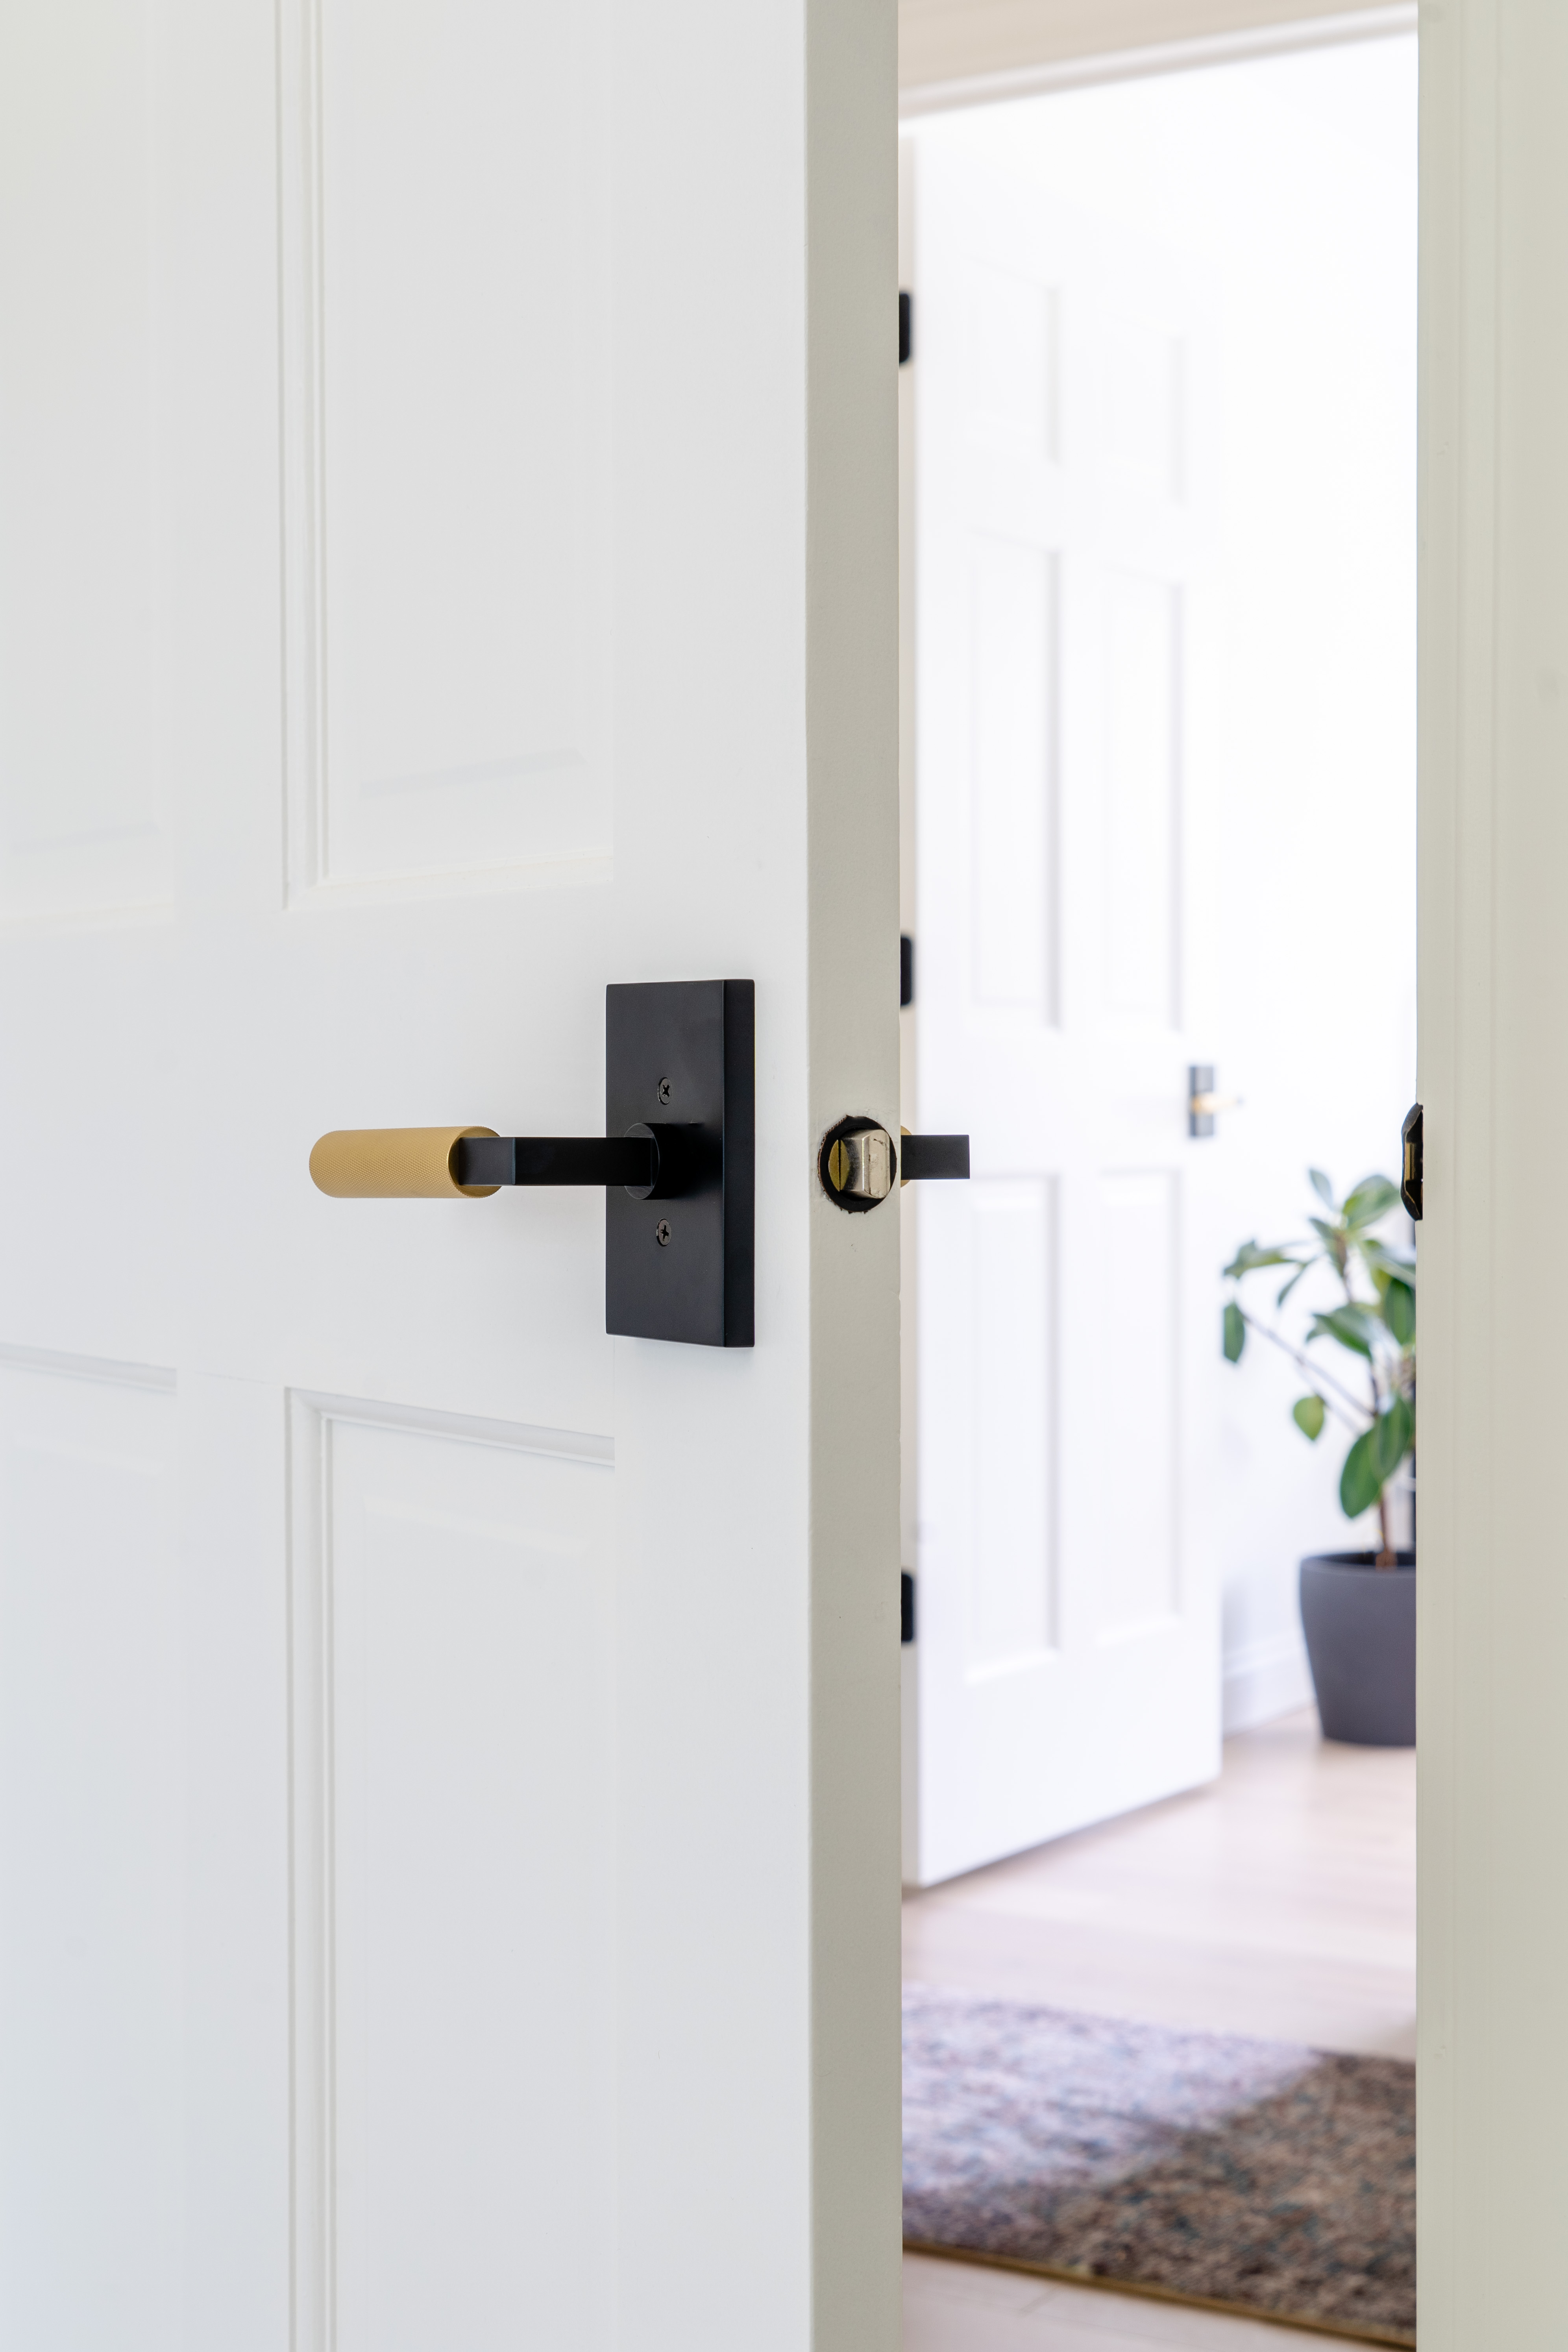
After the paint fully cured, we also updated the existing door hardware and hinges. We opted for SureLoc door hardware in the Levanto Lever with rectangular backplate in flat black with a knurled brass handle (SureLoc was kind to gift us the hardware for this project! #gifted). We replaced the hinges in generic flat black hinges we picked up in-store at the Home Depot.
With adding new door hardware, that wraps up this project! As I mentioned before, when we started this project we had no idea it would require so many hours but once the project was completed we could not imagine our doors any other way! Isn’t that how every home project goes?!
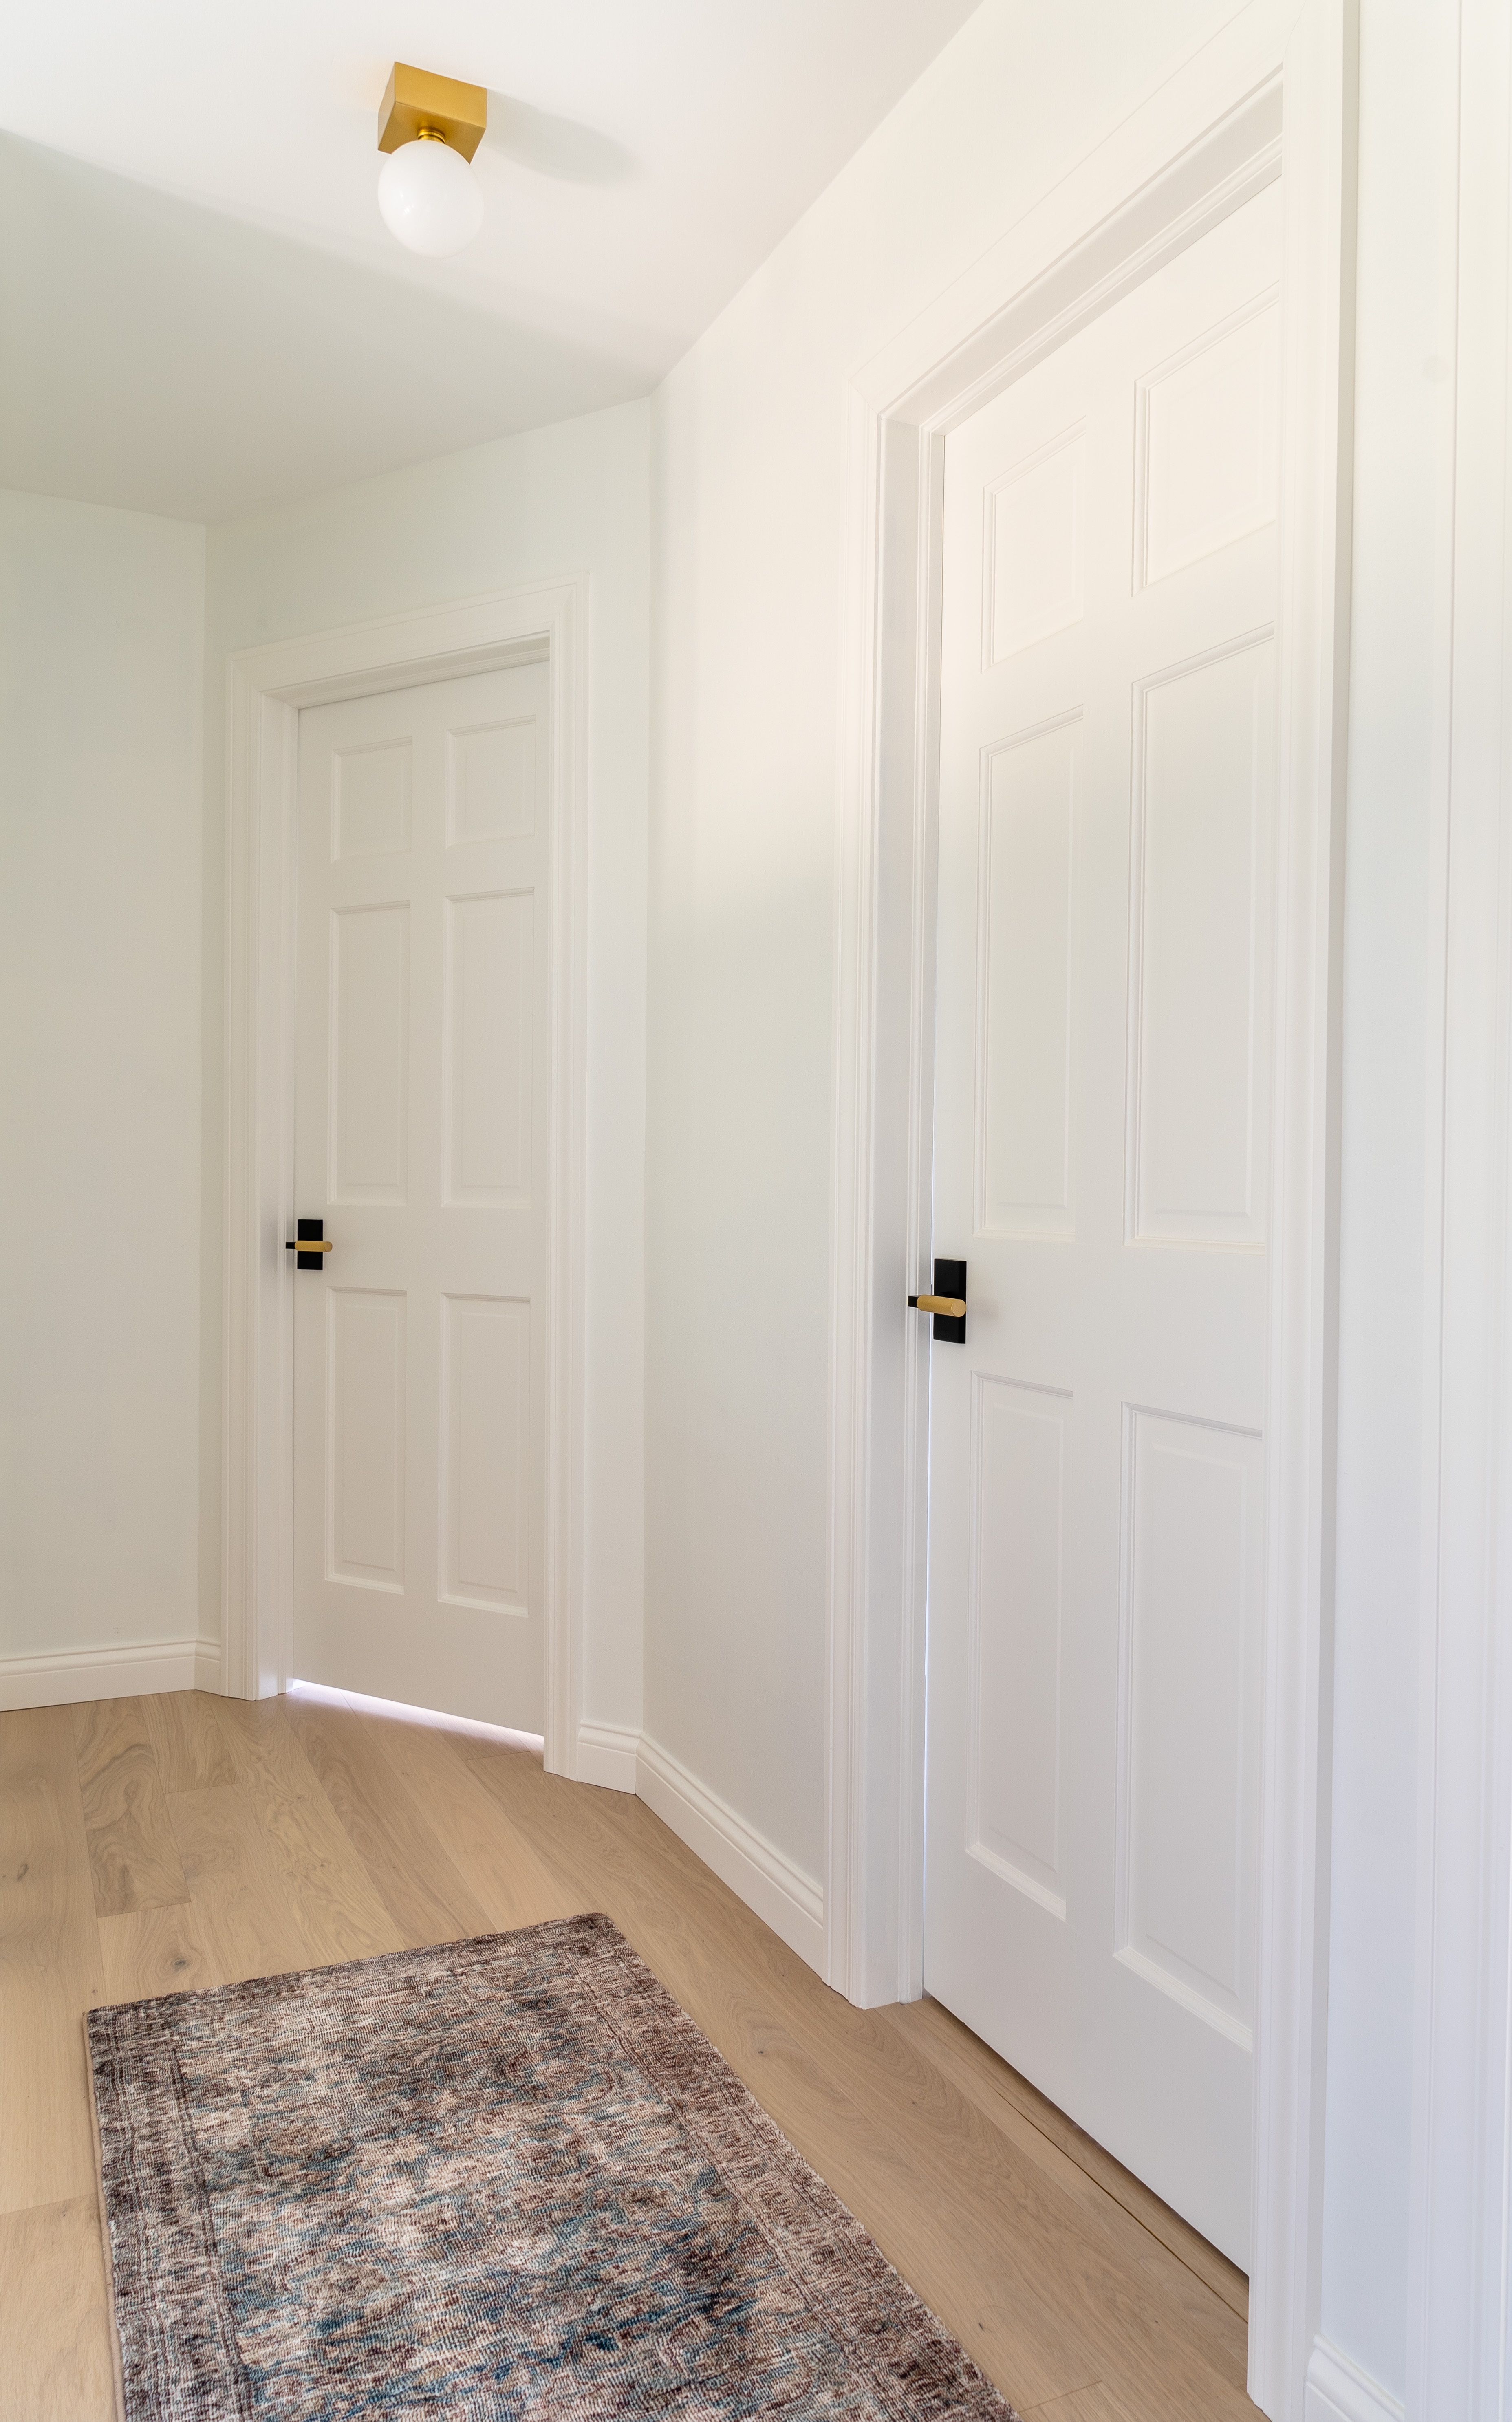
The Final Reveal!

Summary of our Step-by-step Process
If you prefer a list, here’s a step by step of our painting process:
- Wood fill any imperfections using a plastic putty knife
- Sand the entire surface of the door, hand sand at detailed areas and use an orbital sander connected to a shop vac at flat areas, with 180 grit sandpaper
- Vacuum any remaining dust
- Clean the entire surface with krud kutter
- Wipe the entire surface with tack cloth
- Apply minimum two coats of primer, brush on detailed areas and roll on flat areas
- Lightly sand the entire surface of the door, hand sand at detailed areas and use an orbital sander connected to a shop vac at flat areas, with 220 grit sandpaper
- Vacuum any remaining dust
- Wipe the entire surface with tack cloth
- Apply as many coats needed of paint (we did three coats), brush on detailed areas and roll on flat areas
If you have any questions about painting interior oak doors that we didn’t cover above, feel free to leave a comment or reach out to us!