We recently added character to our existing bay window by installing new trim, wainscoting, curtains, furniture and accents as part of our family room renovation. These features upgraded our existing dated and builder-grade bay window and we’re so excited about the end result!
THIS PAGE MAY CONTAIN AFFILIATE LINKS FROM WHICH I RECEIVE A SMALL COMMISSION.
Our Bay Window Design
In case you’re new here, you can check out our full family room and bay window design in this blog post. We’re adding character to our existing bay window, first by refinishing the windows black, adding new window trim, and installing wainscoting at the bottom half.
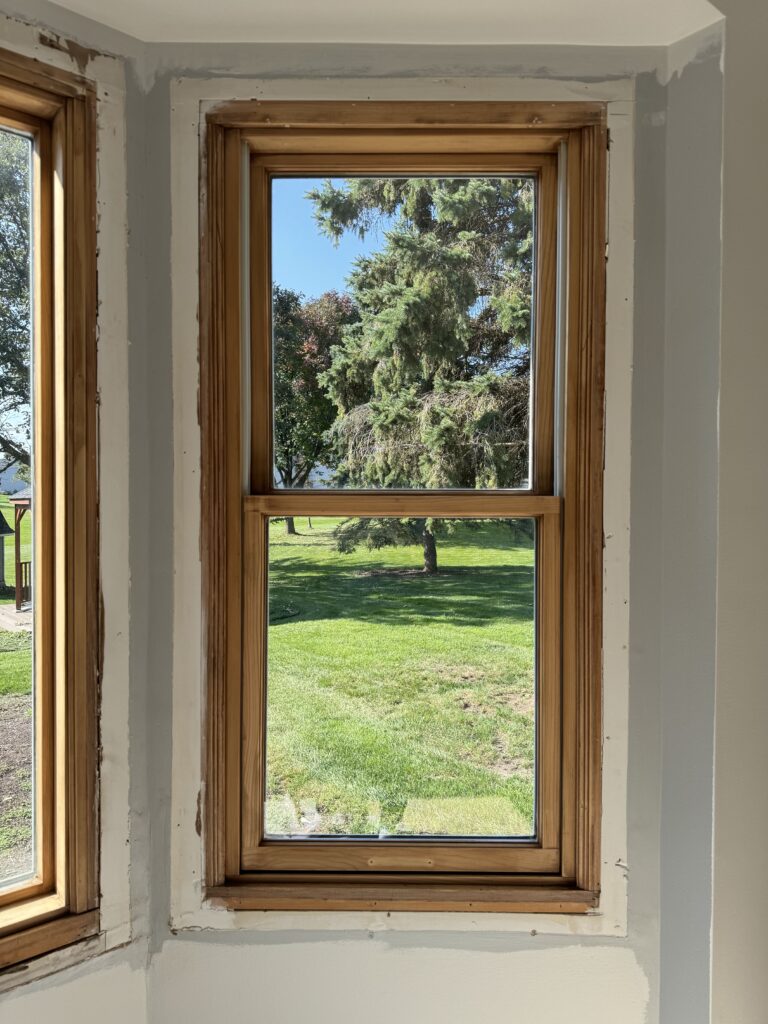
The Bay Window Before
Like we mentioned, our existing bay window is dated and builder-grade. We haven’t yet made any improvements to this area, in fact, we’ve avoided it completely because we knew we’d re-do it at some point. Here’s what the bay window looked like right when we moved in (before we added our new flooring).
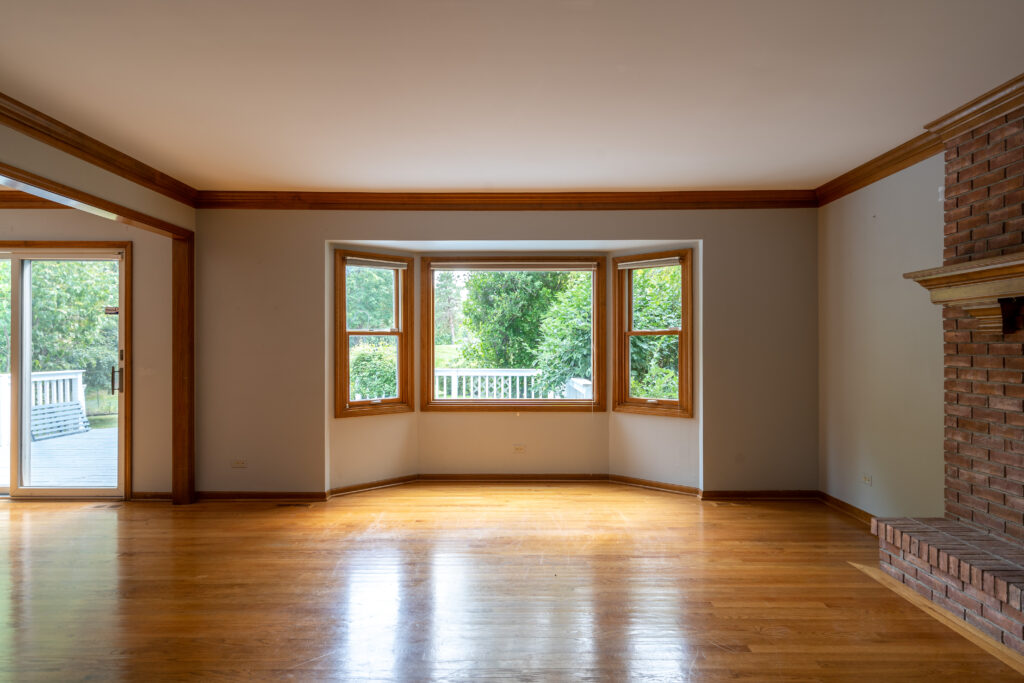
If you want to see all of the pictures when we moved into our house, you can check out this blog post.
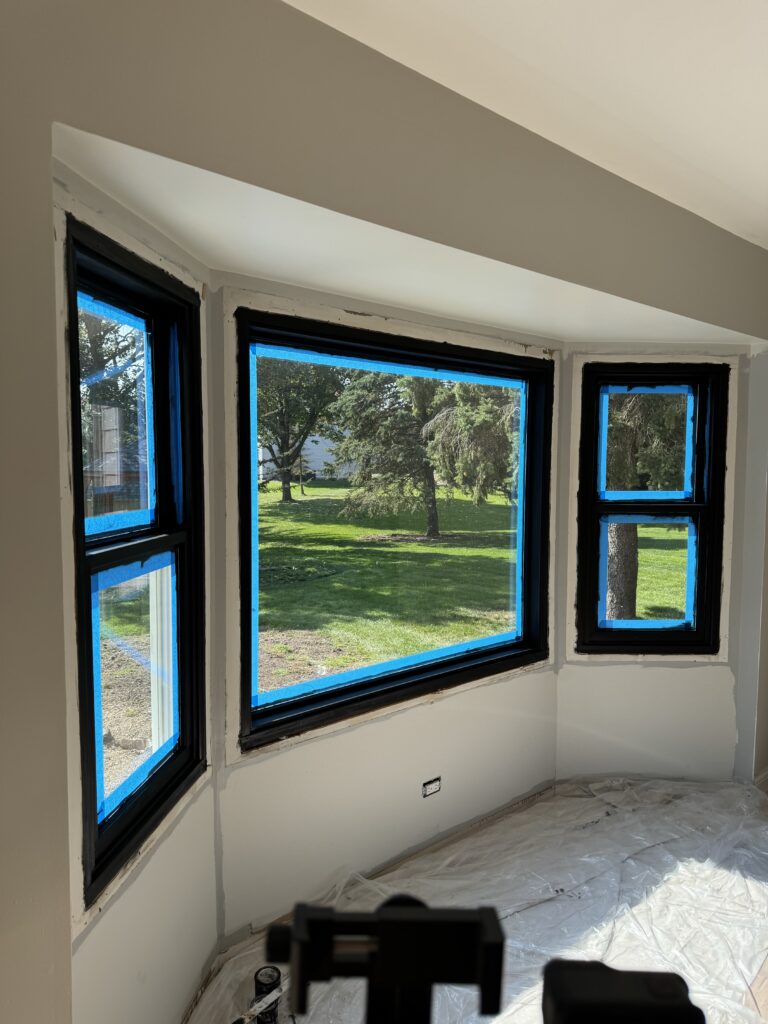
Staining Our Wood Windows Black
For the first step in adding character to our bay window we refinished the windows and stained them black. We’ve previously stained our windows black in our kitchen and at our entire upstairs so this was a straight forward process for us. If you’re interested in how we did this, check out our staining our wood windows black blog post.
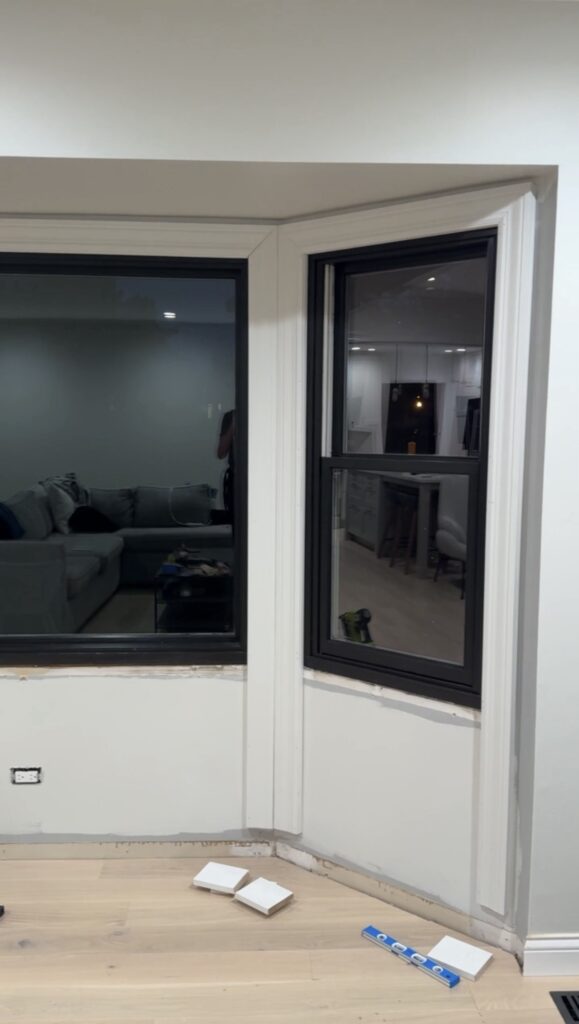
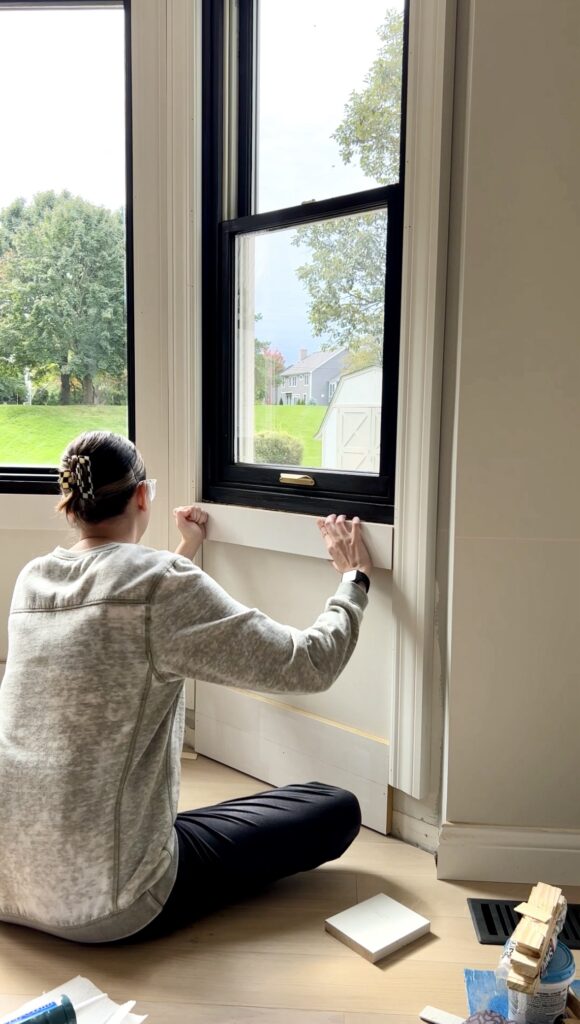
Installing New Window Trim
After the windows were refinished, it was time to get to the fun part of adding new window trim and wainscoting. We’re using the the same 3-1/2″ pine door casing trim at the windows as we used throughout our house for our doors so they will coordinate. As always, we pre-painted our trim before installing with Benjamin Moore Advance Paint in satin finish in the color Classic Gray. We “color drenched” this room which means that the walls and trim are the same color throughout.
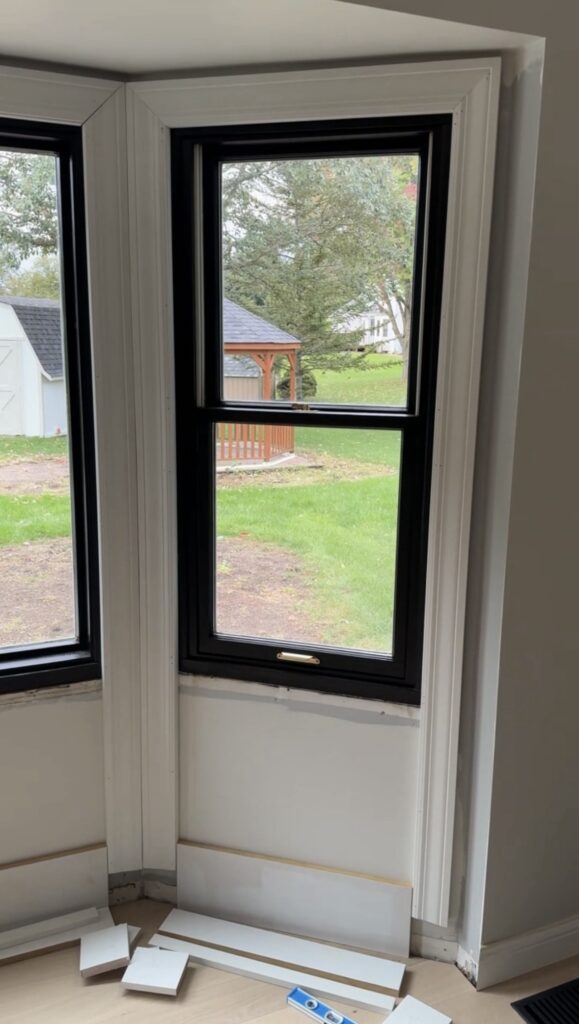
Installing the Wainscoting
After we installed the casing trim, we moved onto installing the wainscoting at the bottom half of the windows. We used 3/4″ MDF (which we primed before install) cut into 3-1/2″ strips. At the base, we started with a 7-1/2″ strip which accounted for the height of our baseboard. The baseboard will later be attached to this.

After the taller strip at the bottom was in, we added the 3-1/2″ horizontal strips first to the top. Once those were installed, we measured and cut the 3-1/2″ vertical strips. We installed these with a combination of molding and paneling adhesive and brad nails.
Next up we installed the plinth blocks at the base of the window trim. We built these up into 2 layers so that it sat proud of the window trim and the baseboards we’ll be adding at the end. After that, we added the window sills. For the sills we used 1×3 primed trim. These add another layer of detail but also cover the top edge of the strips we previously installed.
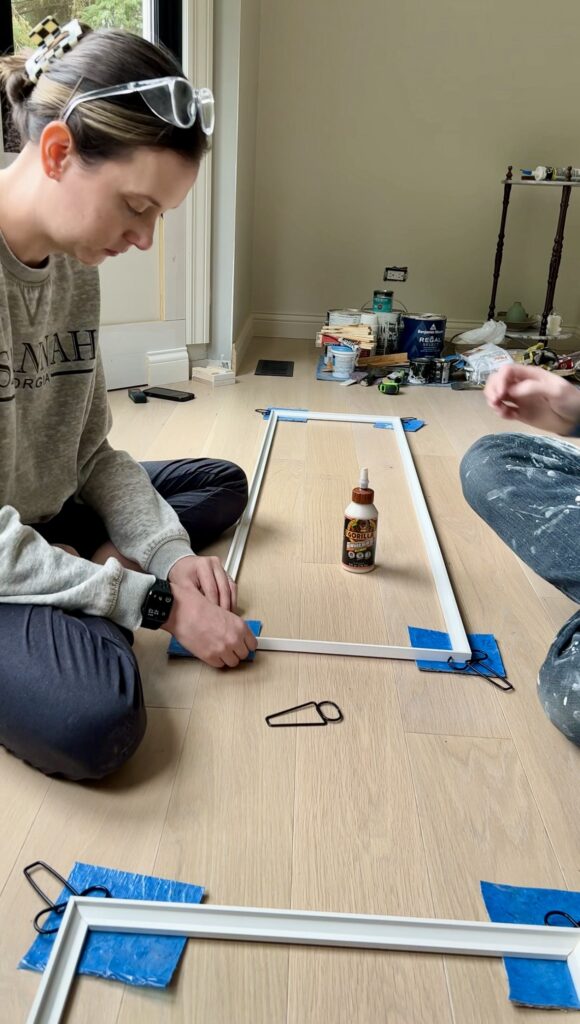
After the window sills were in, we were onto the last step of the wainscoting, adding the 3/4″ inset trim. We measured, cut, and pre-glued the corners to create a box for each section of wainscoting. We do this using wood glue and corner clamps. Once they’re dry, you can pop in the box of trim and brad nail into place.
Finishing Touches
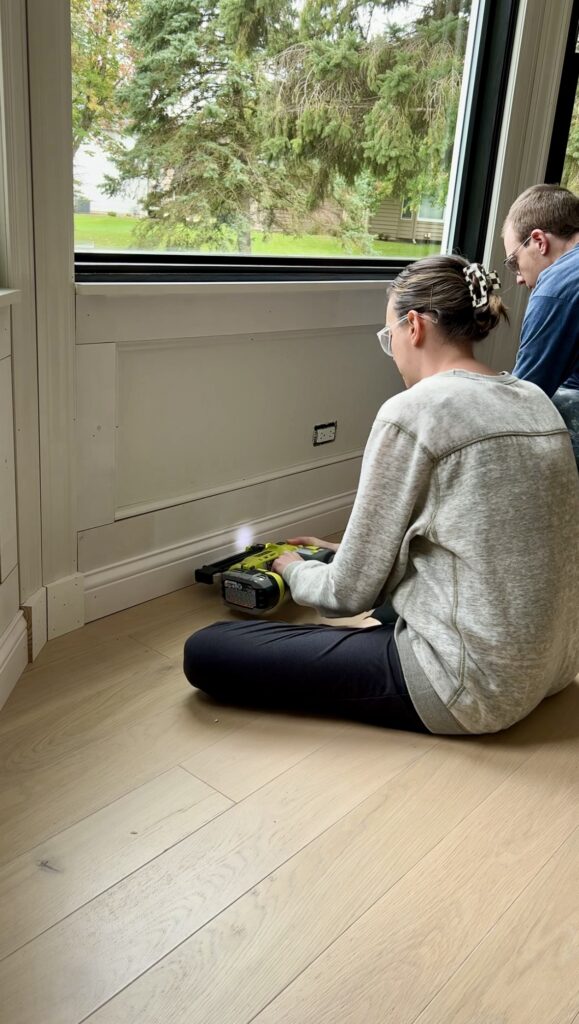
The final step of the wainscoting is nailing in the baseboards! Here is also a look at the completed bay window before wood fill, caulk, and paint. The magic starts to happen at the touch-up phase, so never skip on this step if you want a professional finish! We start with wood filling all nail holes, we then touch up gaps with caulk. Lastly, we paint at least one good touch up coat using the same Benjamin Moore Advance Paint in satin finish in the color Classic Gray.
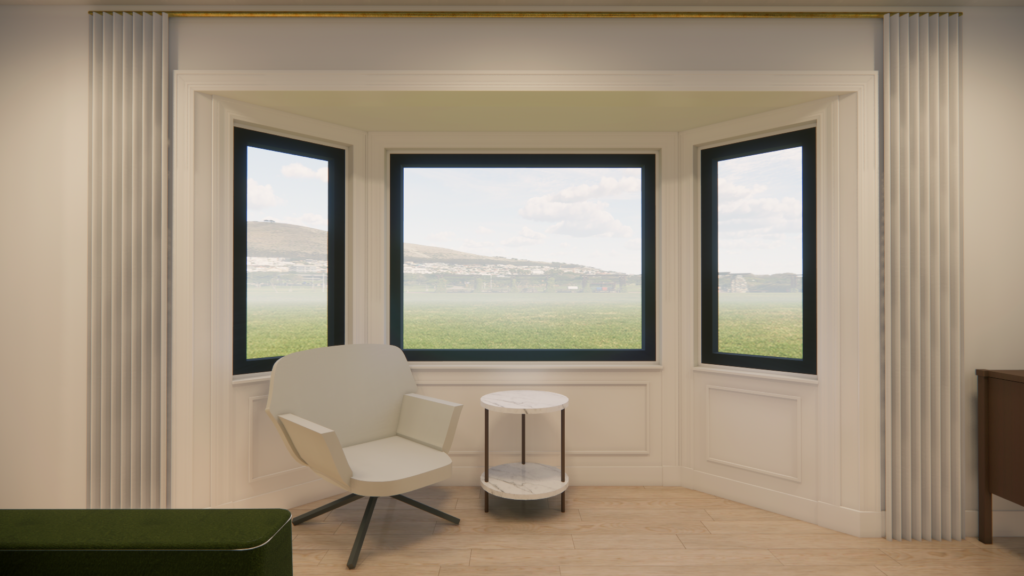
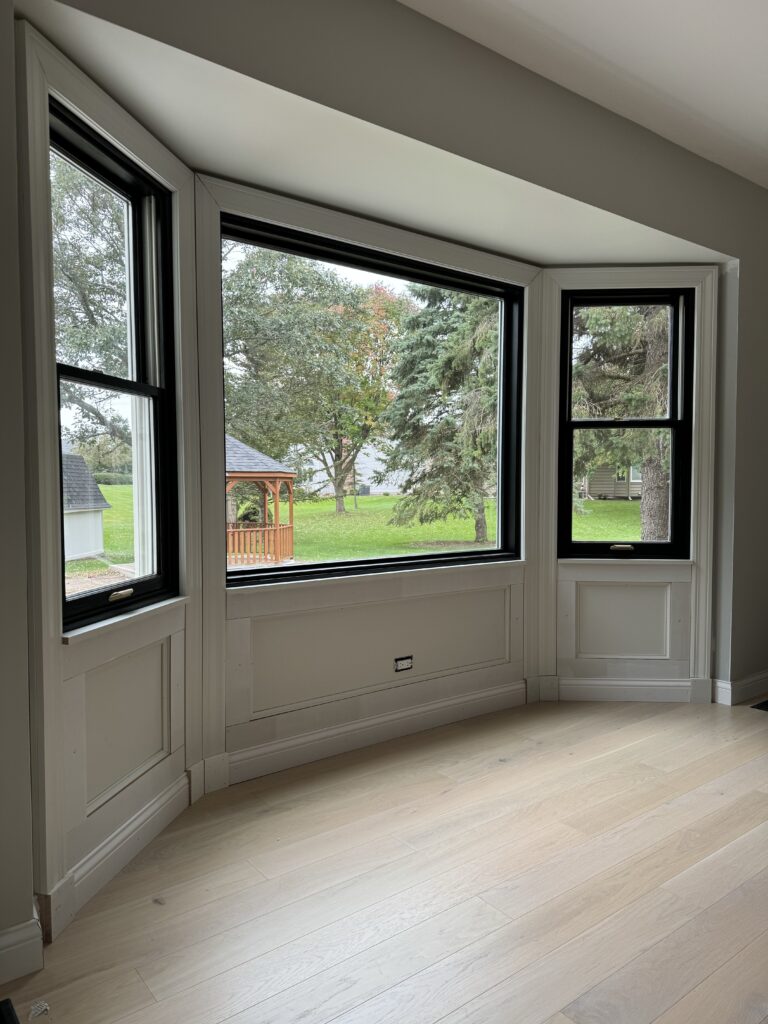
The Bay Window Reveal
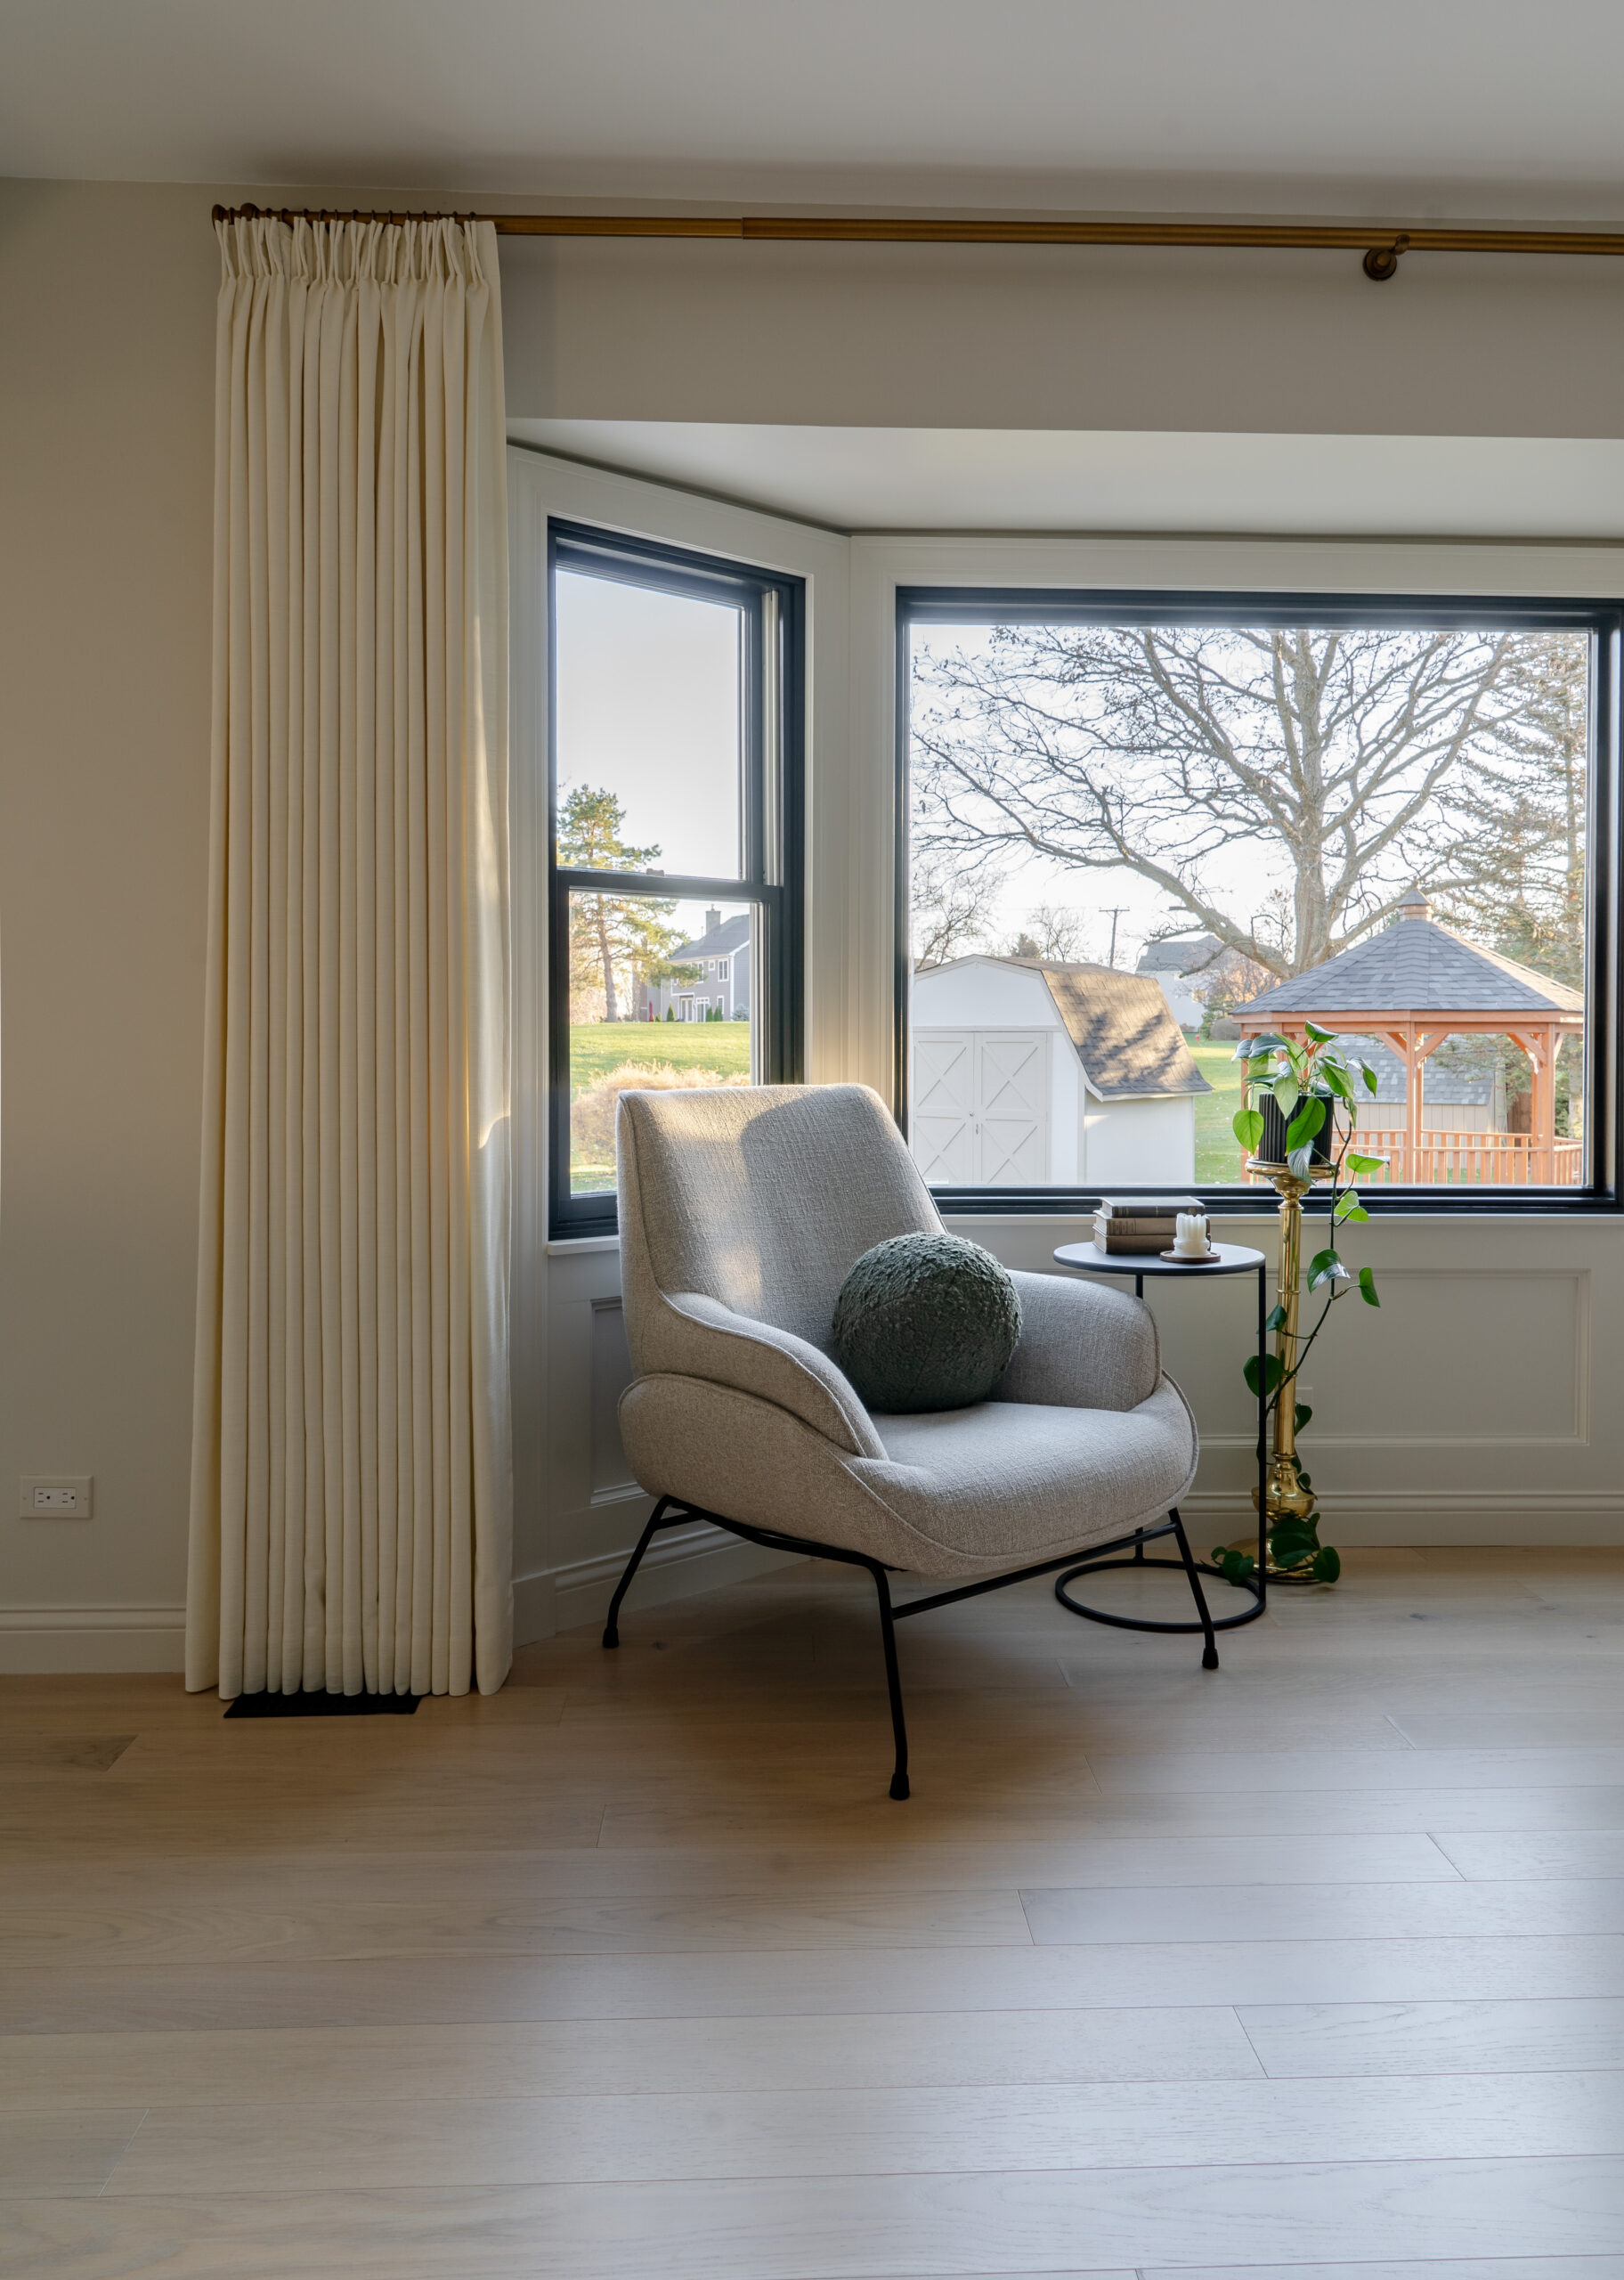
After finishing the trim, wainscoting, touch-ups, and adding decor, the bay window is complete!
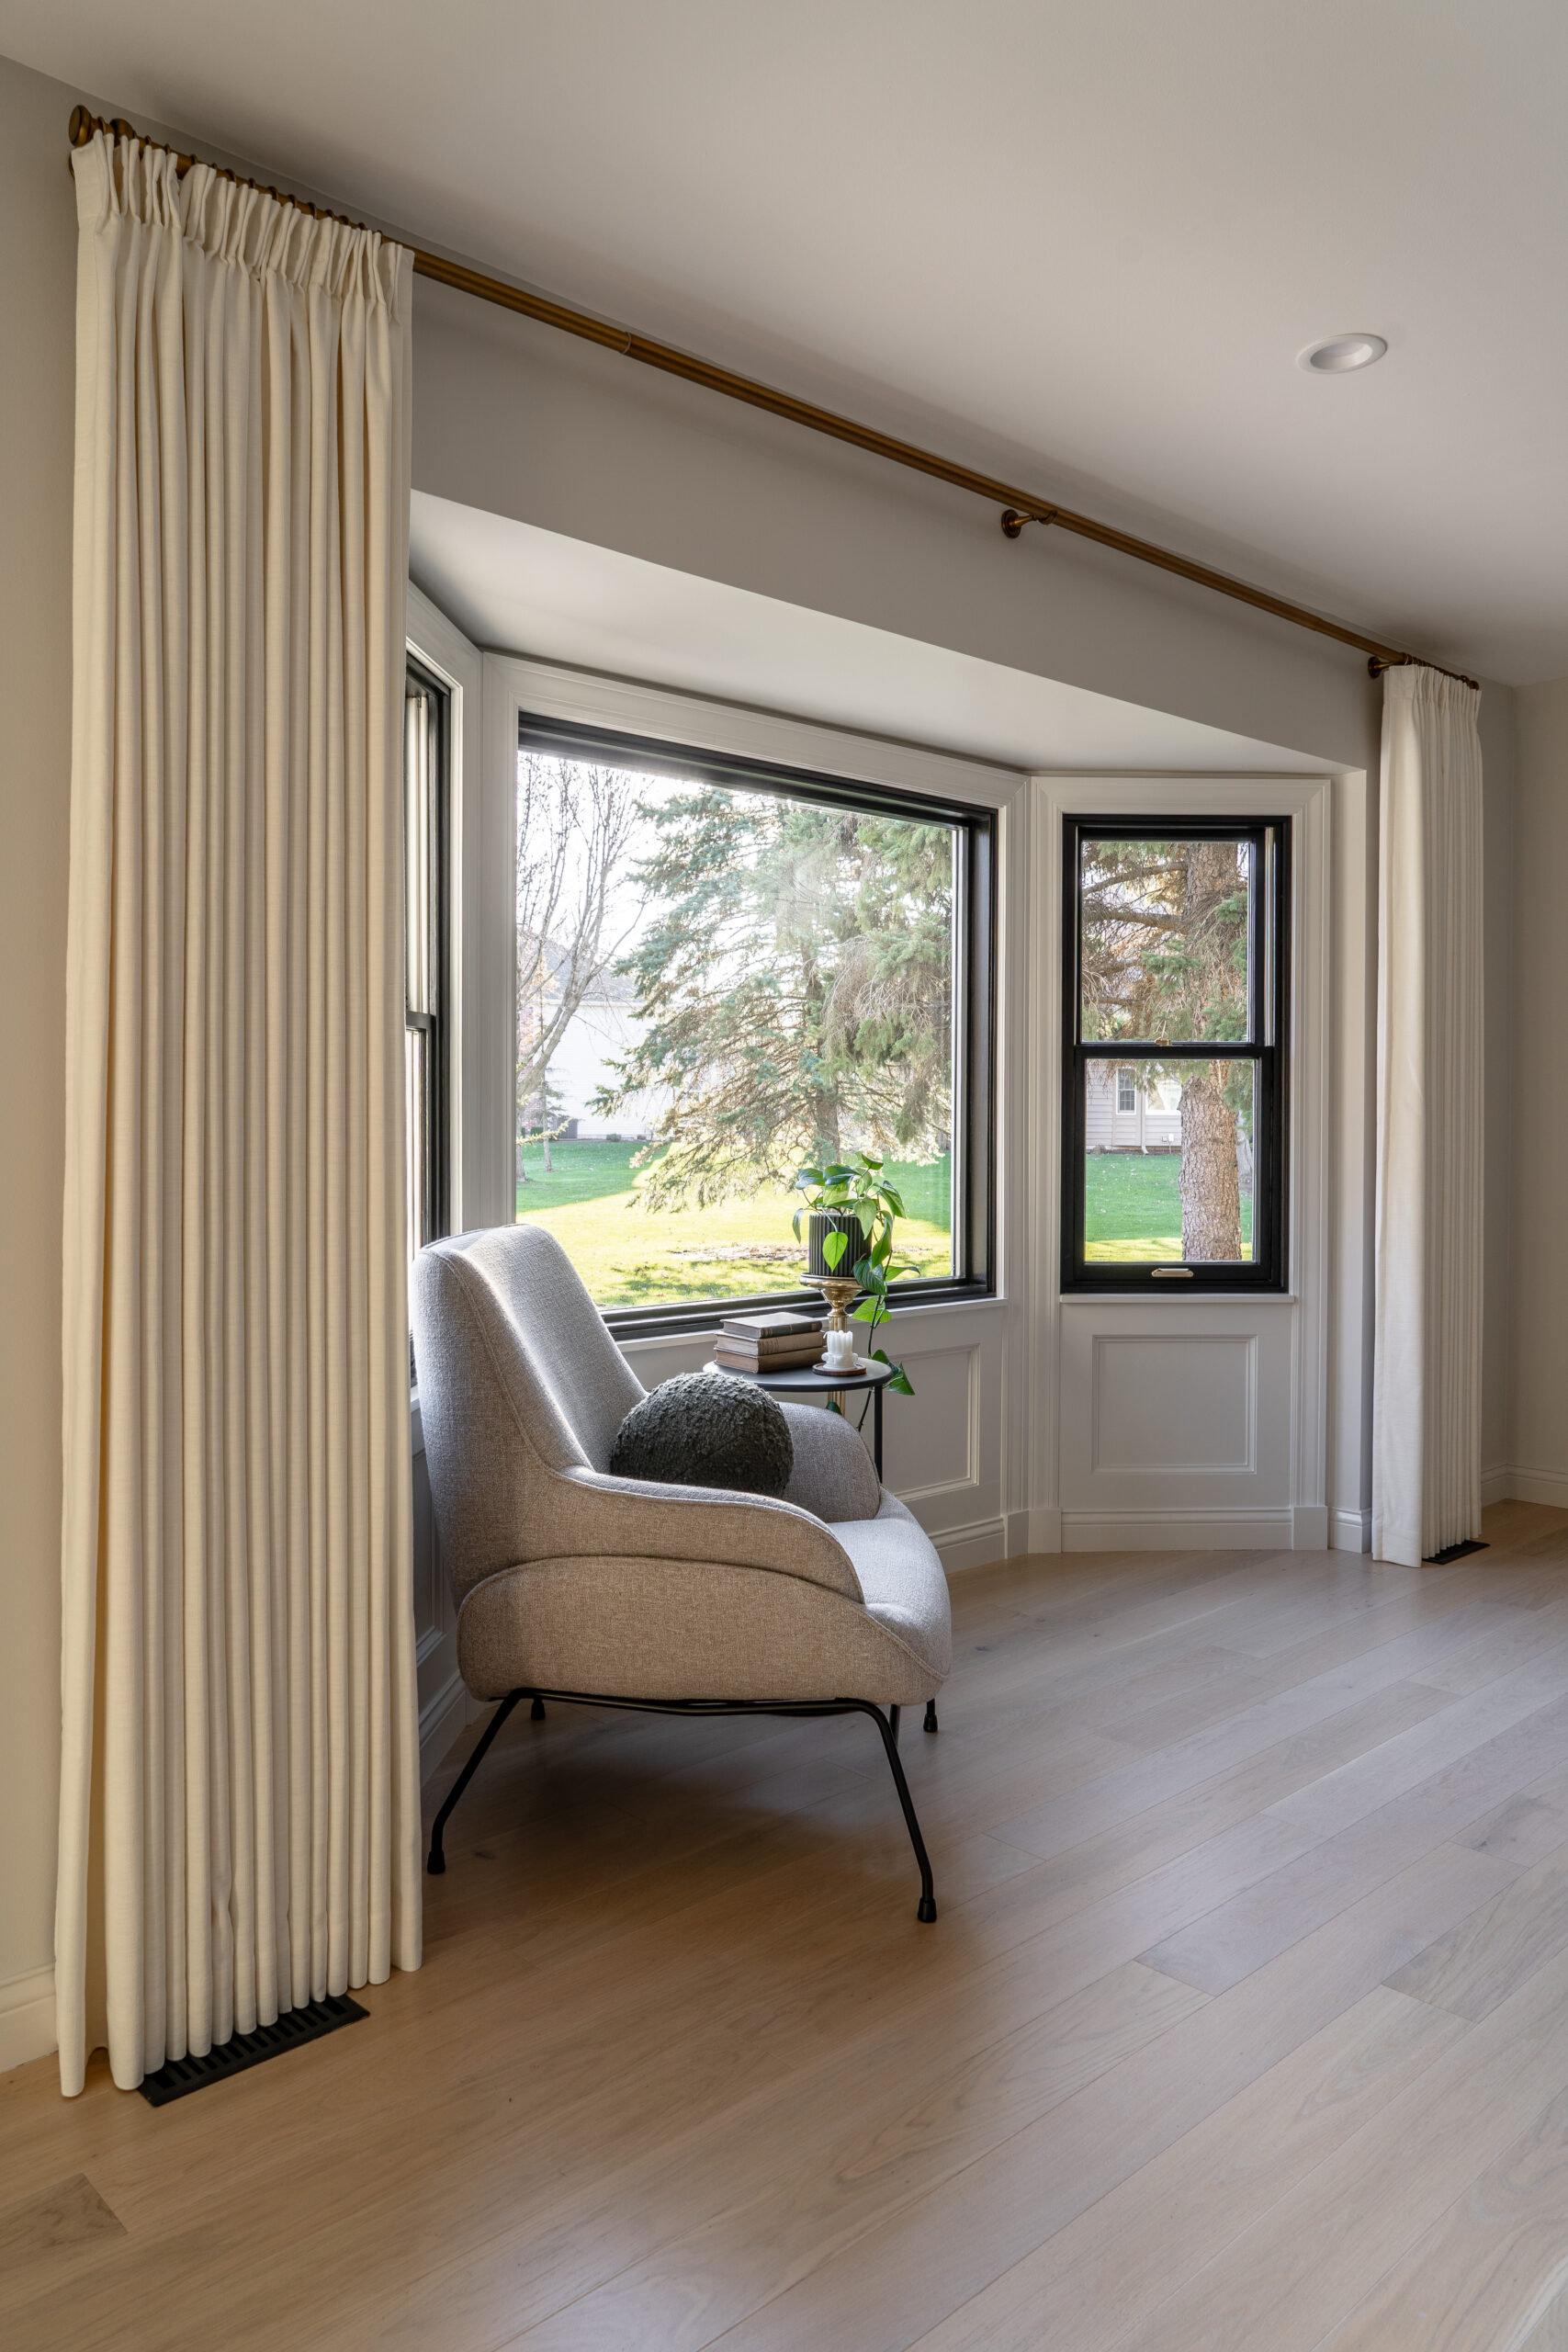
We added custom floor to ceiling curtains to frame the bay window opening for a dramatic look. These are pinch pleat curtains that come in both standard and custom sizes, we highly recommend checking them out if you’re in the market for curtains! We installed the curtains using this curtain rod, these finials, and these curtain rings.
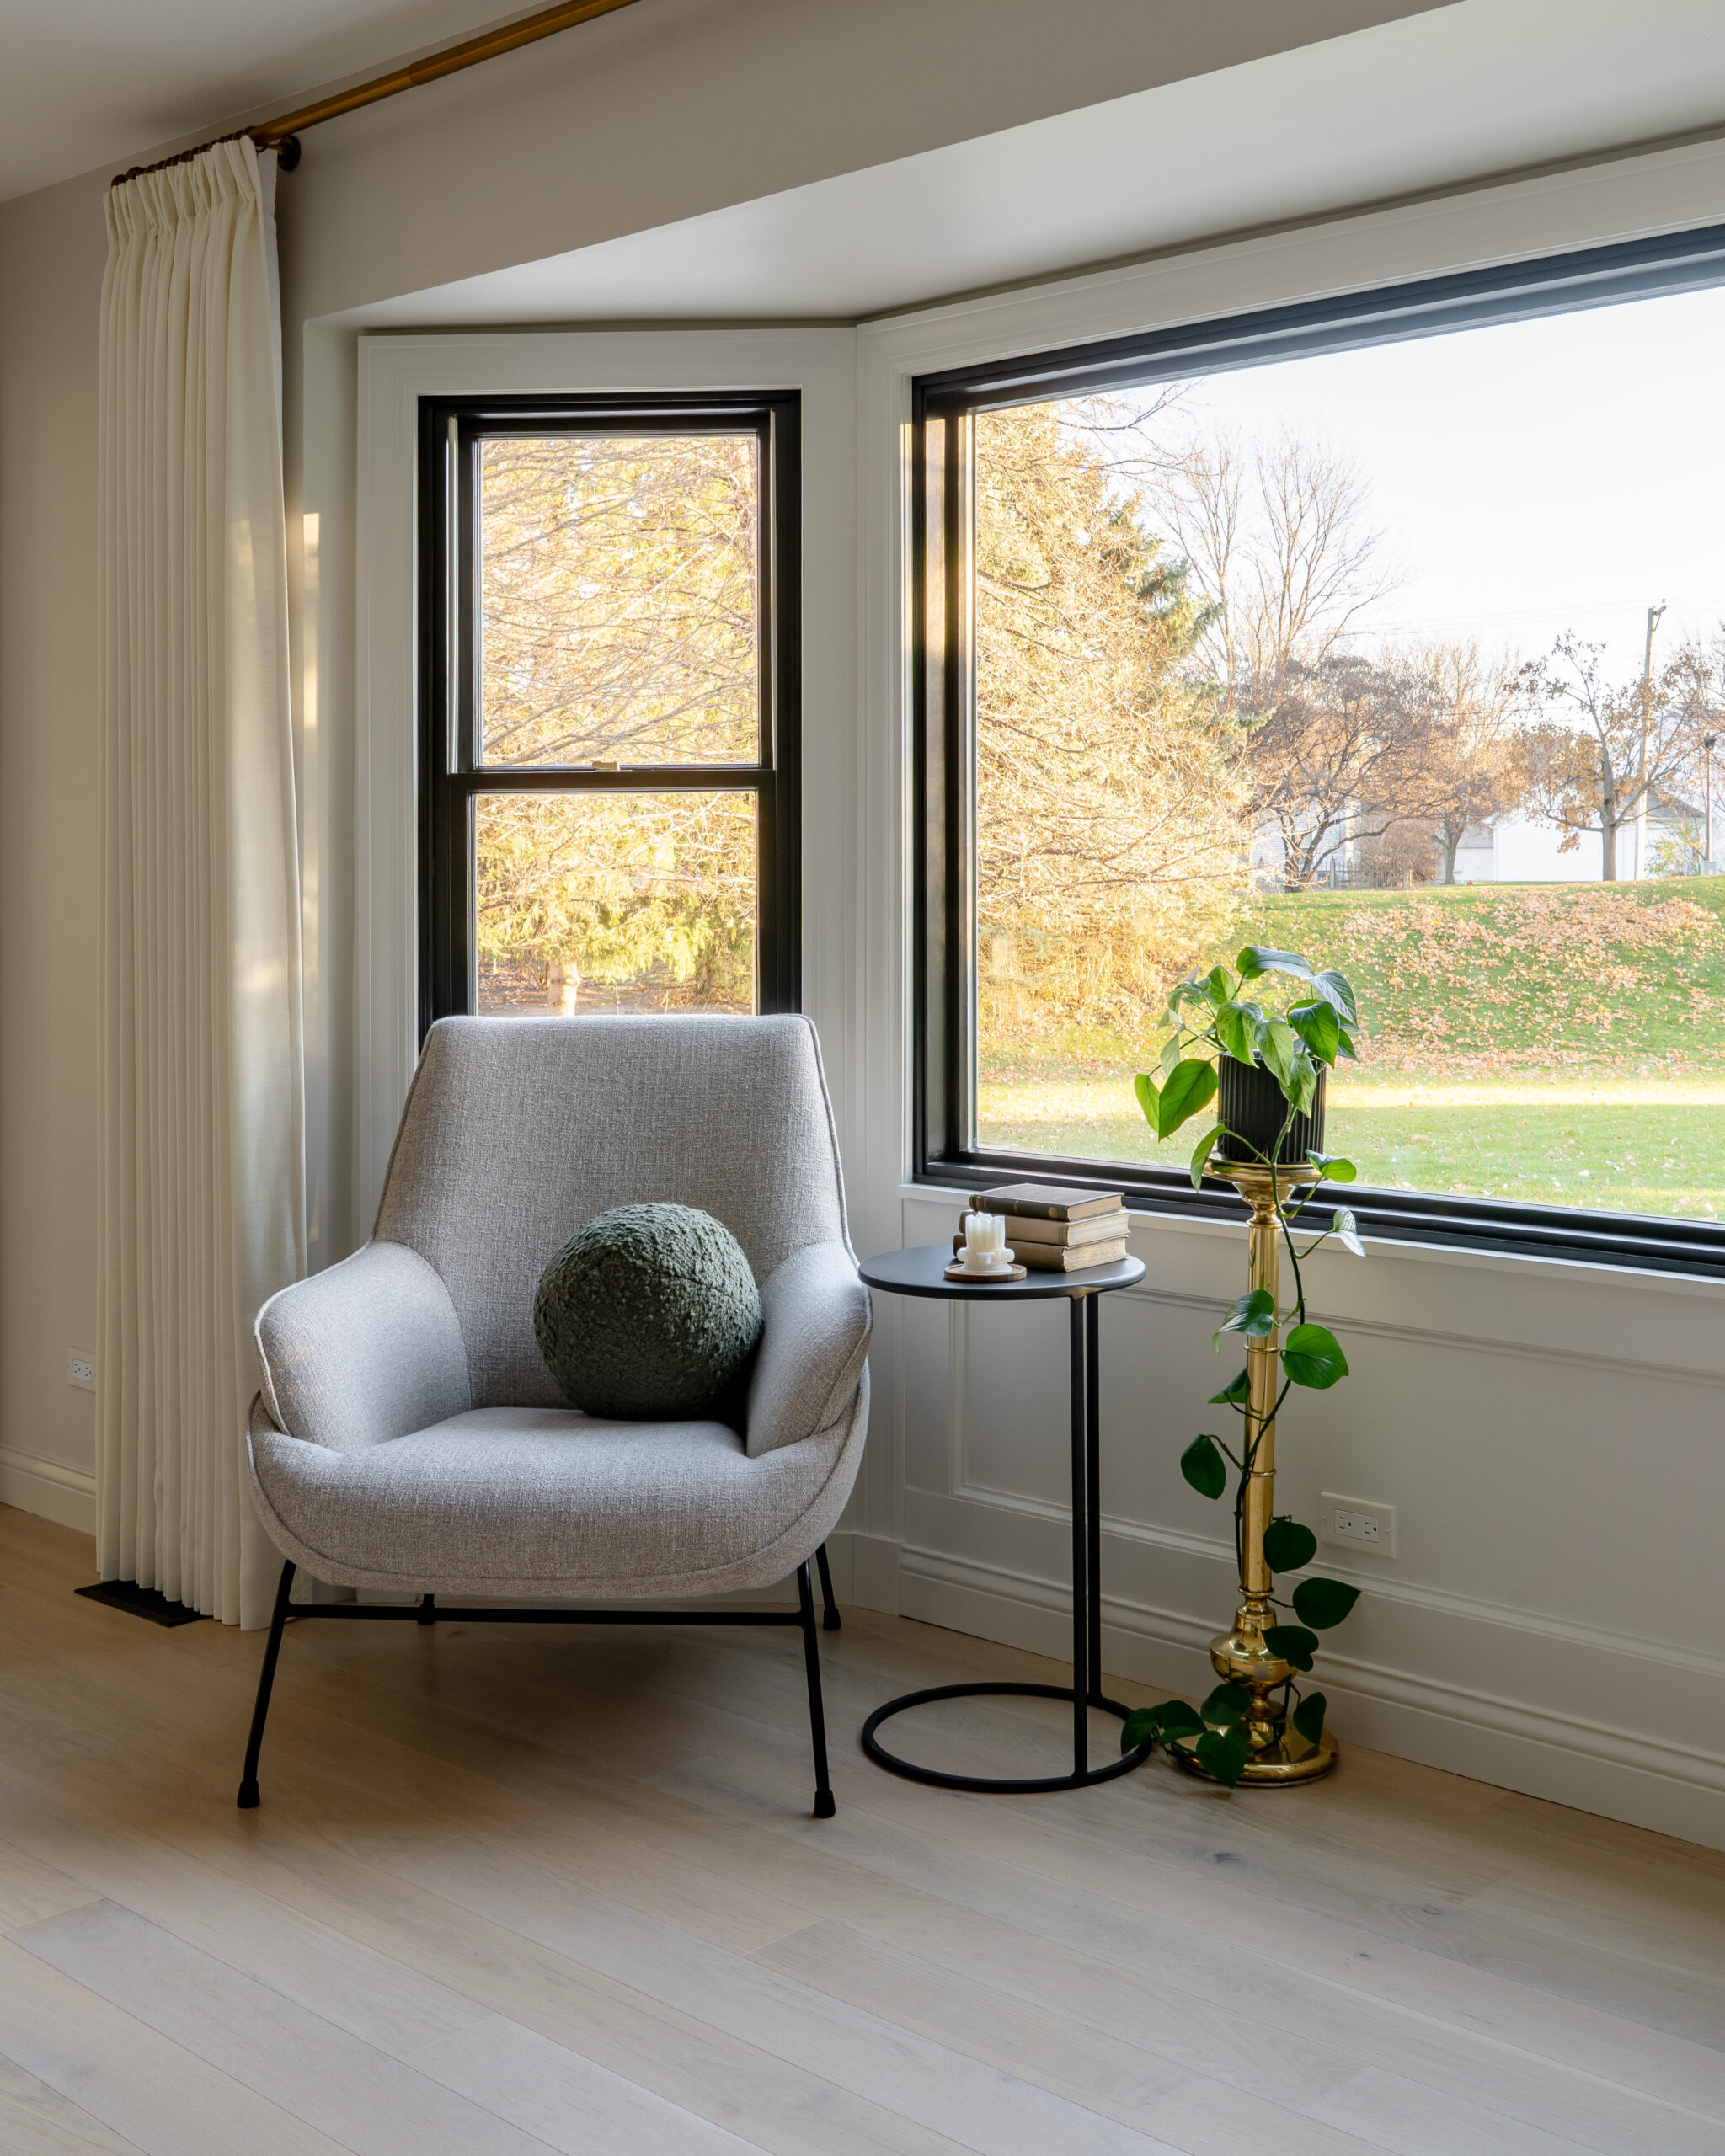
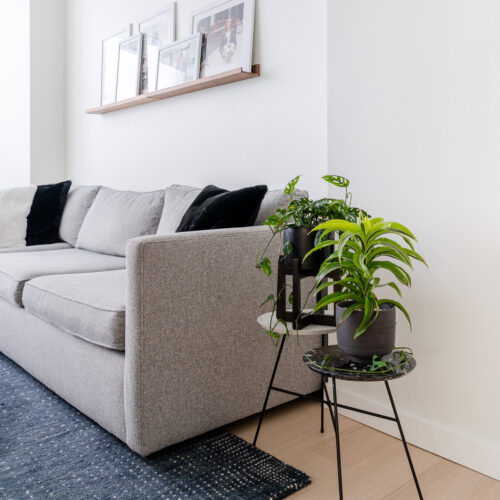
Only having one chair in the bay window was apparently a controversial decision, too! We styled it with one chair for a few reasons: we don’t want to cover up all of the wainscoting, we want to be able to walk directly up to the window, and we prefer a minimal look overall.
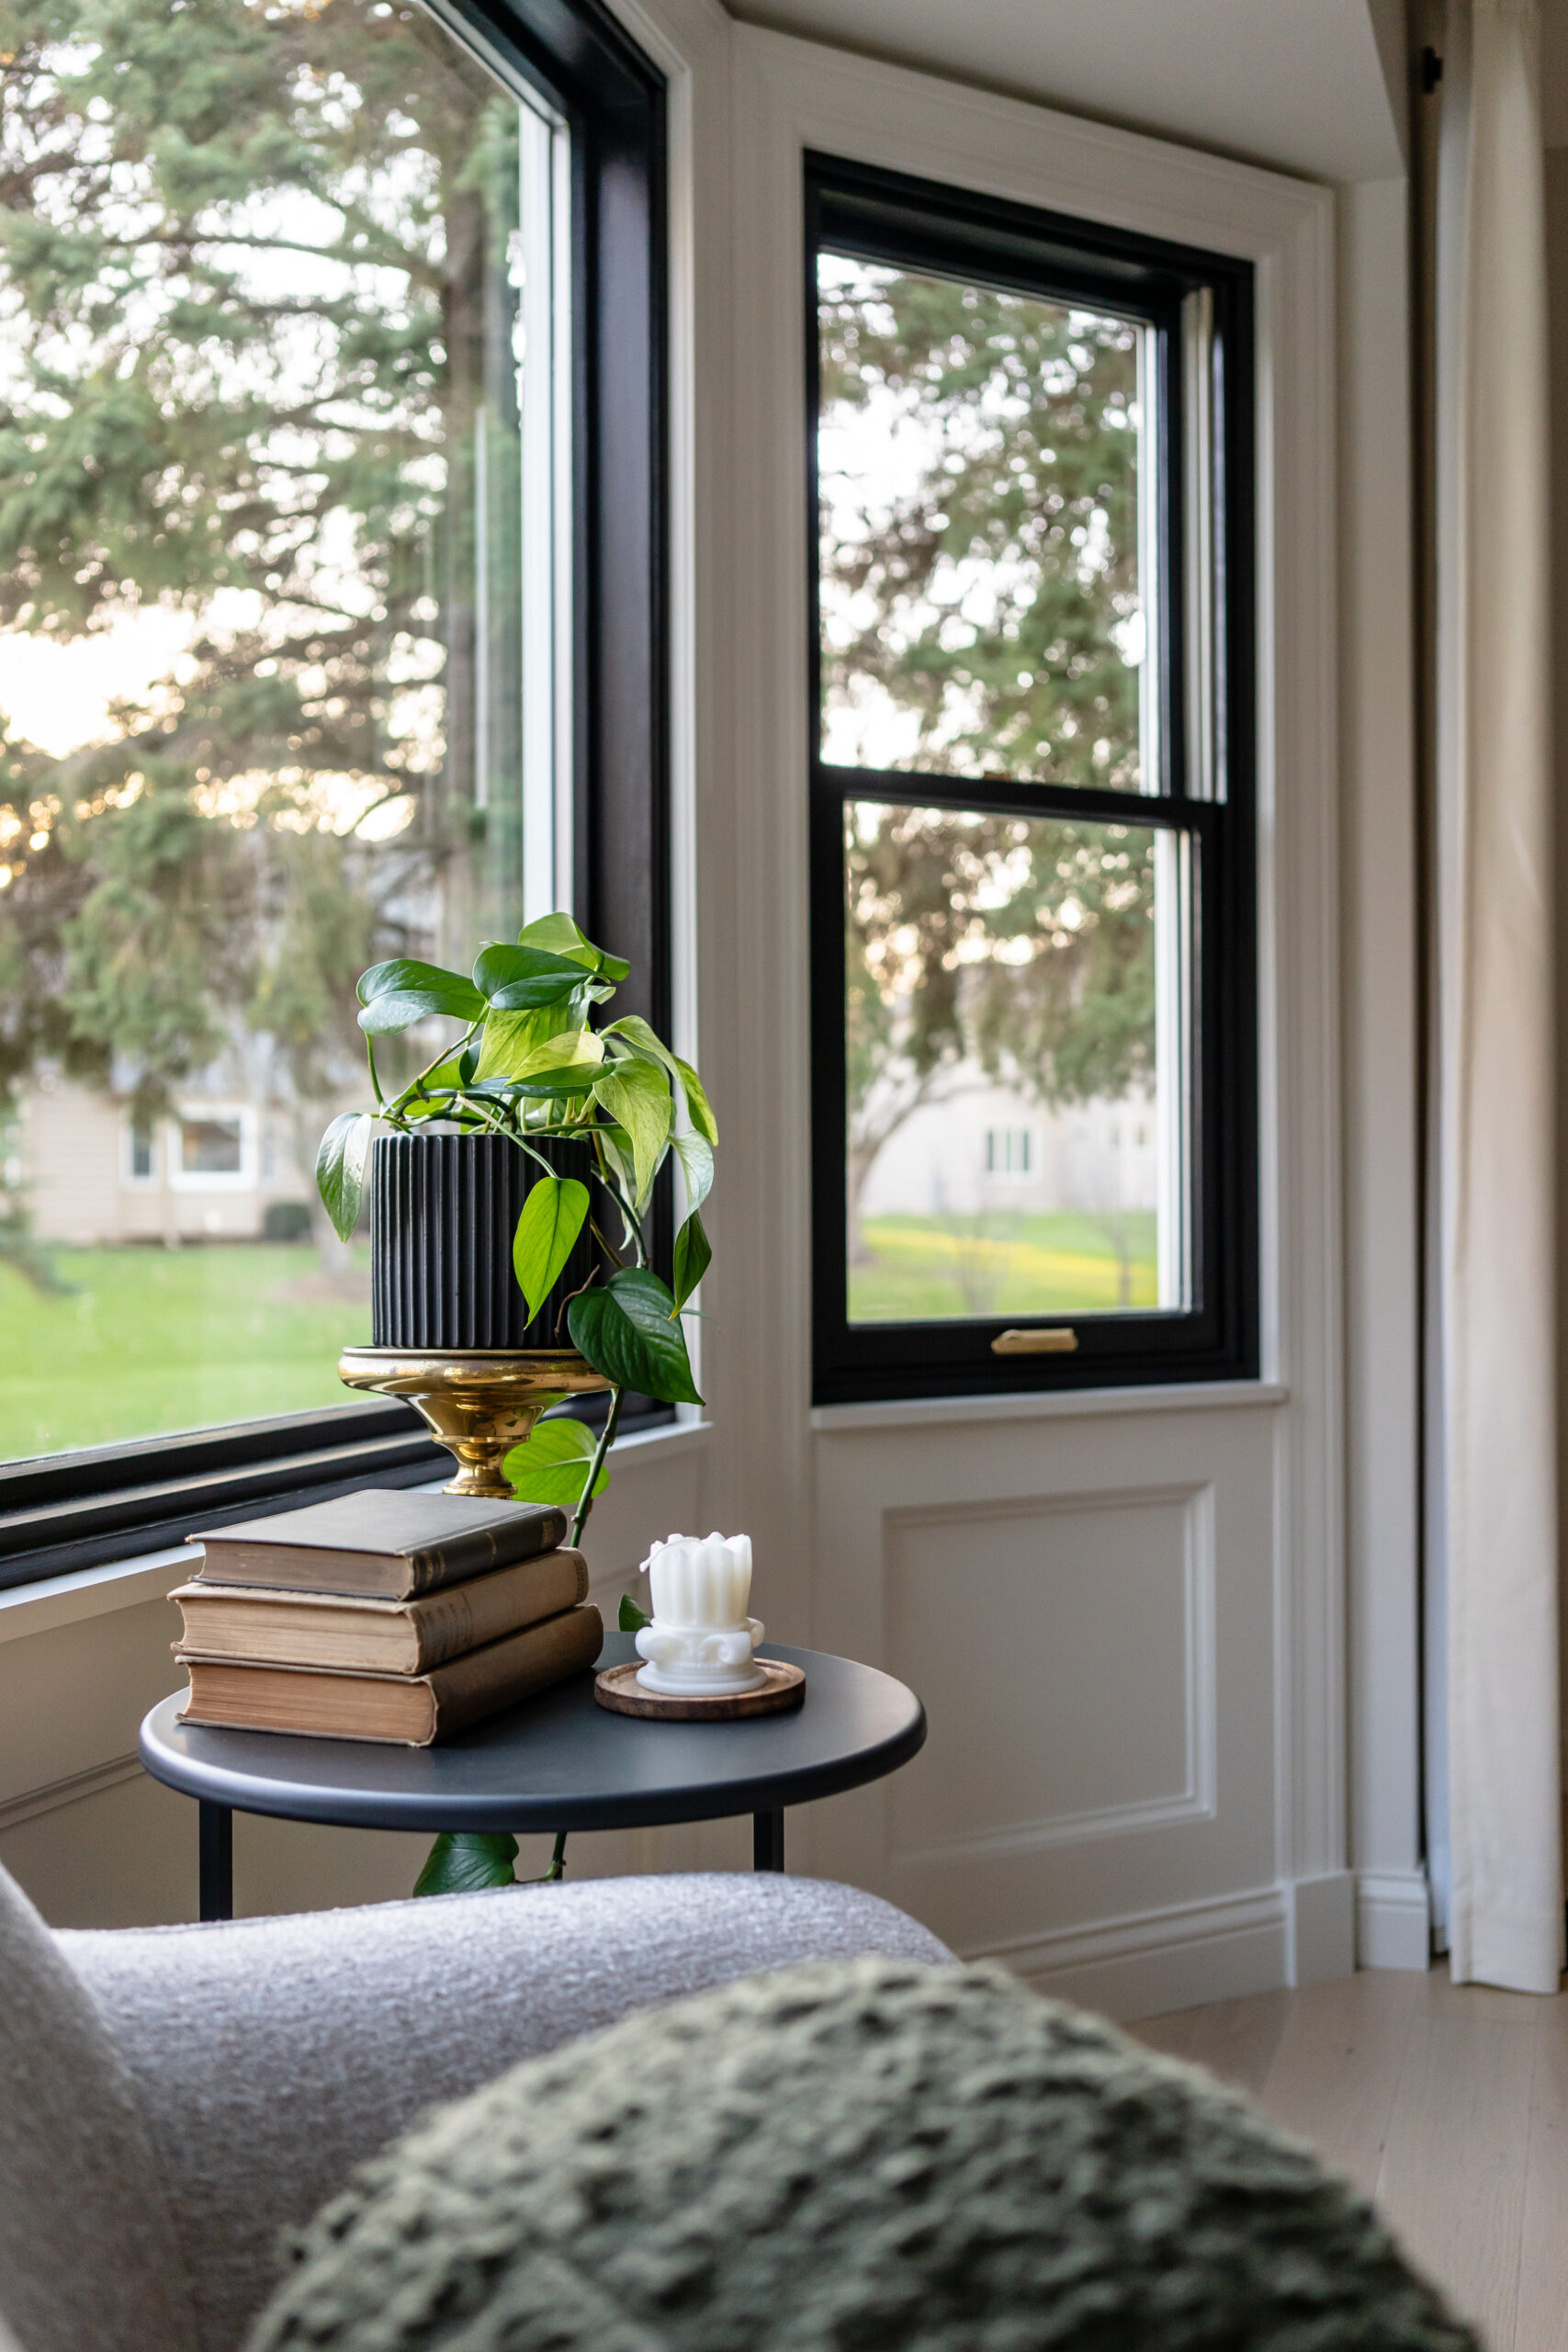
We finished the bay window styling off with a side table from Room & Board, a vintage brass pedestal table, and a few vintage books.
Our Family Room is Almost Complete!
Now that the bay window is complete, we’re getting so close to finishing our family room project! We’ve got two more projects to complete before the full reveal, so stay tuned. You can check out the full list of projects we’ve planned in our family room here.