We’re building a timeless wood fireplace mantel as part of our fireplace makeover! The mantel will be built-up using a combination of dimensional lumber and wood profiles from Kuiken Brothers. Now that the stone is installed, let’s get started!
THIS PAGE MAY CONTAIN AFFILIATE LINKS FROM WHICH I RECEIVE A SMALL COMMISSION.
Our Fireplace Design
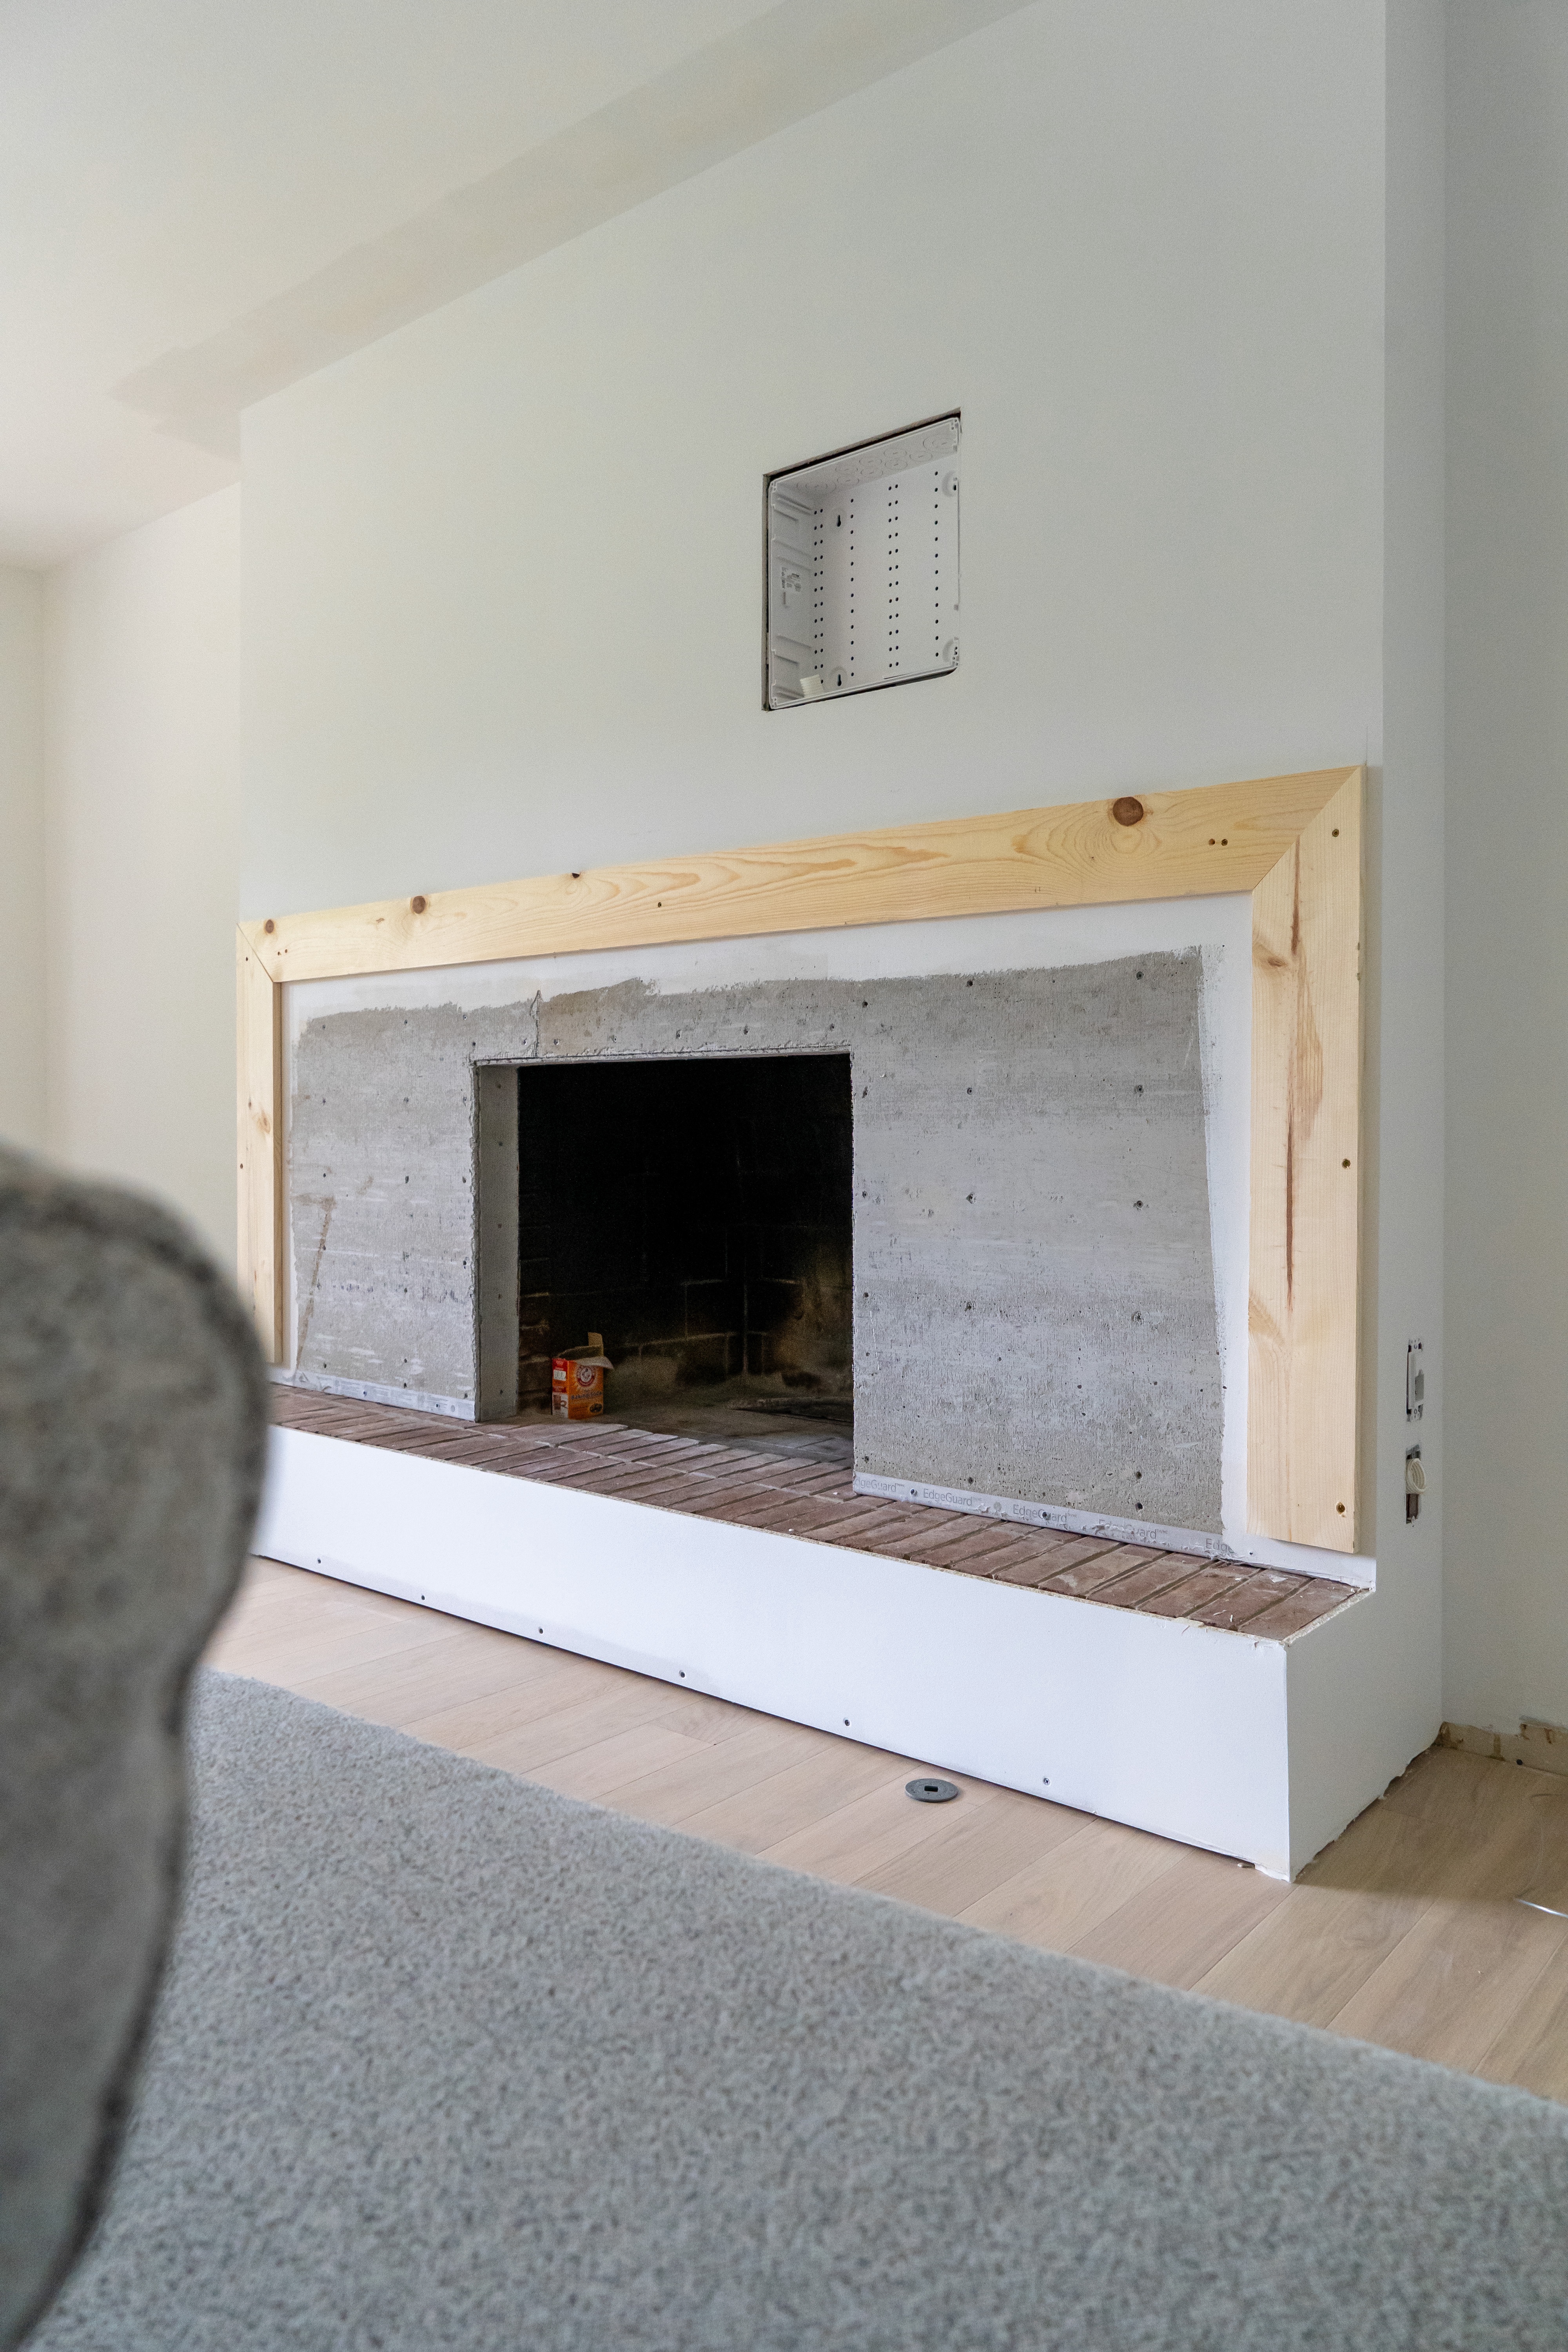
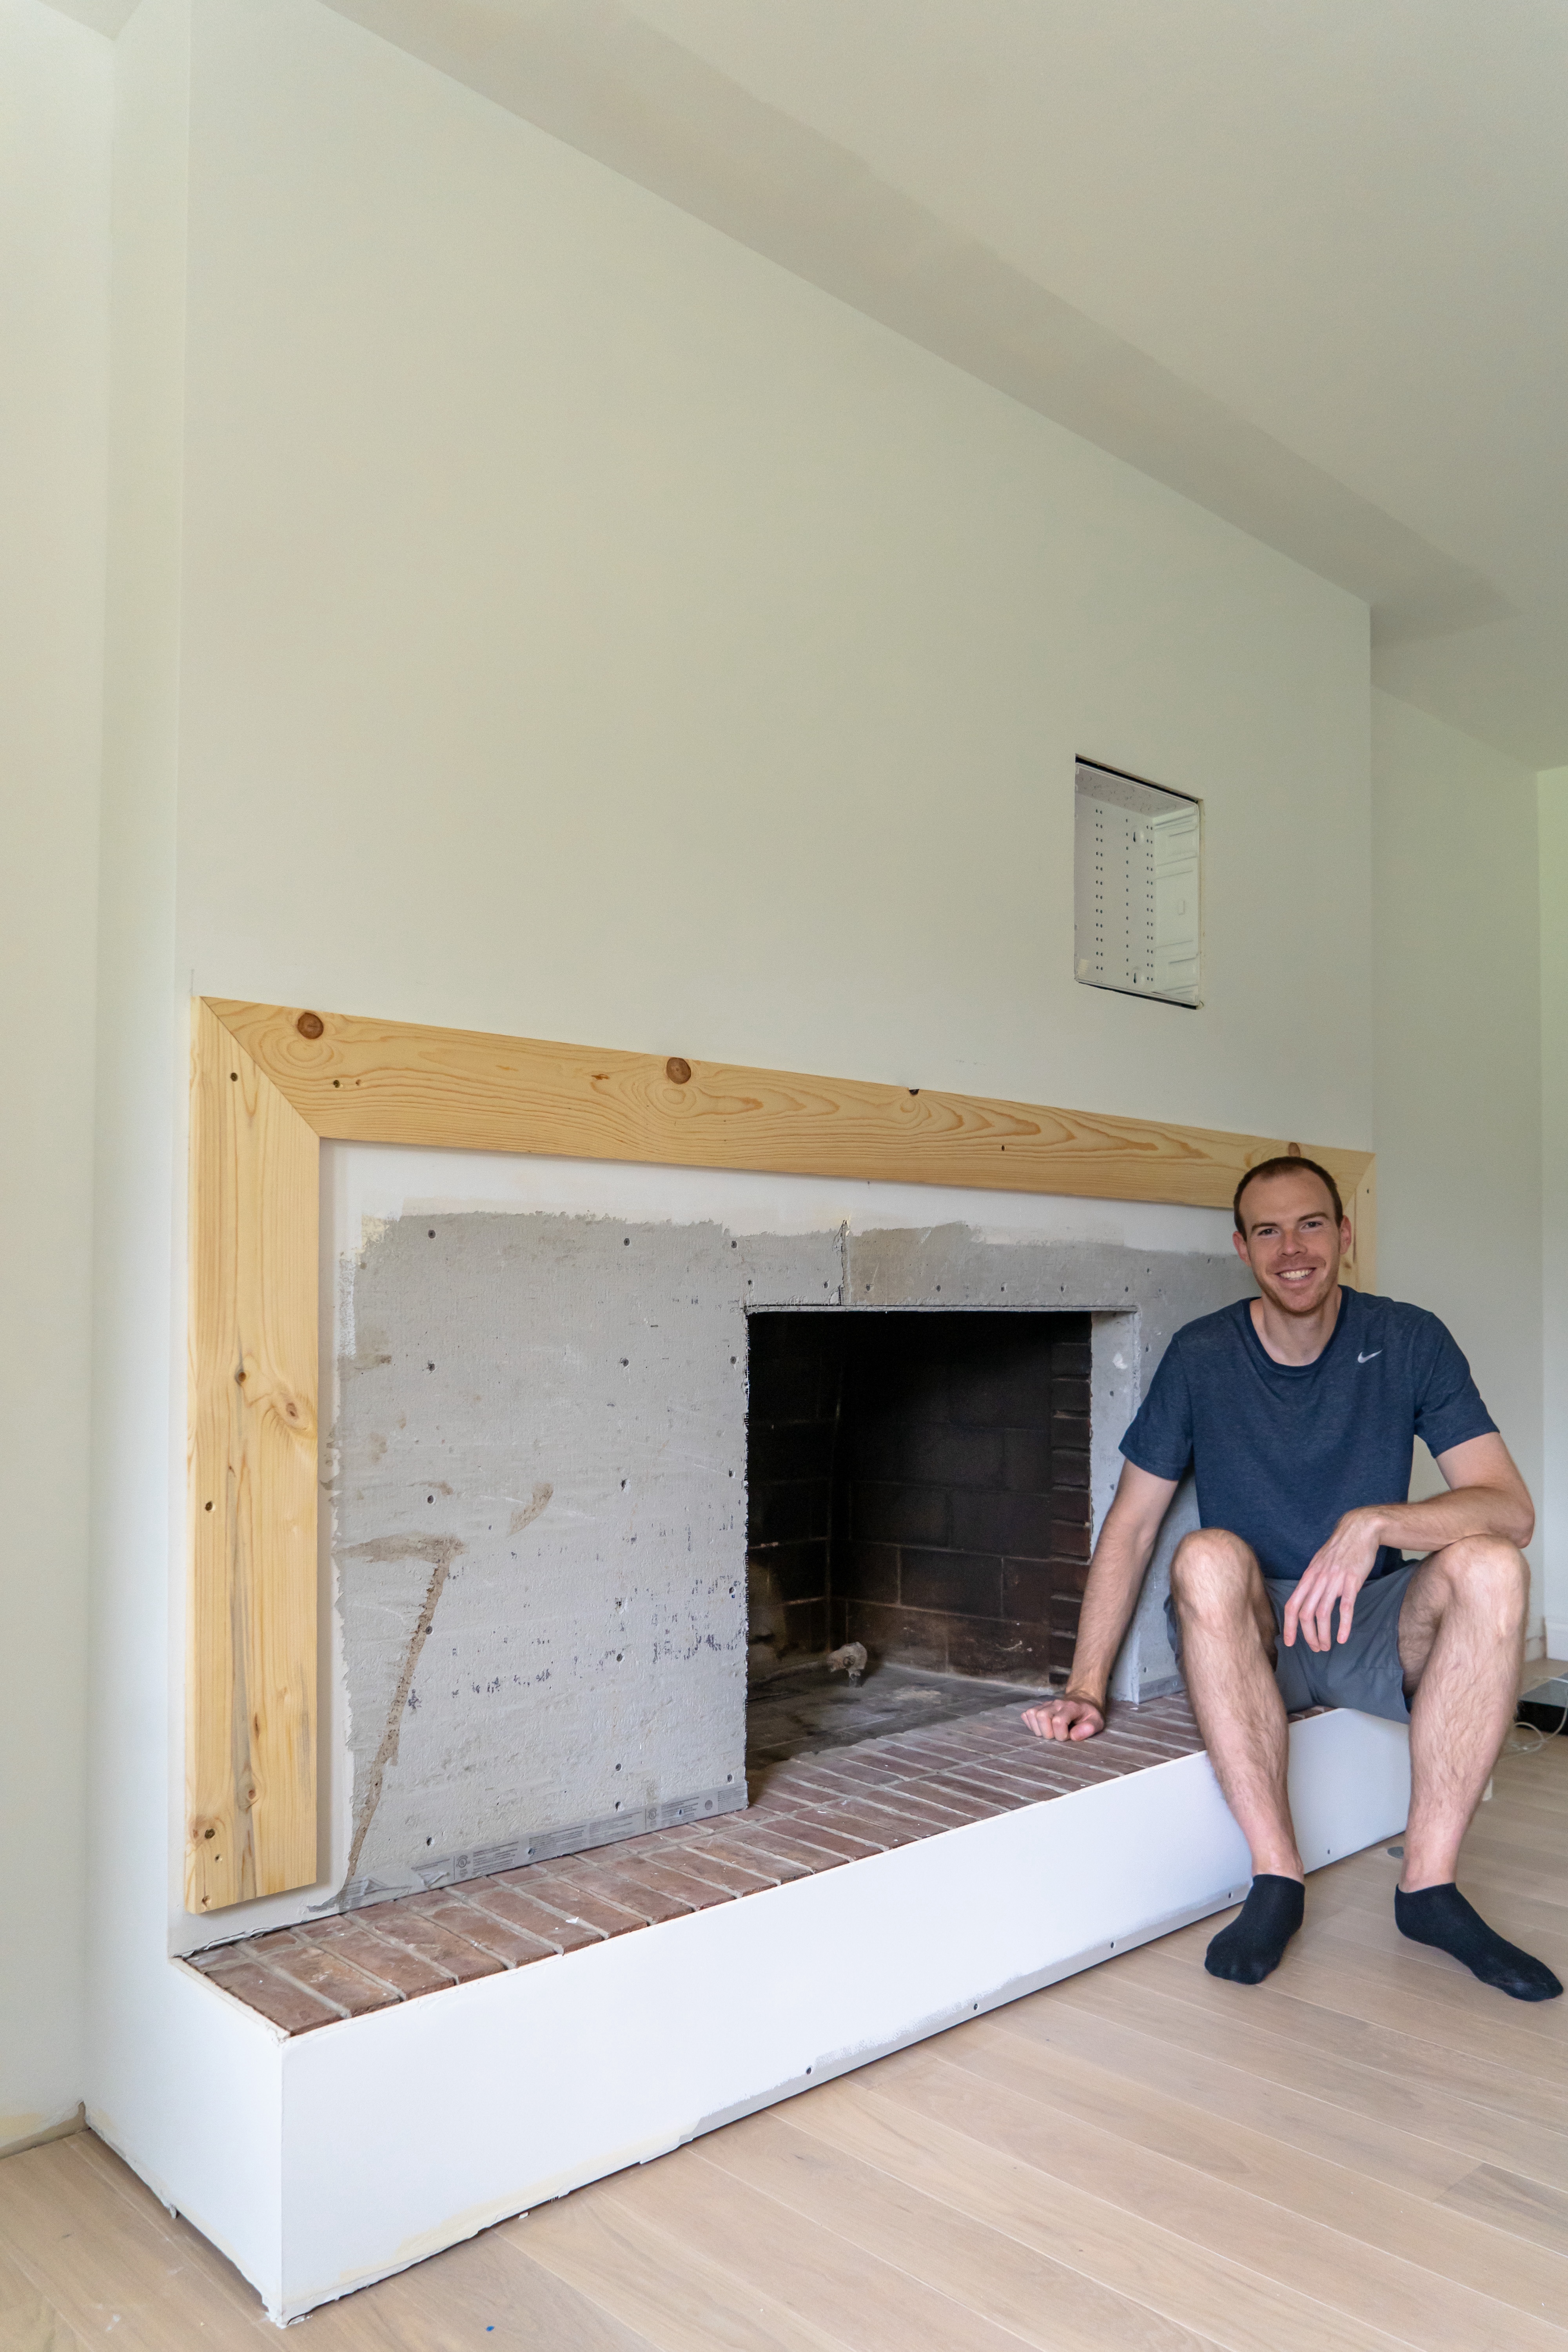
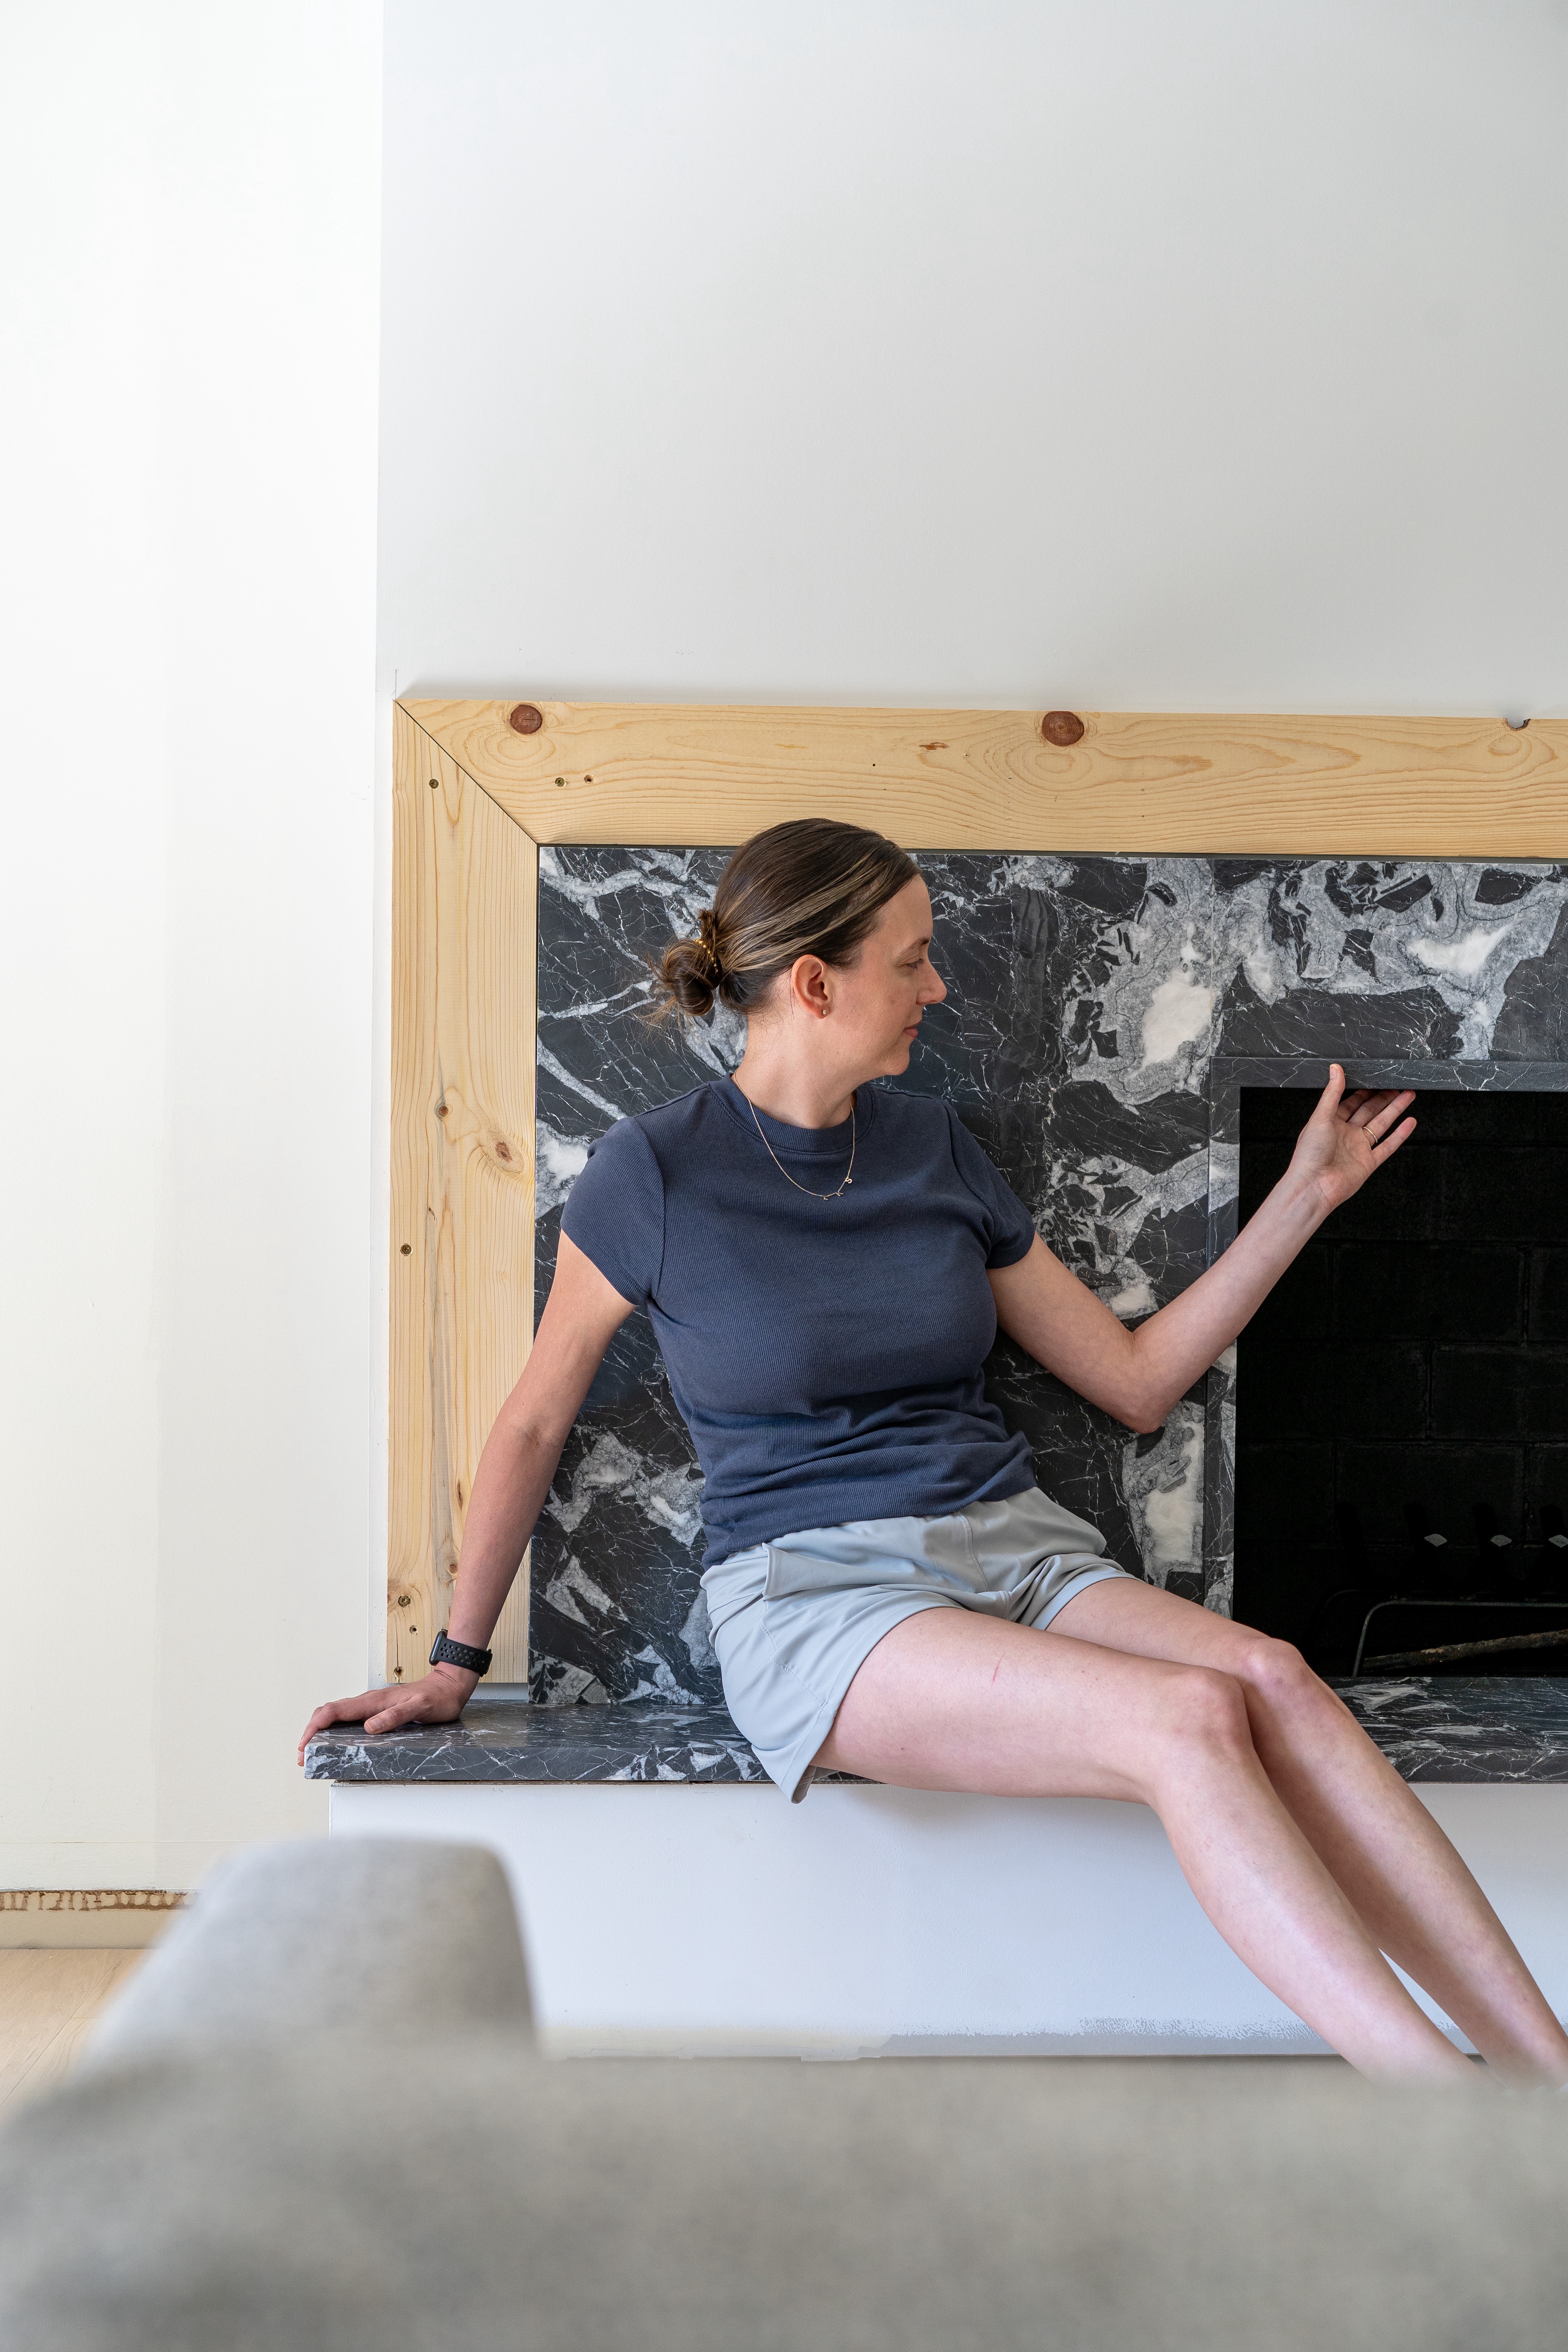
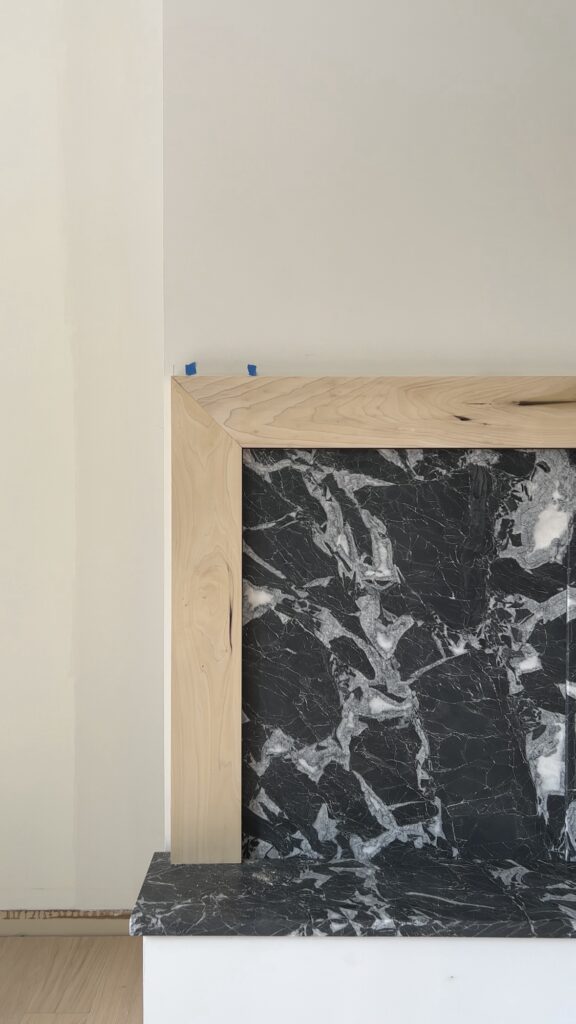
If you’re just tuning in, we’re making over our existing brick fireplace. If you’re interesting in learning more about the overall design plan, you can check that out here. We’ve also just completed framing and drywall, which you can check out here. Before the stone gets installed, we’ve added a 1×6 frame (as the backing of the new fireplace mantel) to the wall. This is so the stone fabricator knows where the stone will stop and wood mantel will start.
The Mantel Design
For our timeless wood mantel, we’re going to be using profiles from Kuiken Brothers, included in their modern craftsman mantel design. The mantel is made up of a combination of dimensional lumber (1×6 boards) and wood profiles specific to Kuiken Brothers. We’ll be picking up any dimensional lumber from our local Menards and ordering the rest directly from Kuiken Brothers.
Building the Mantel
The mantel is going to be built in 4 separate layers, following all of the elements outlined in the Kuiken Brothers mantel design guide. For all the wood, we’ll be using poplar, because it is a great species of wood to use for a painted finish.

Layer 1
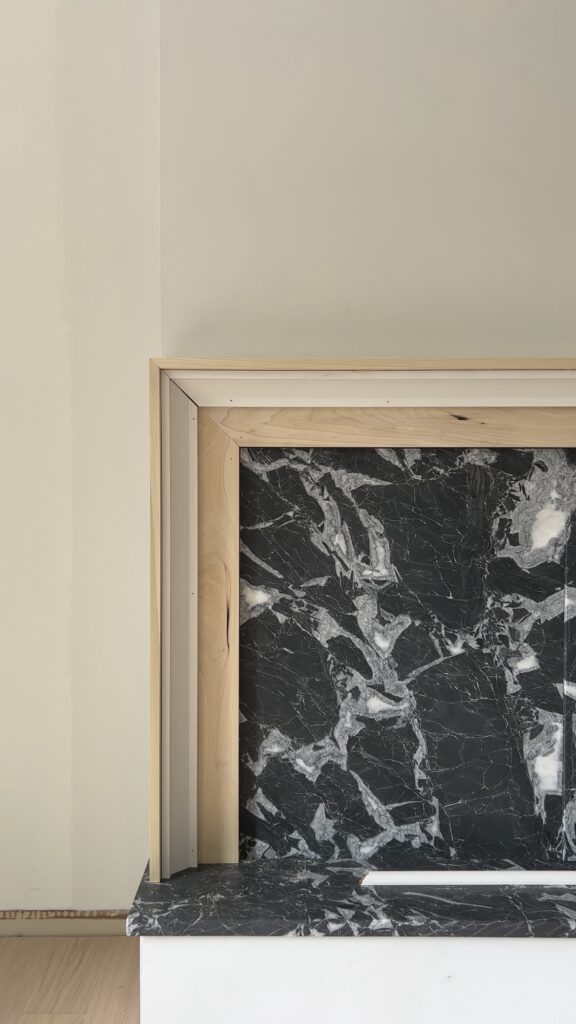
Starting with layer 1, we’re installing 1×6 poplar boards as the finish layer of the backing of the mantel. Right now, we’ve got rough wood backing, which is not intended as a finish layer.
For the 1×6 poplar boards, we’re mitering the corners at 45 degrees. We’re attaching them with both wood glue and brad nails. We’re selectively trying to brad nail close to the outside edge of the boards which will be covered up by the next layers to avoid having additional nail holes to fill.
Layer 2
For layer 2, we’re again using 1×6 poplar boards to wrap the perimeter of the mantel (perpendicular to the boards we just installed). For these boards, we’re using our miter saw to bevel the corners of the boards at 45 degrees for a clean corner joint. Lastly, just as we did previously, we’re attaching these boards with wood glue and brad nails.

Layer 3
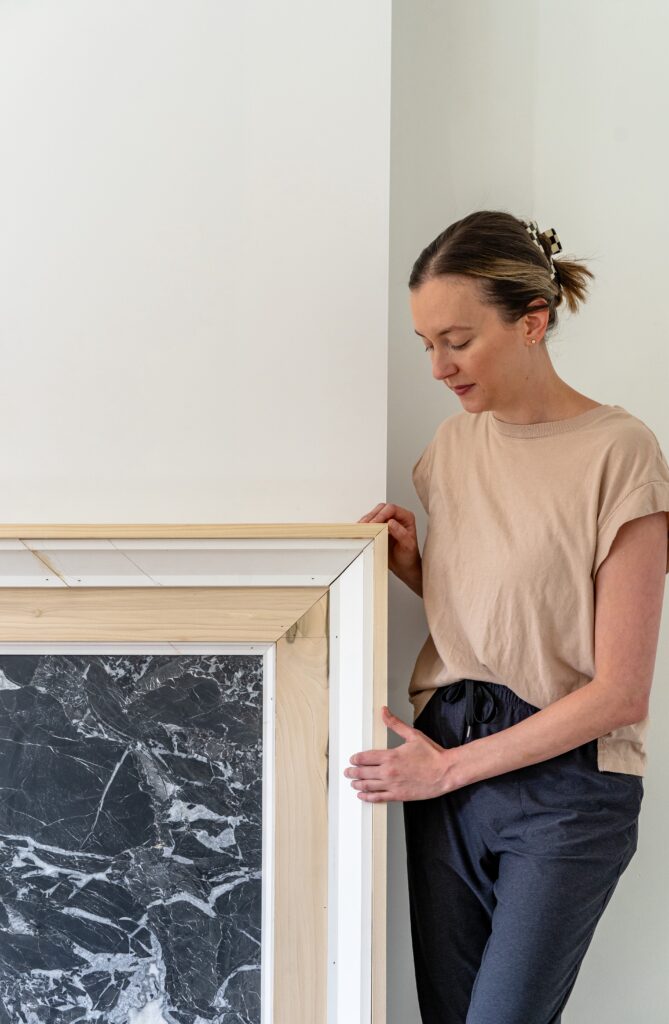
The mantel is already starting to take shape but layers 3 and 4 is where the magic happens. For layer 3, we’re using the shaker crown profile KB384. Same as layer 1, we’re doing a 45 degree miter at each of the corners. We did not pre-glue the corners for this layer, although we wish we did, because it is an easy way to achieve a really tight joint. You can check out our corner glue hack on our instagram. Lastly, just as we did previously, we’re attaching these boards with wood glue and brad nails.
Layer 4
We’re ready for the final layer of our timeless wood fireplace mantel, layer 4! For layer 4, we’re using inset panel profile KB883. We’re doing a 45 degree miter at each of the corners and on this layer, we decided to pre-glue the trim. This is the way to go because we ended up with a really nice tight clean corner. Lastly, just as we did previously, we’re attaching these boards with wood glue and brad nails.

Materials & Tools Needed for the Mantel Build
- 1×6 Poplar Boards
- Shaker Crown Profile KB384
- Inset Panel Profile KB883
- Wood Glue
- 1-1/2″ 18 Gauge Brad Nails
- 18 Gauge Brad Nailer
- Wood Filler
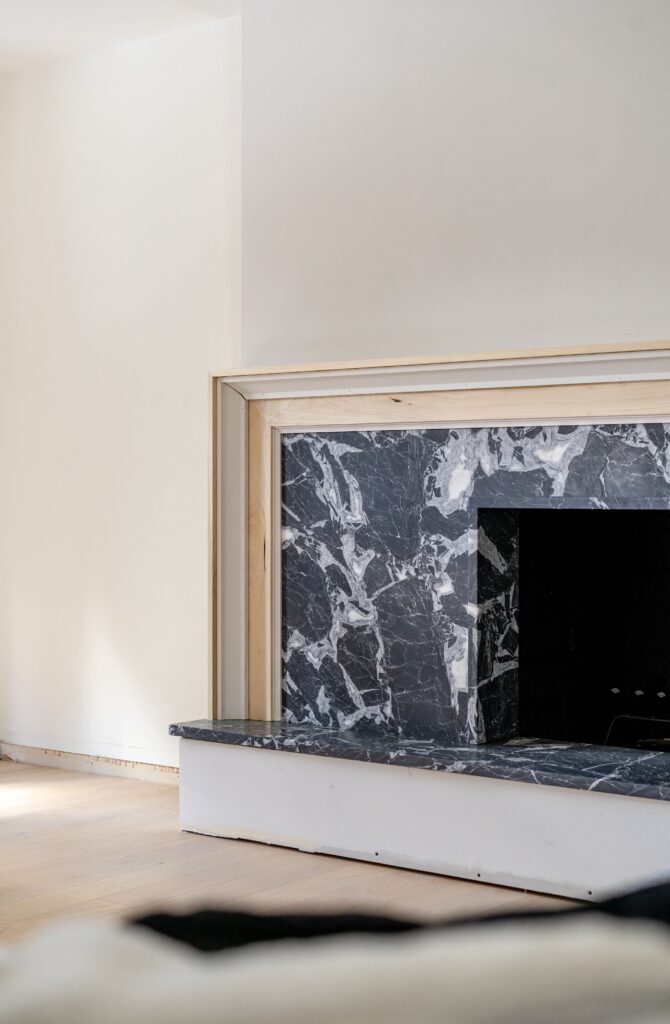
The Finished Mantel
Here’s a look at the finished mantel build! We’re so glad we decided to go with a timeless wood mantel and finding the Kuiken Brothers modern craftsman mantle design made the whole process that much easier.
Up next for the mantel is to wood fill all nails holes, caulk, prime, and then paint. We haven’t yet decided if we’re going dark or light on the mantel, so keep your eyes out for the final mantel reveal to see what we end up doing!
Leave a comment below if you have any questions on the mantel build, we’re happy to help!