The LKS Address

Welcome to Our Home Address

  • BLOG
  • SHOP
  • YOUTUBE
  • ABOUT
  • CONTACT

EXPLORE

  • BLOG
  • SHOP
  • YOUTUBE
  • ABOUT
  • CONTACT

Connect

DESIGN · August 24, 2021

OVERHAULING THE KITCHEN AND DINING ROOM

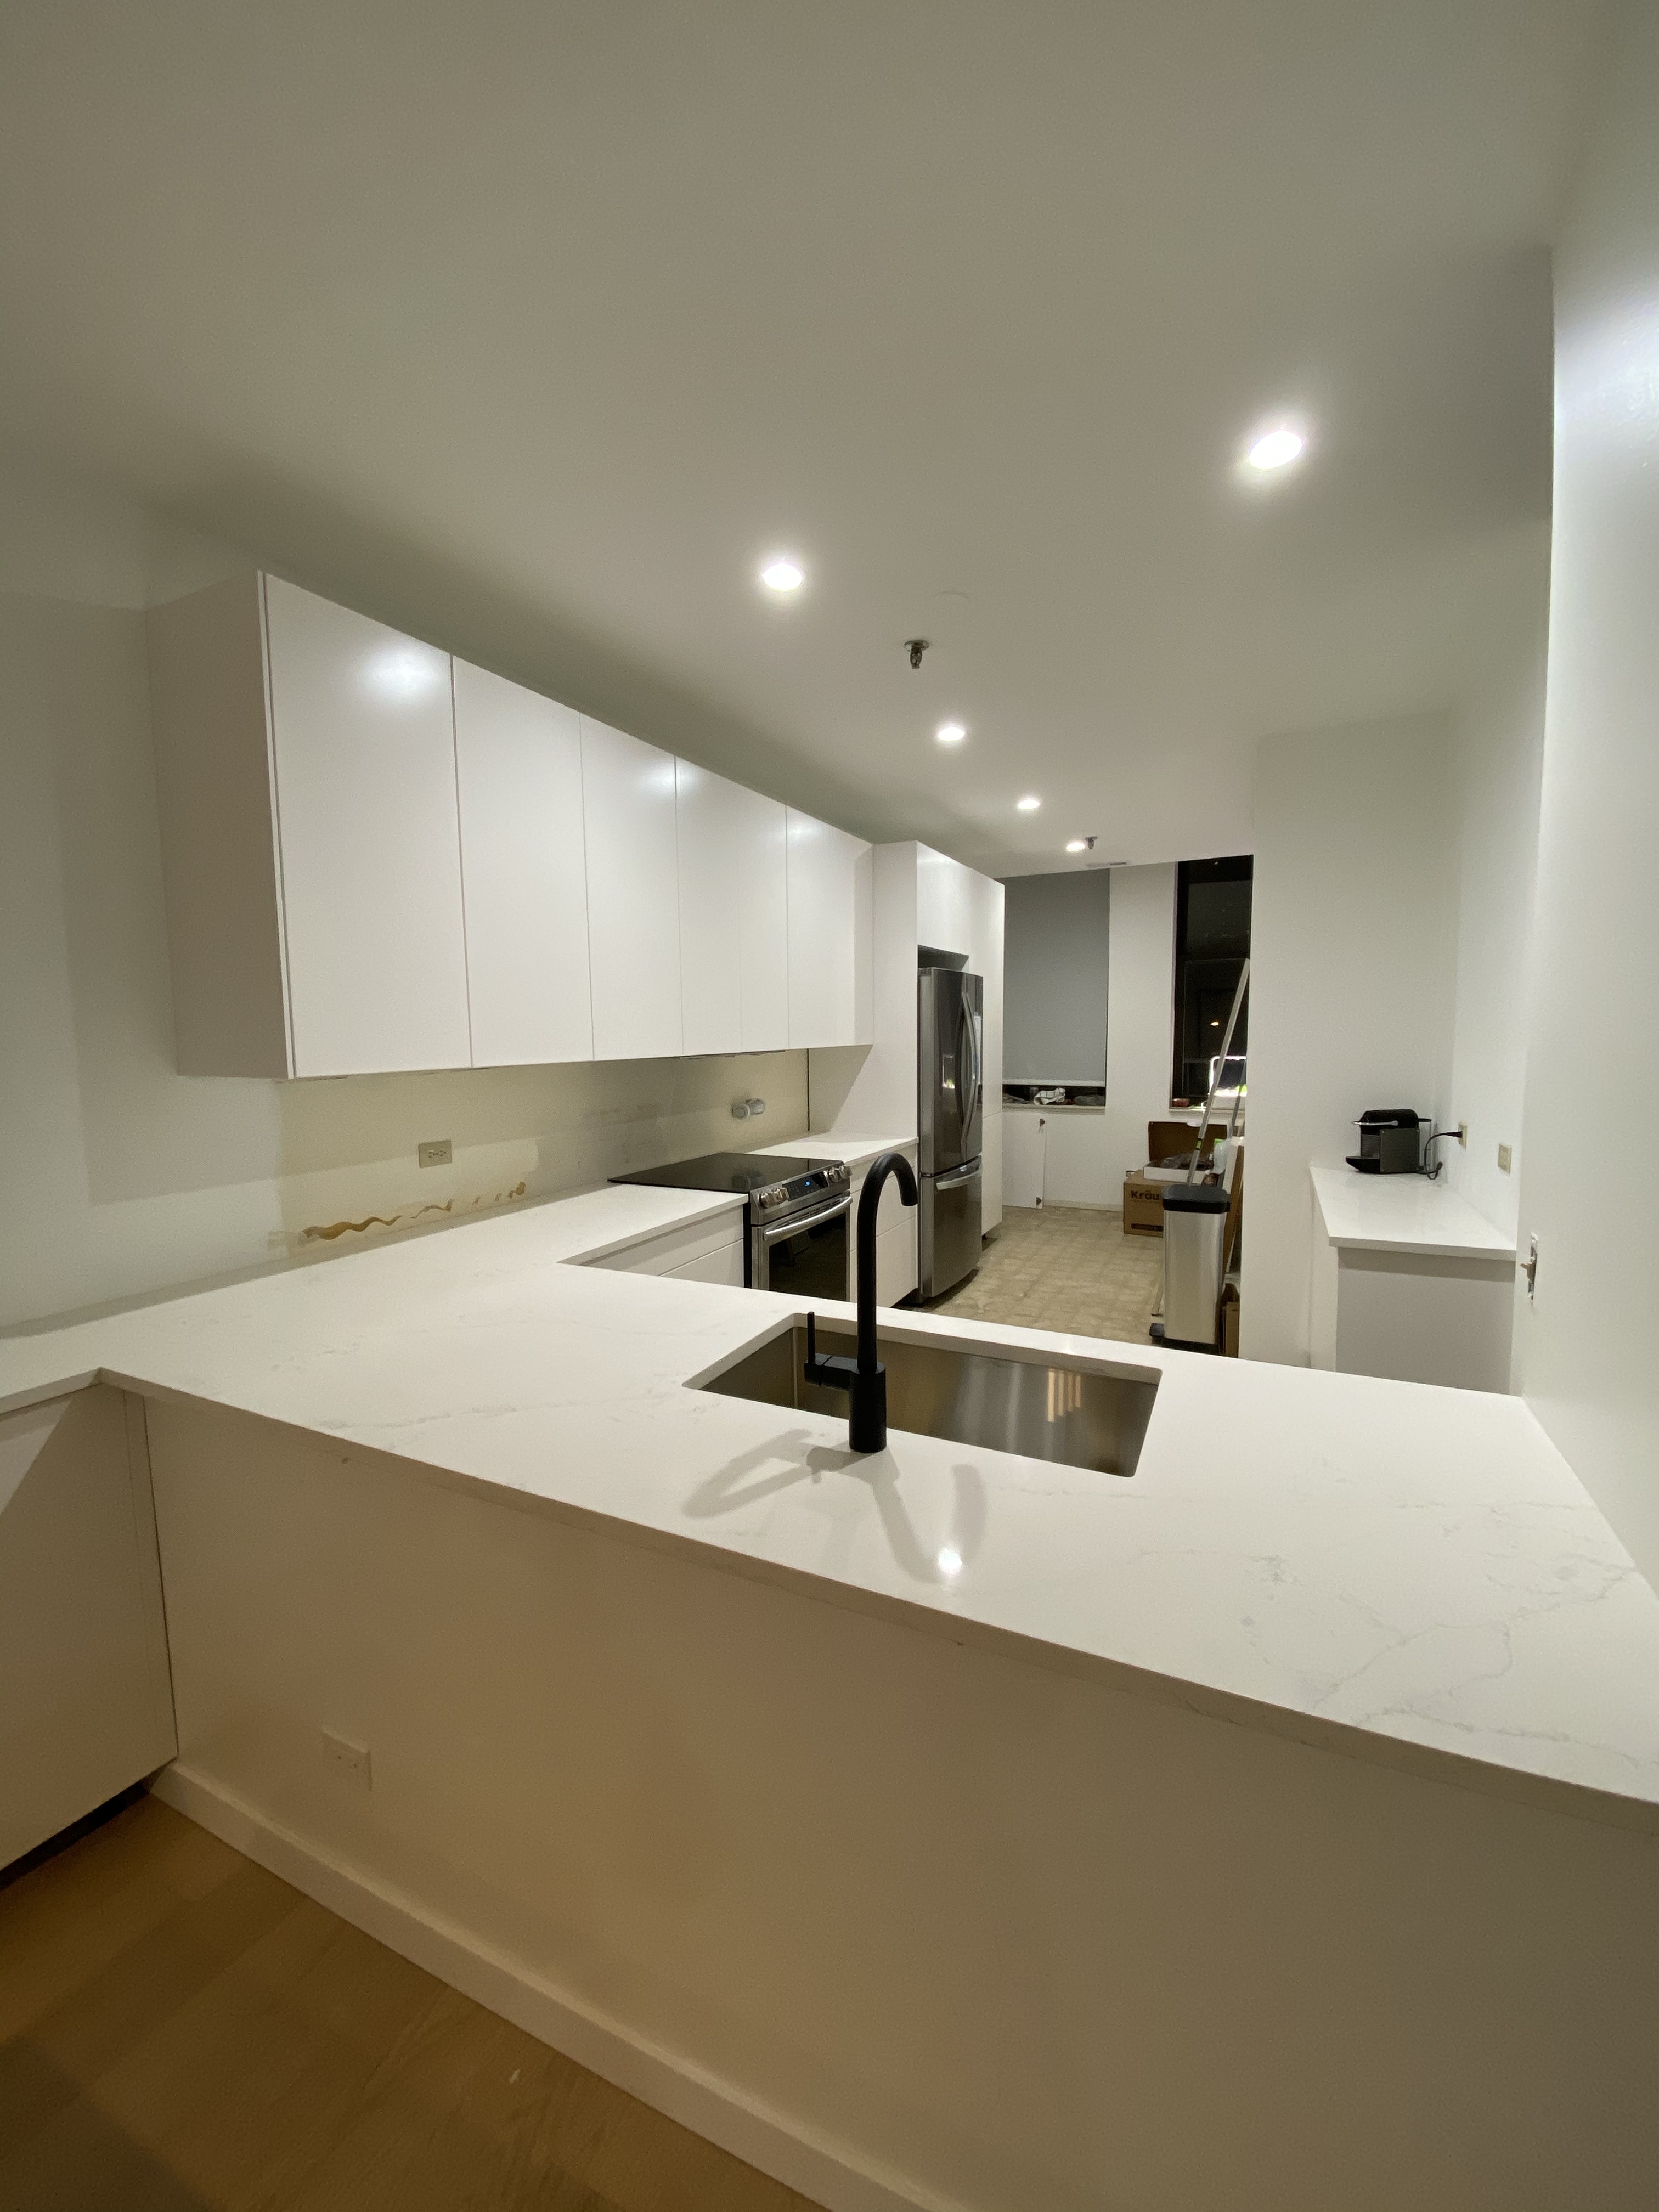
One of the primary reasons we decided on our new condo was because of the potential of the kitchen area. We wanted to have not only an open floor plan, a dedicated dining room, but we needed a house that functionally flowed well. We love to be in the kitchen so it was a must have for us to have both an open and larger kitchen.
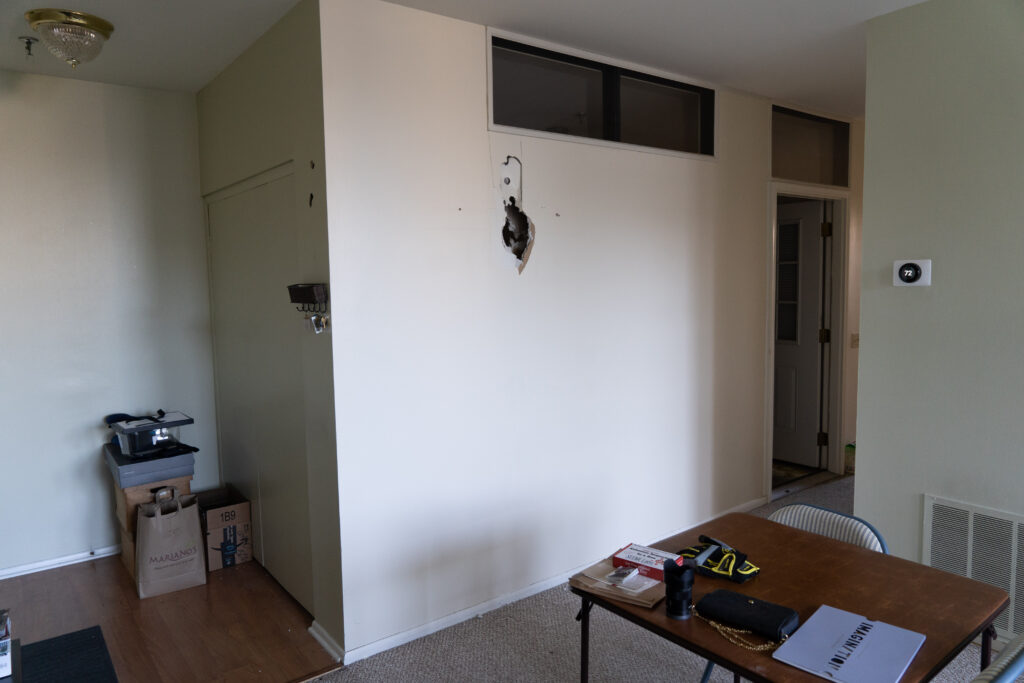
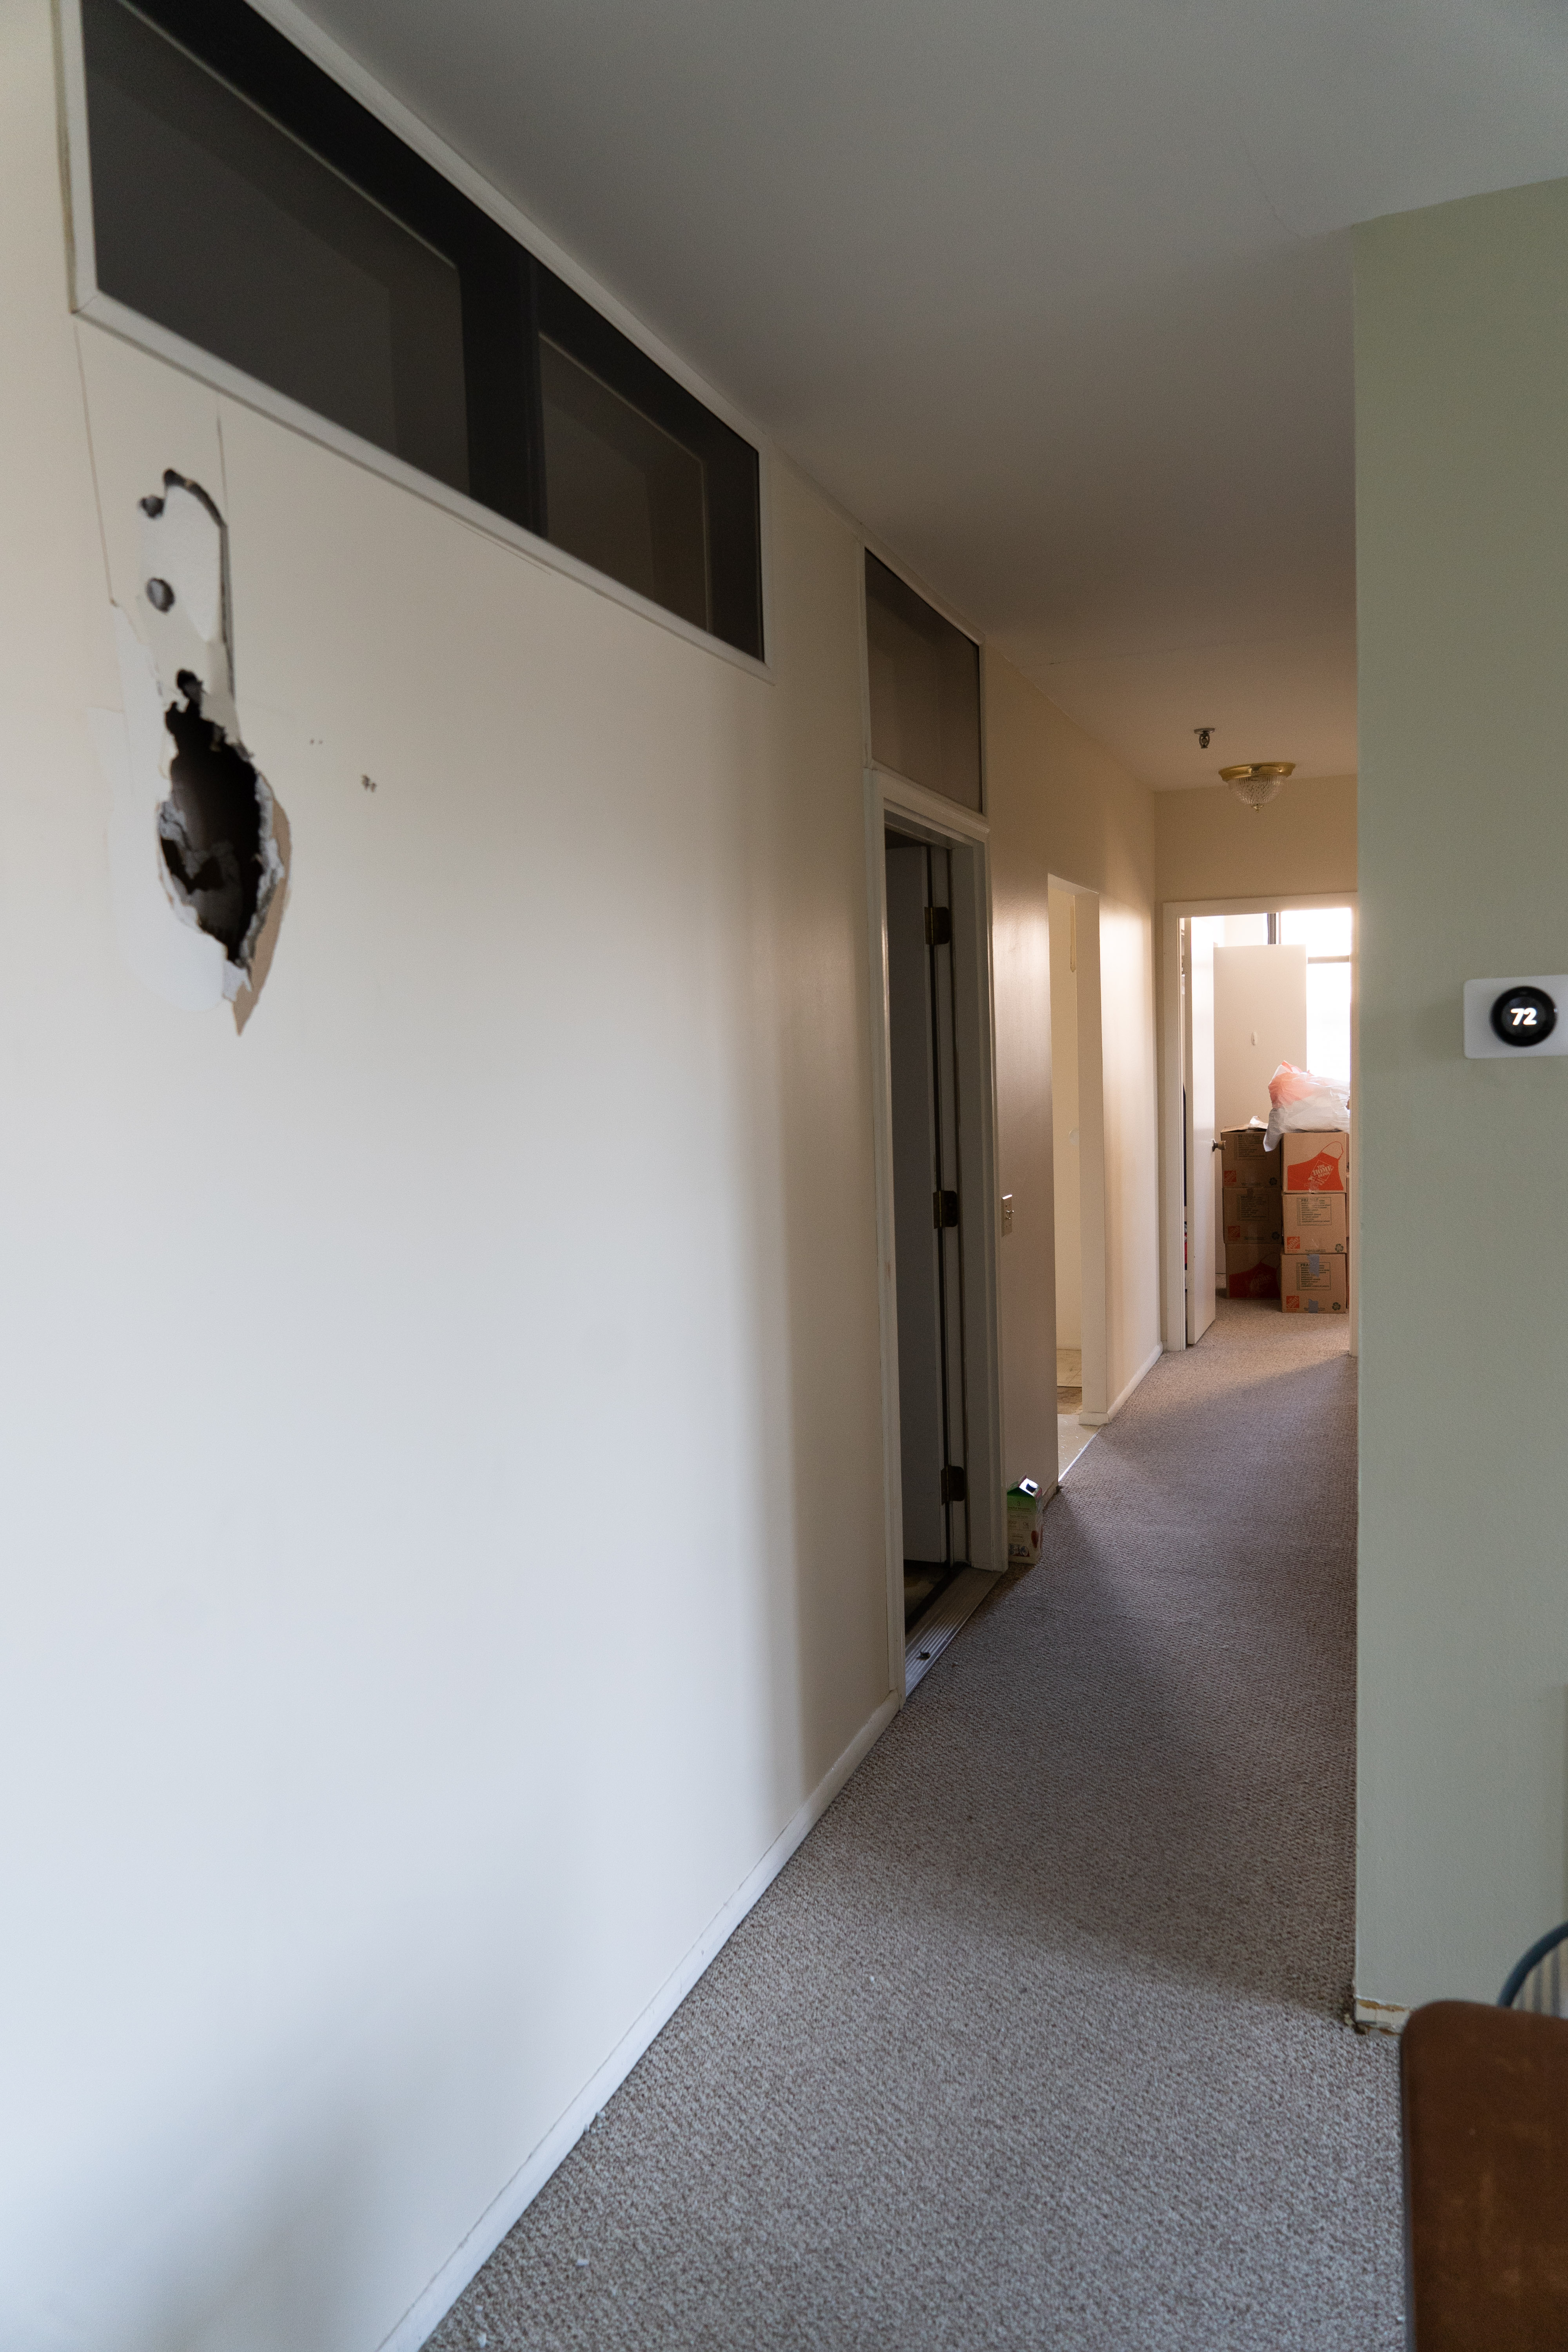
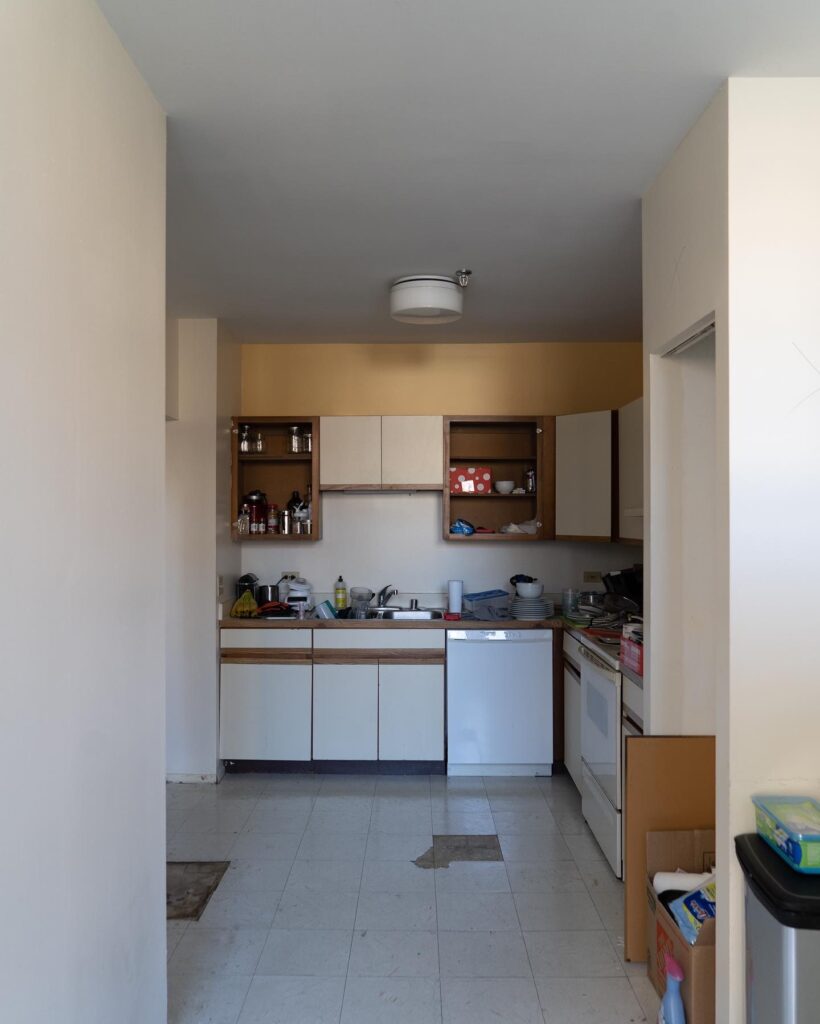
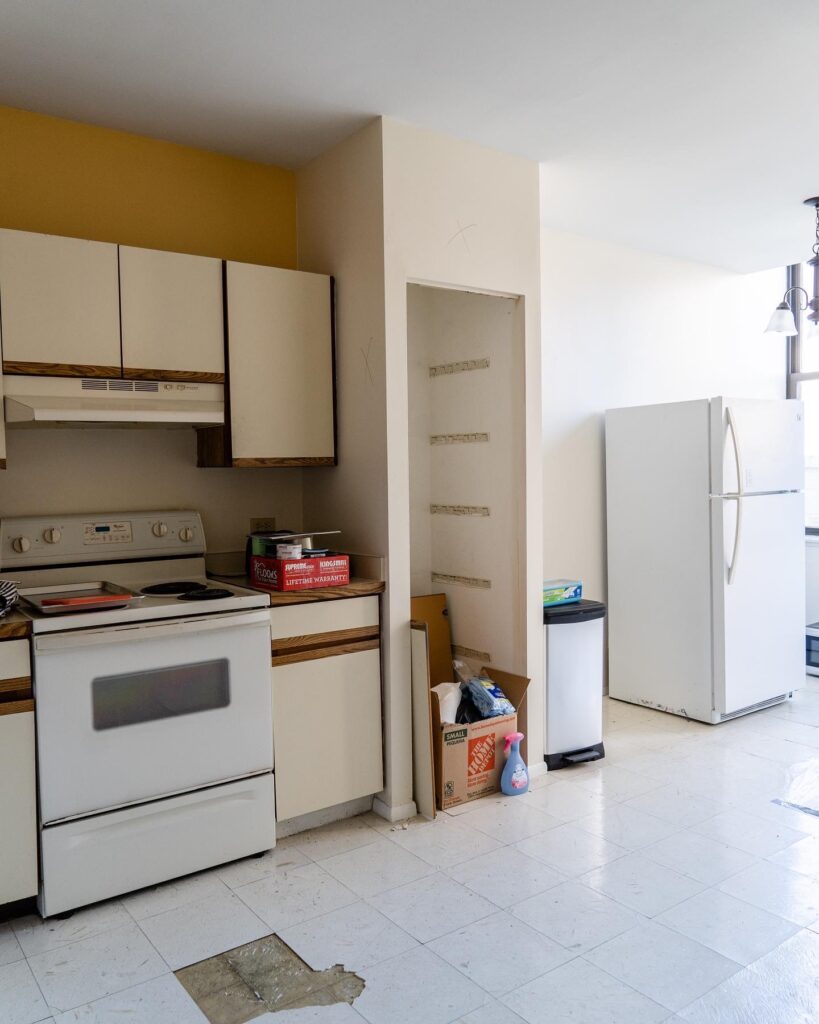
Words can’t really describe the before – have you ever had a bedroom in your dining room? That was the before, literally, the previous owners had enclosed the dining room to add an additional bedroom, which made the layout functionally really odd. The kitchen was also enclosed and very disconnected from the family room and entertaining areas.
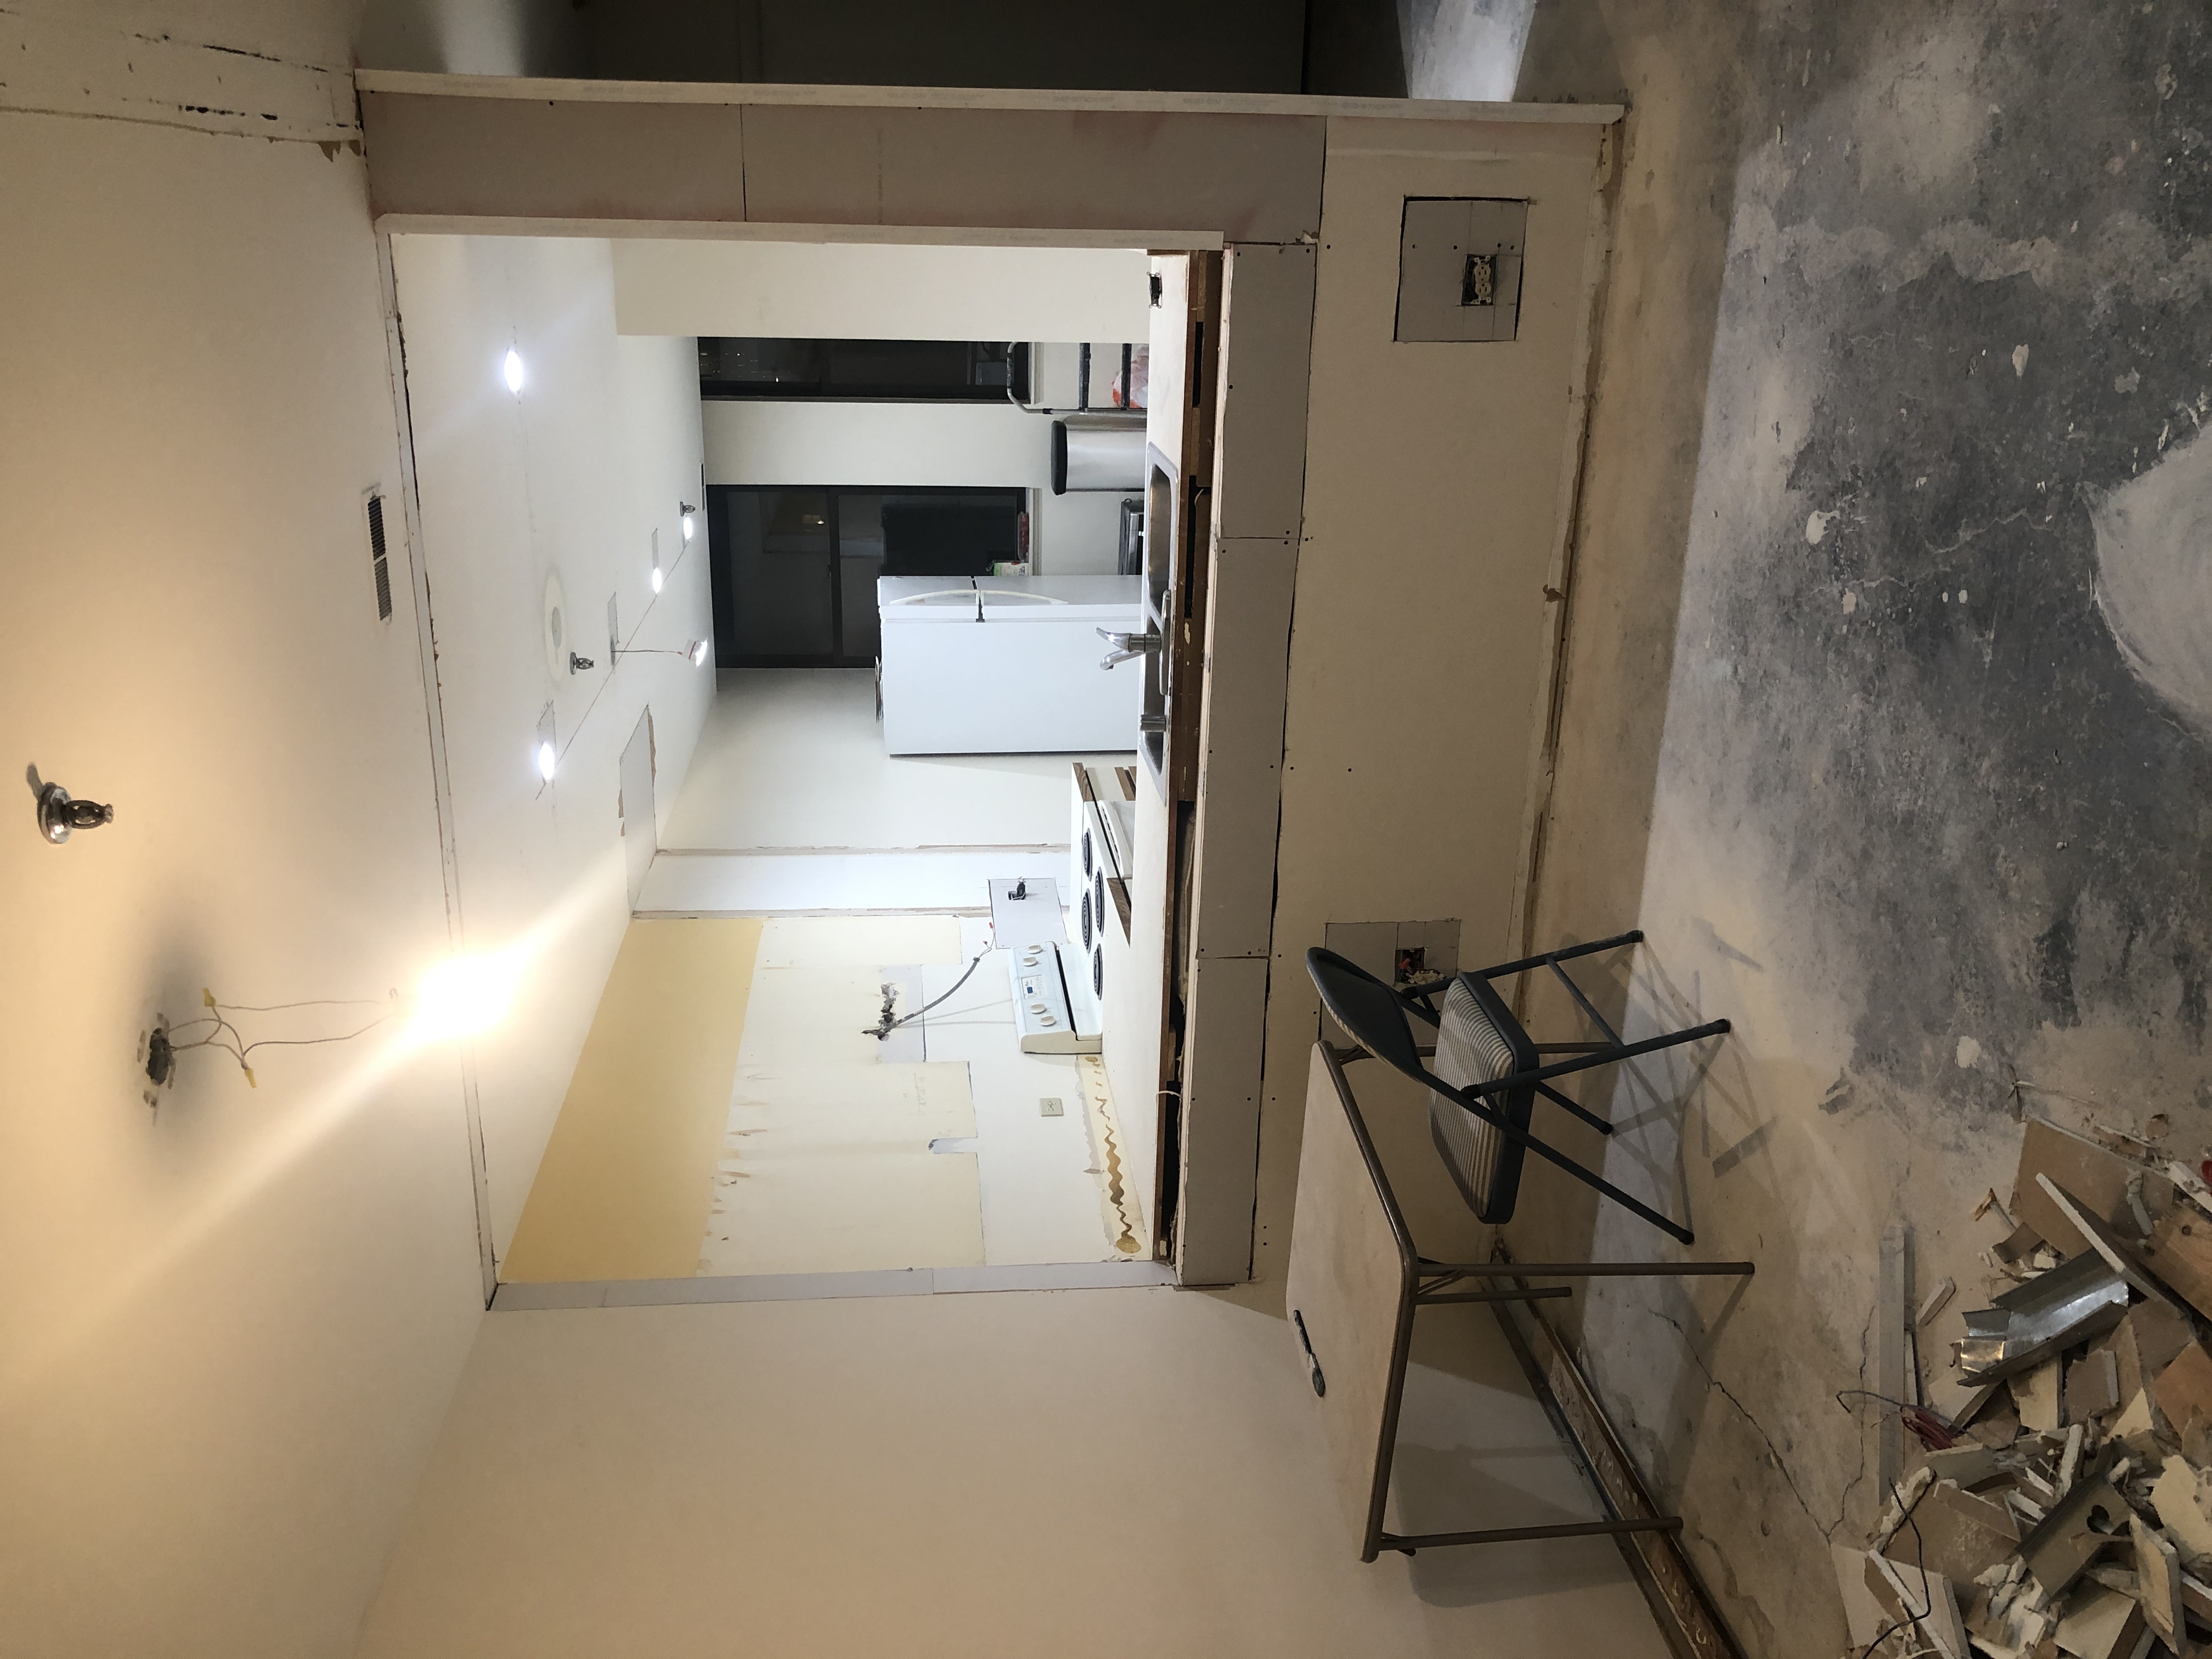
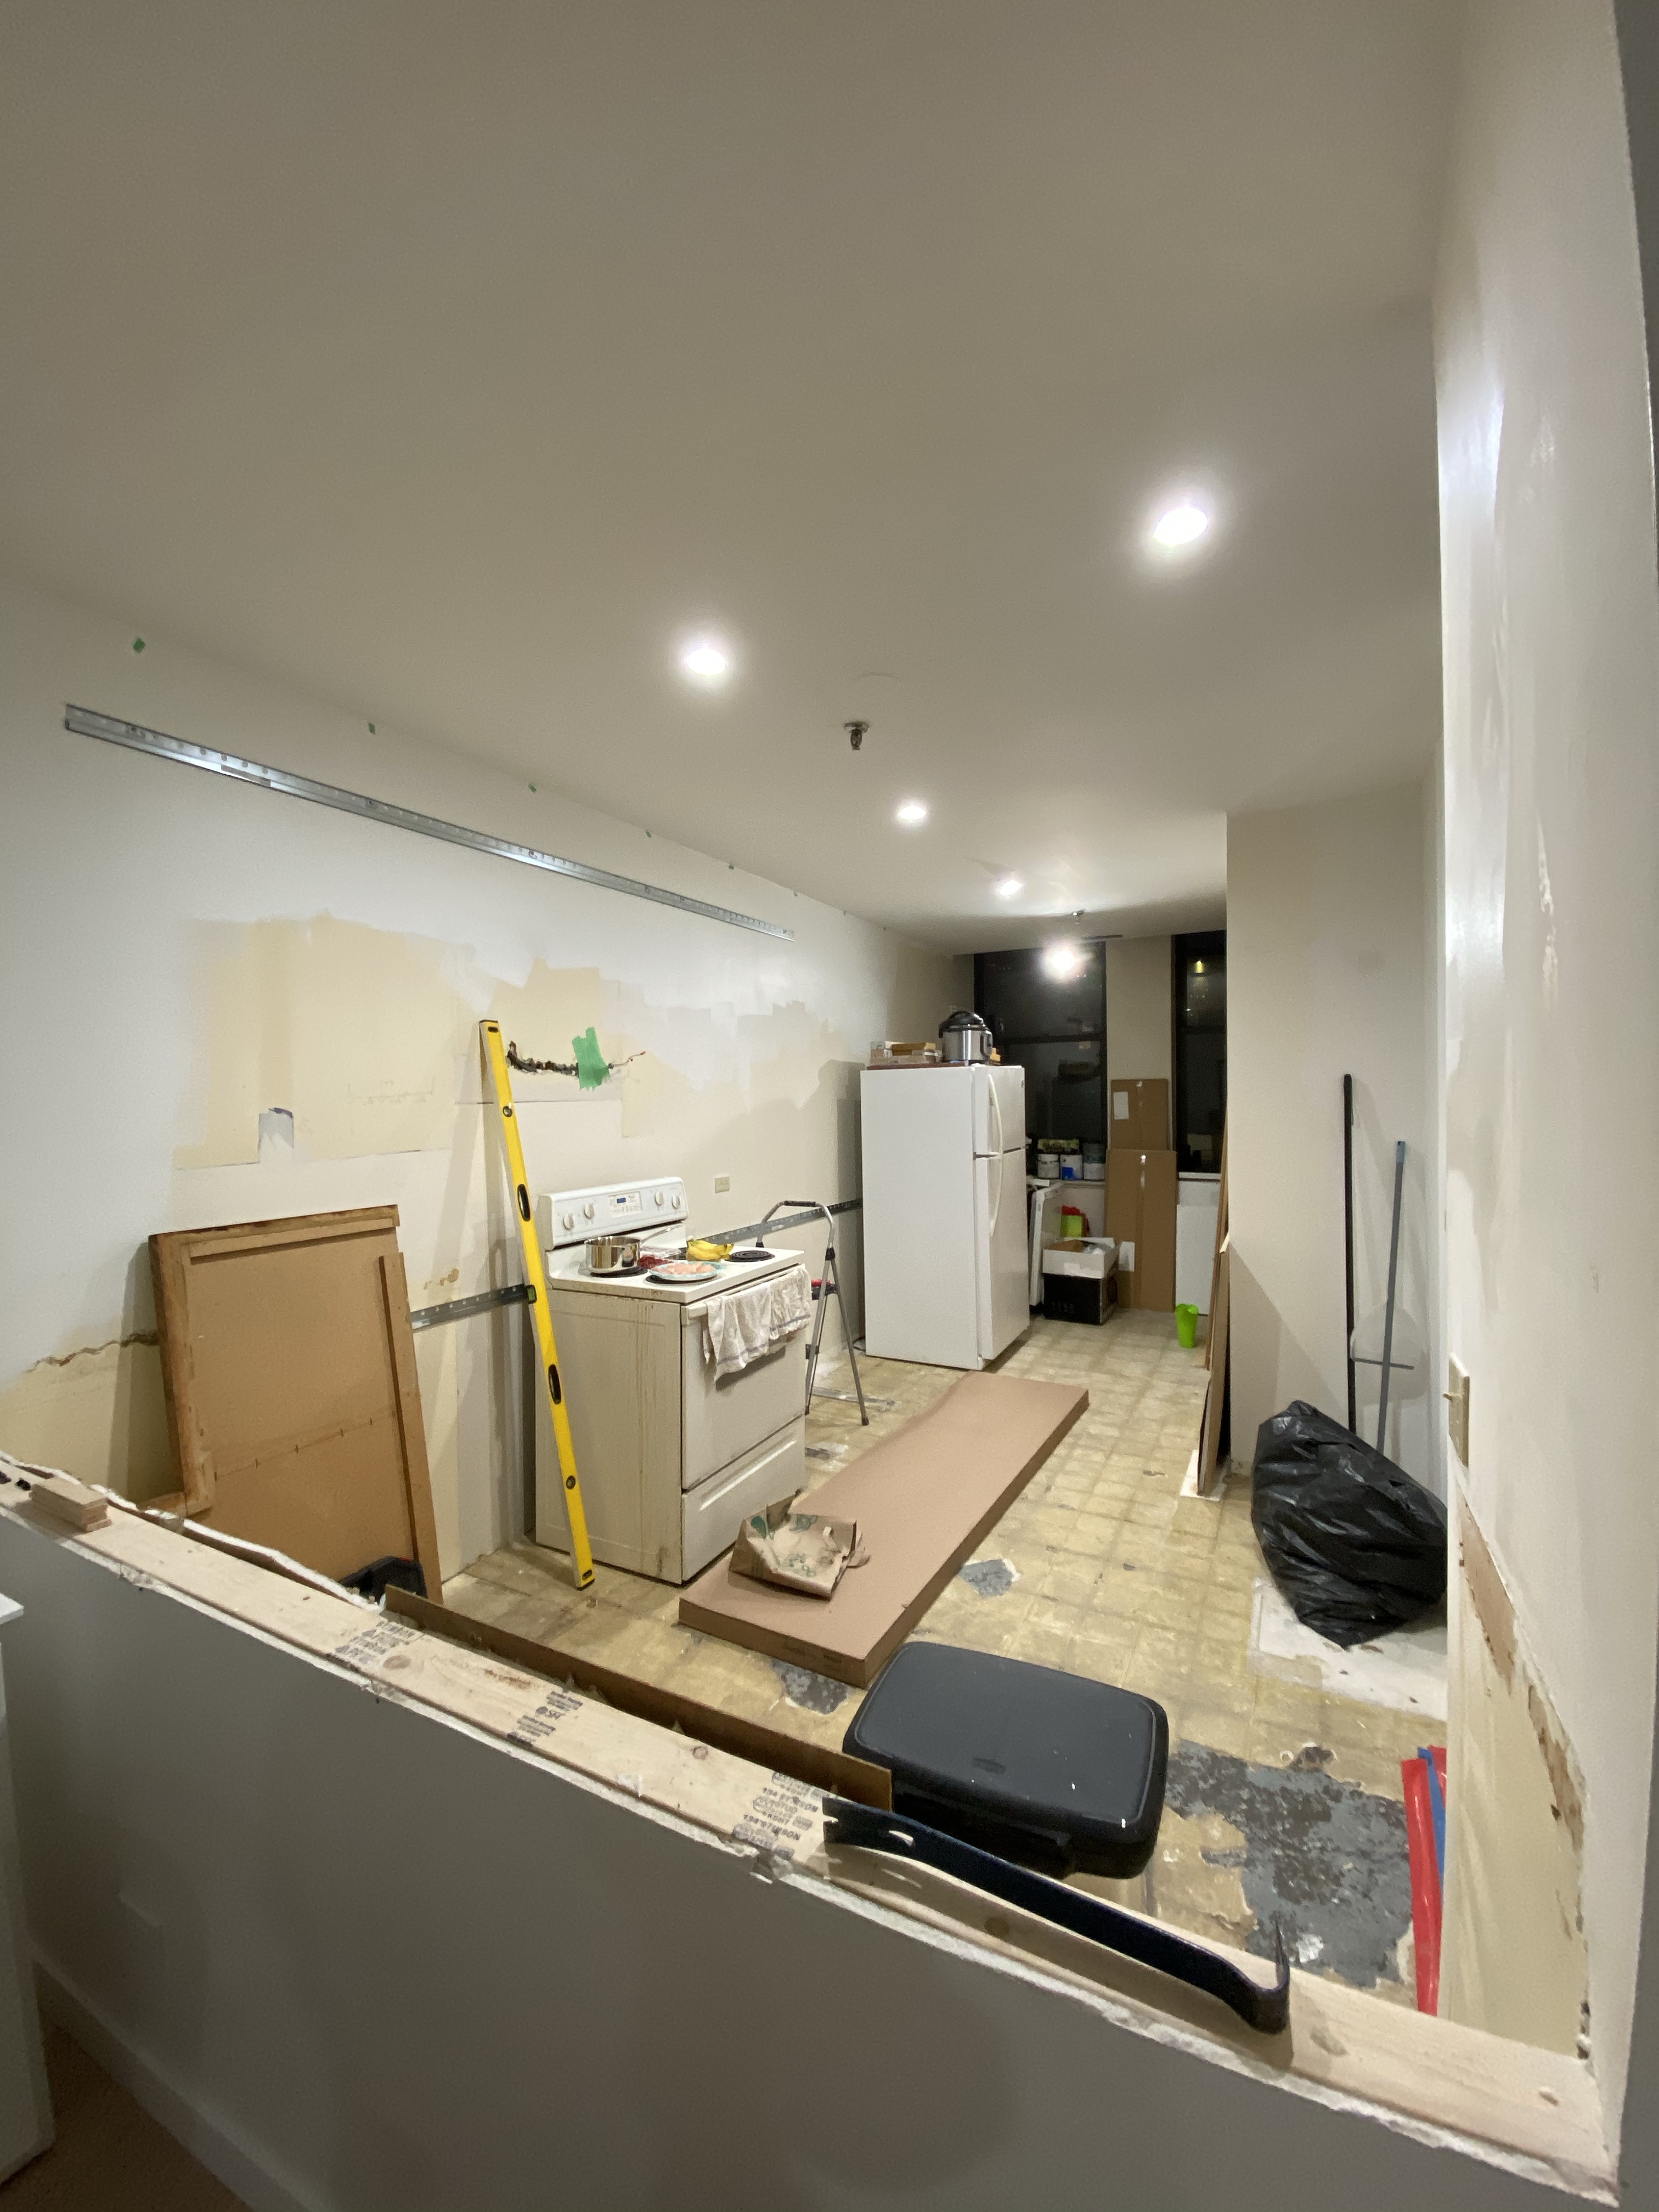
Demolition of both the dining room and kitchen was completed as soon as we moved in! Once we got Phase 1 complete, read more about that here, it was time to get the kitchen put back together! This was the first kitchen Kam and I would design and DIY ourselves (with the help of our parents, too) but we were really excited to see it come together.
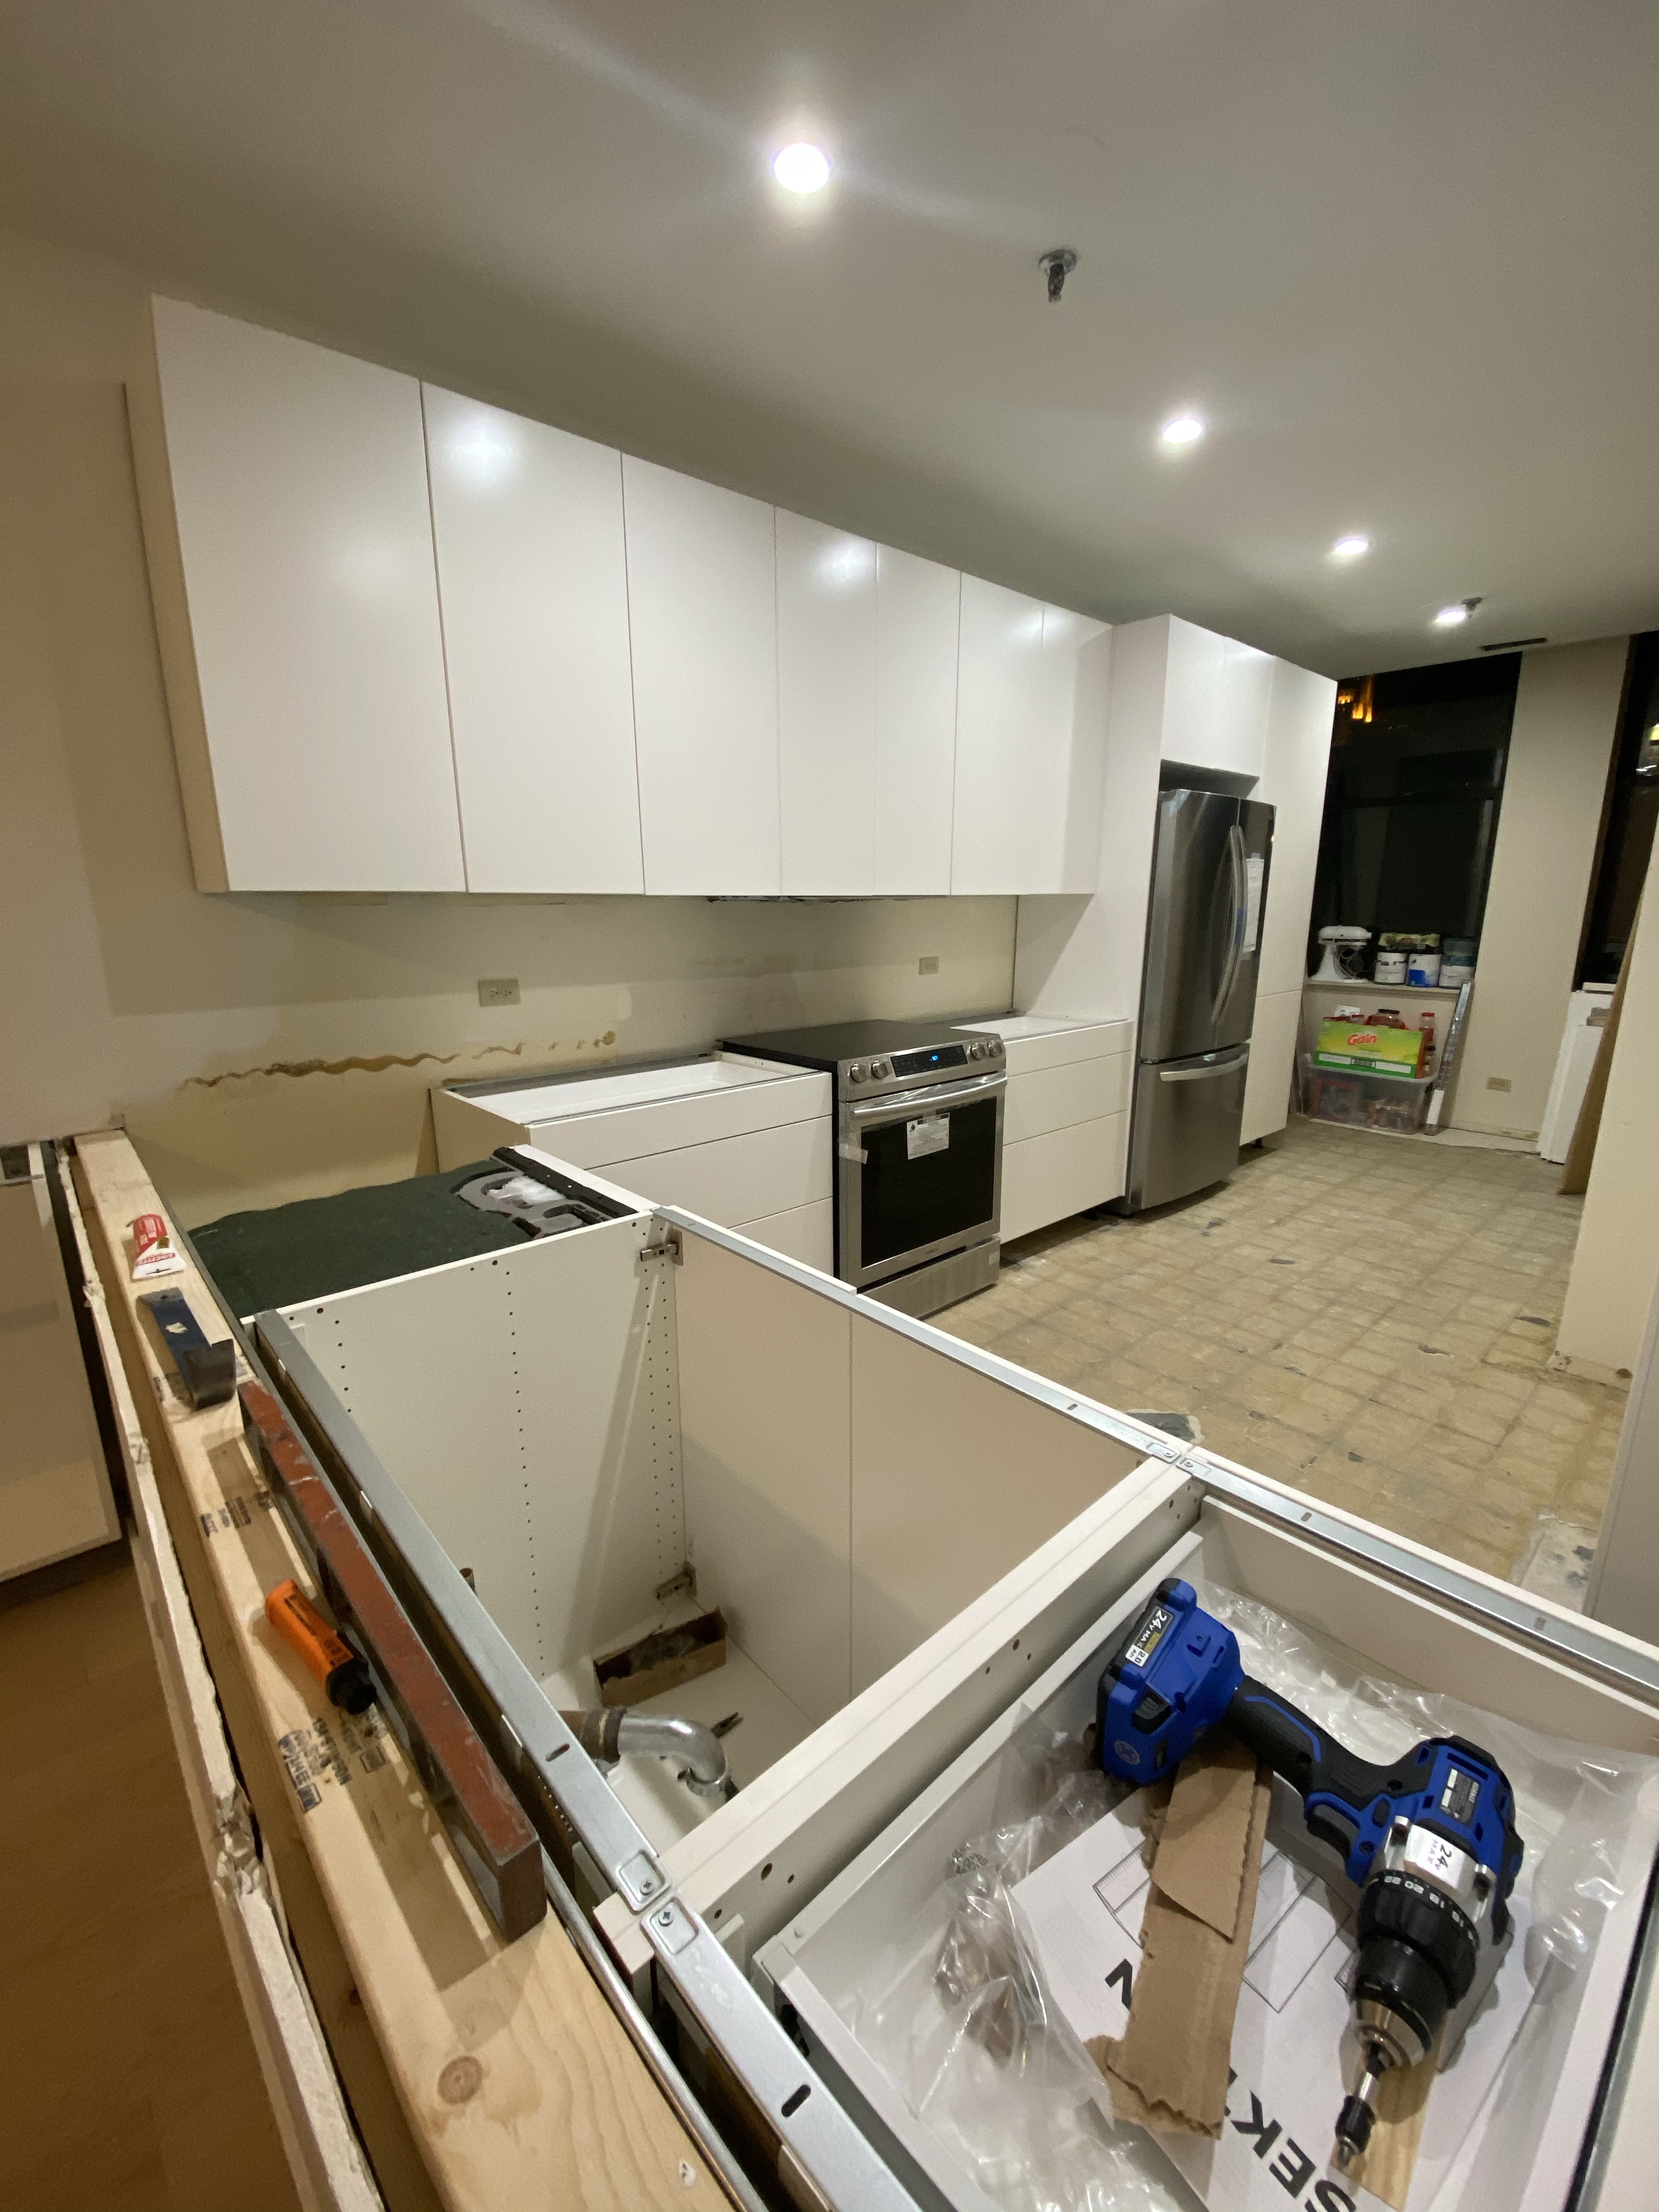
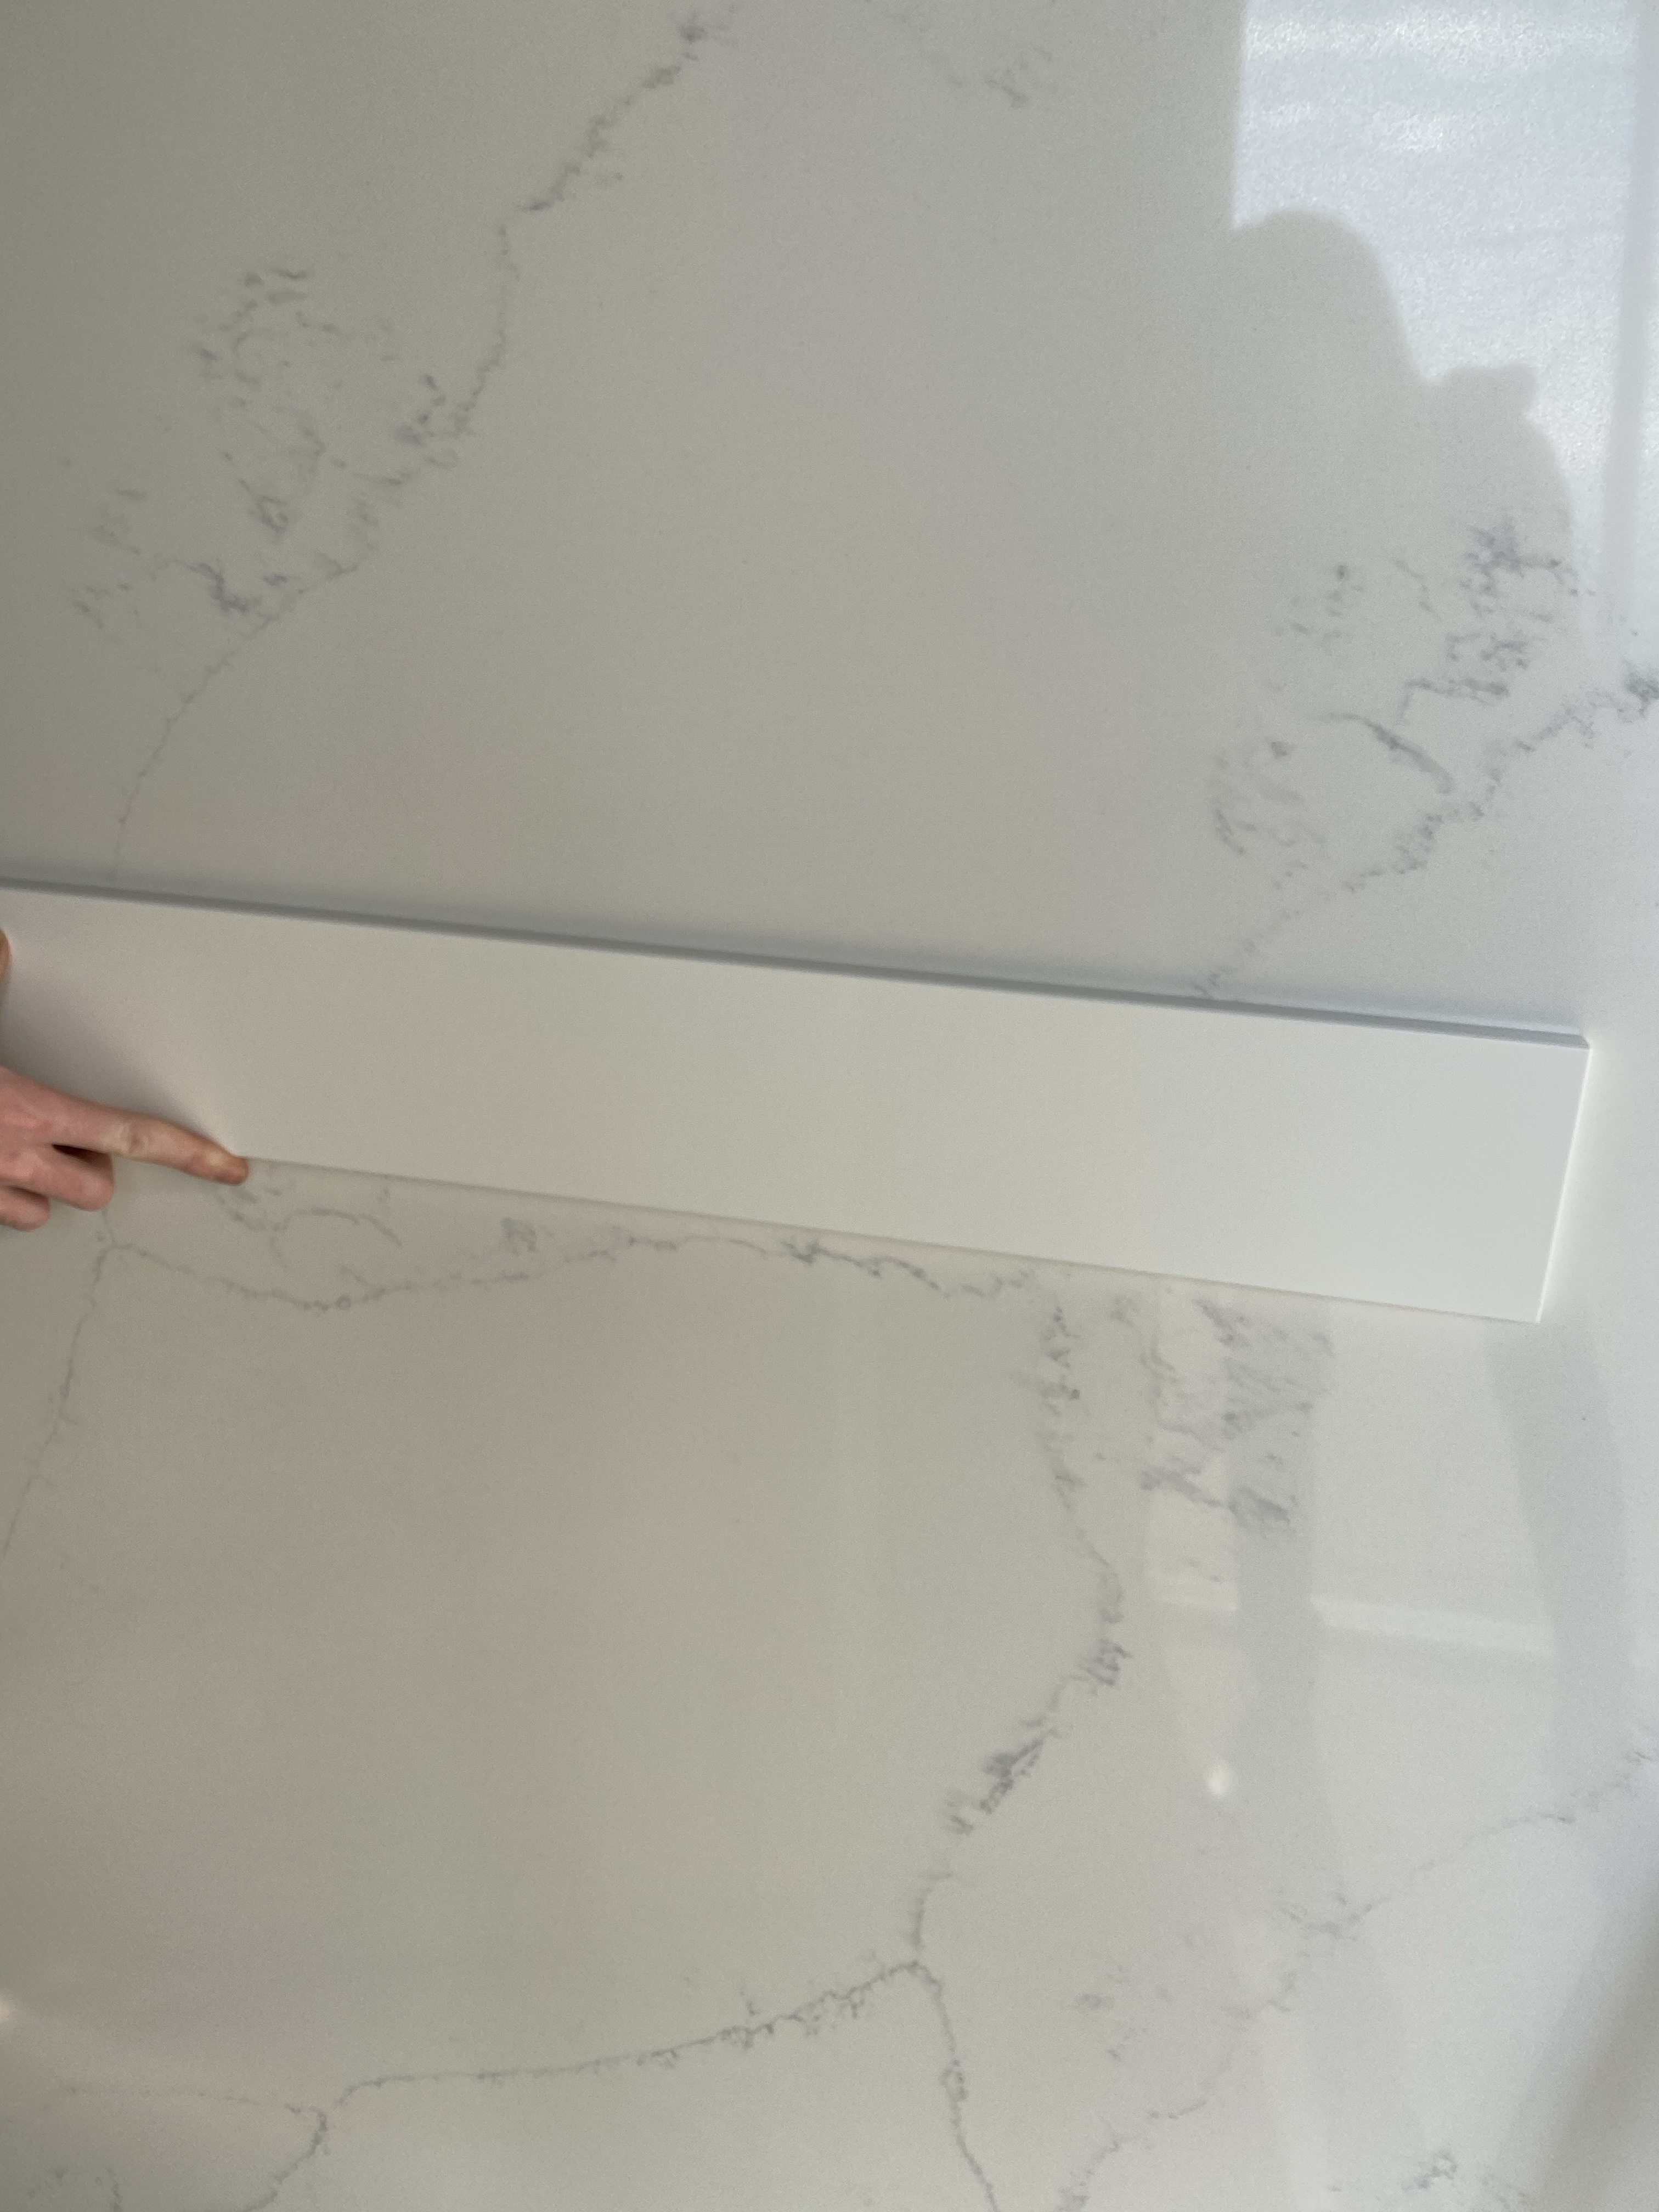
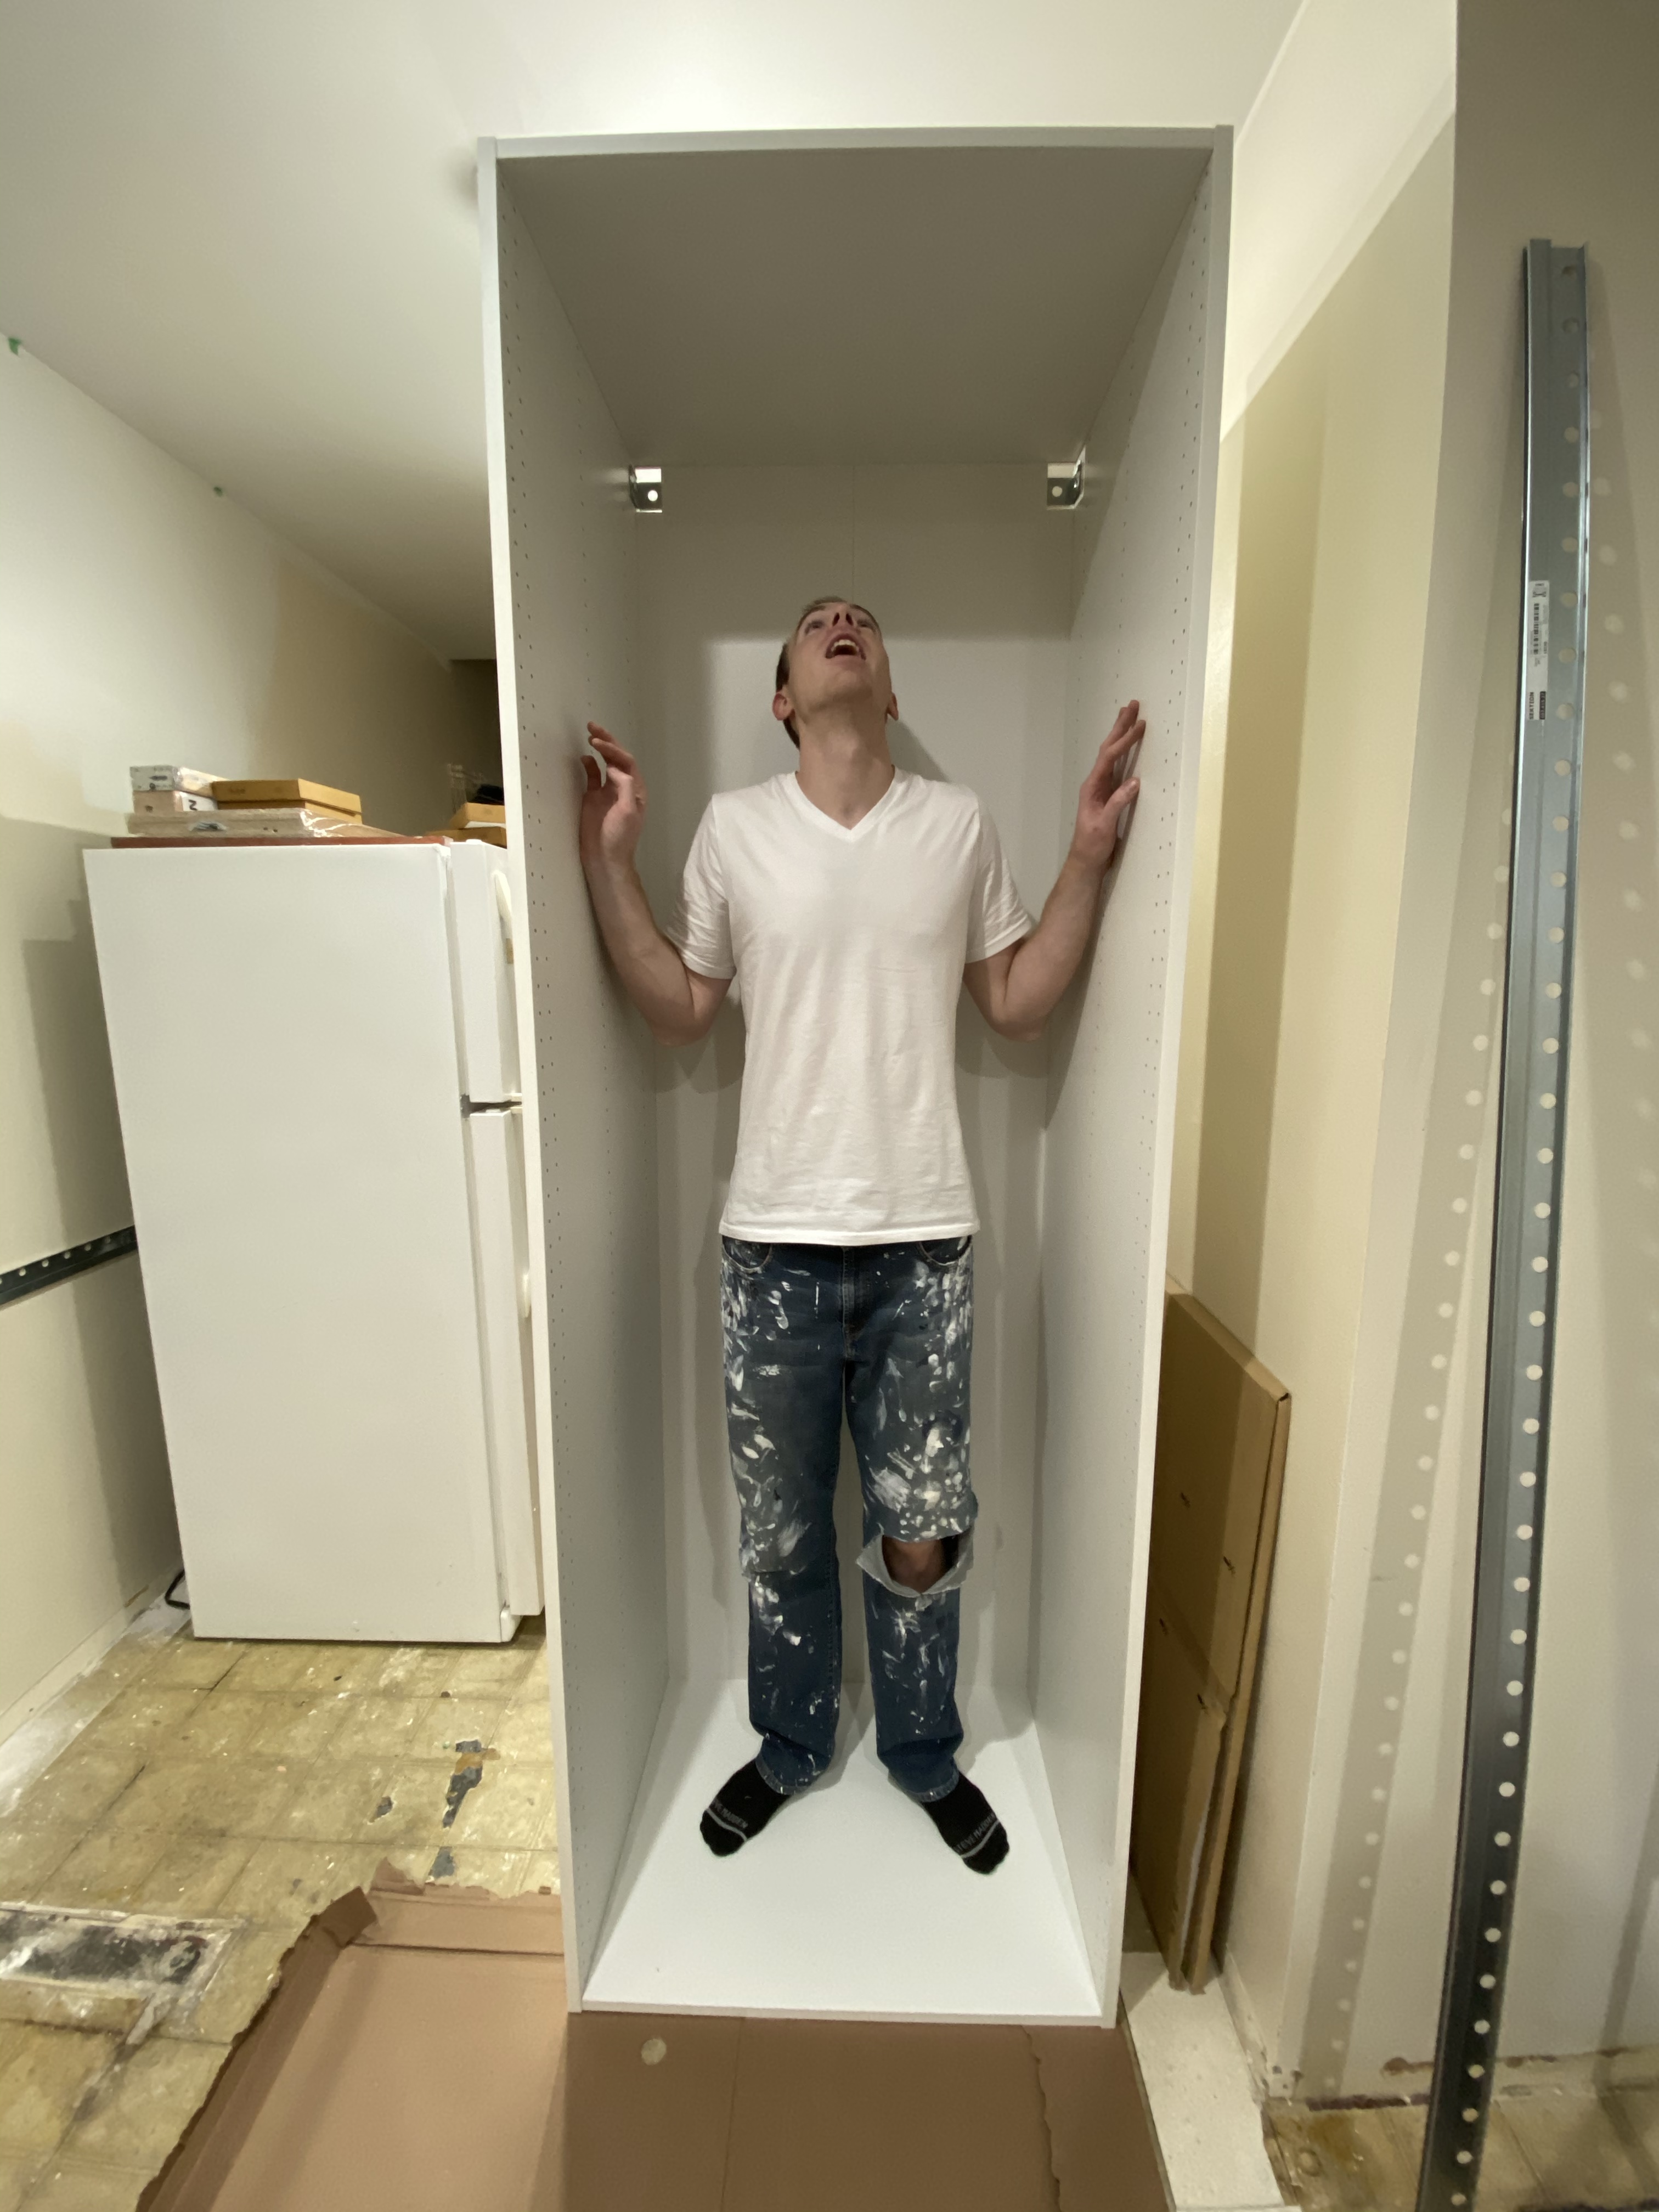
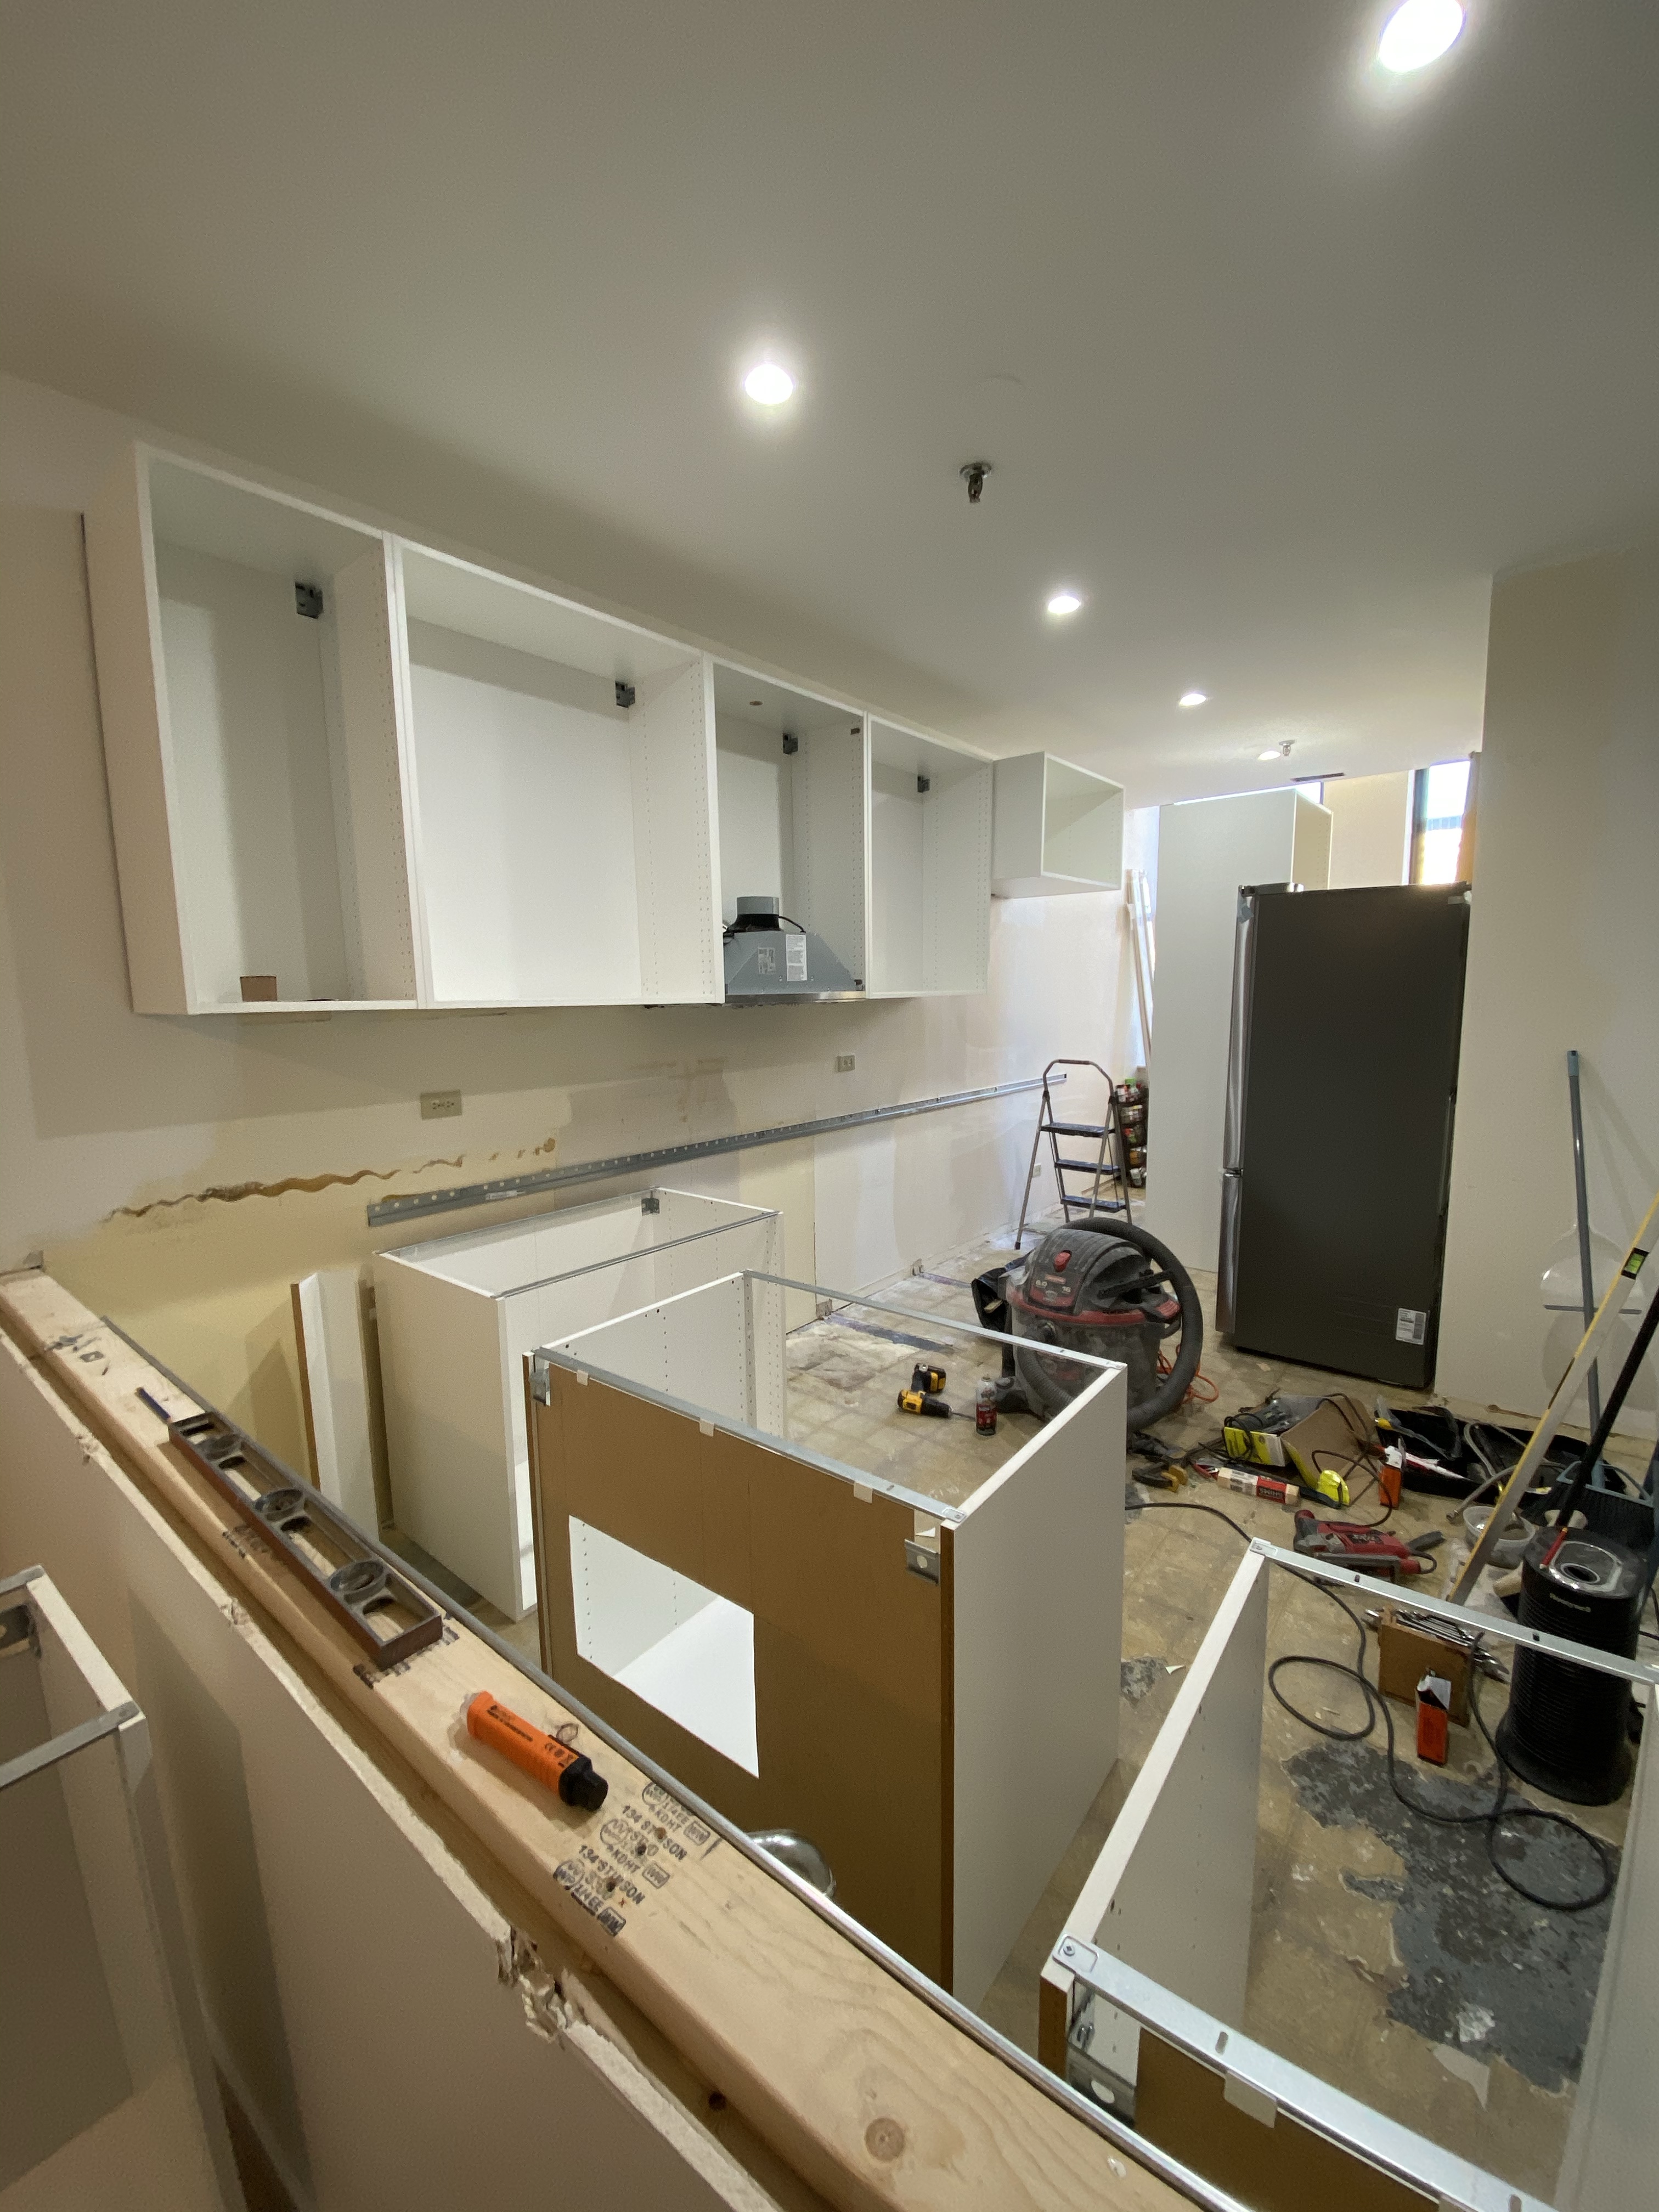
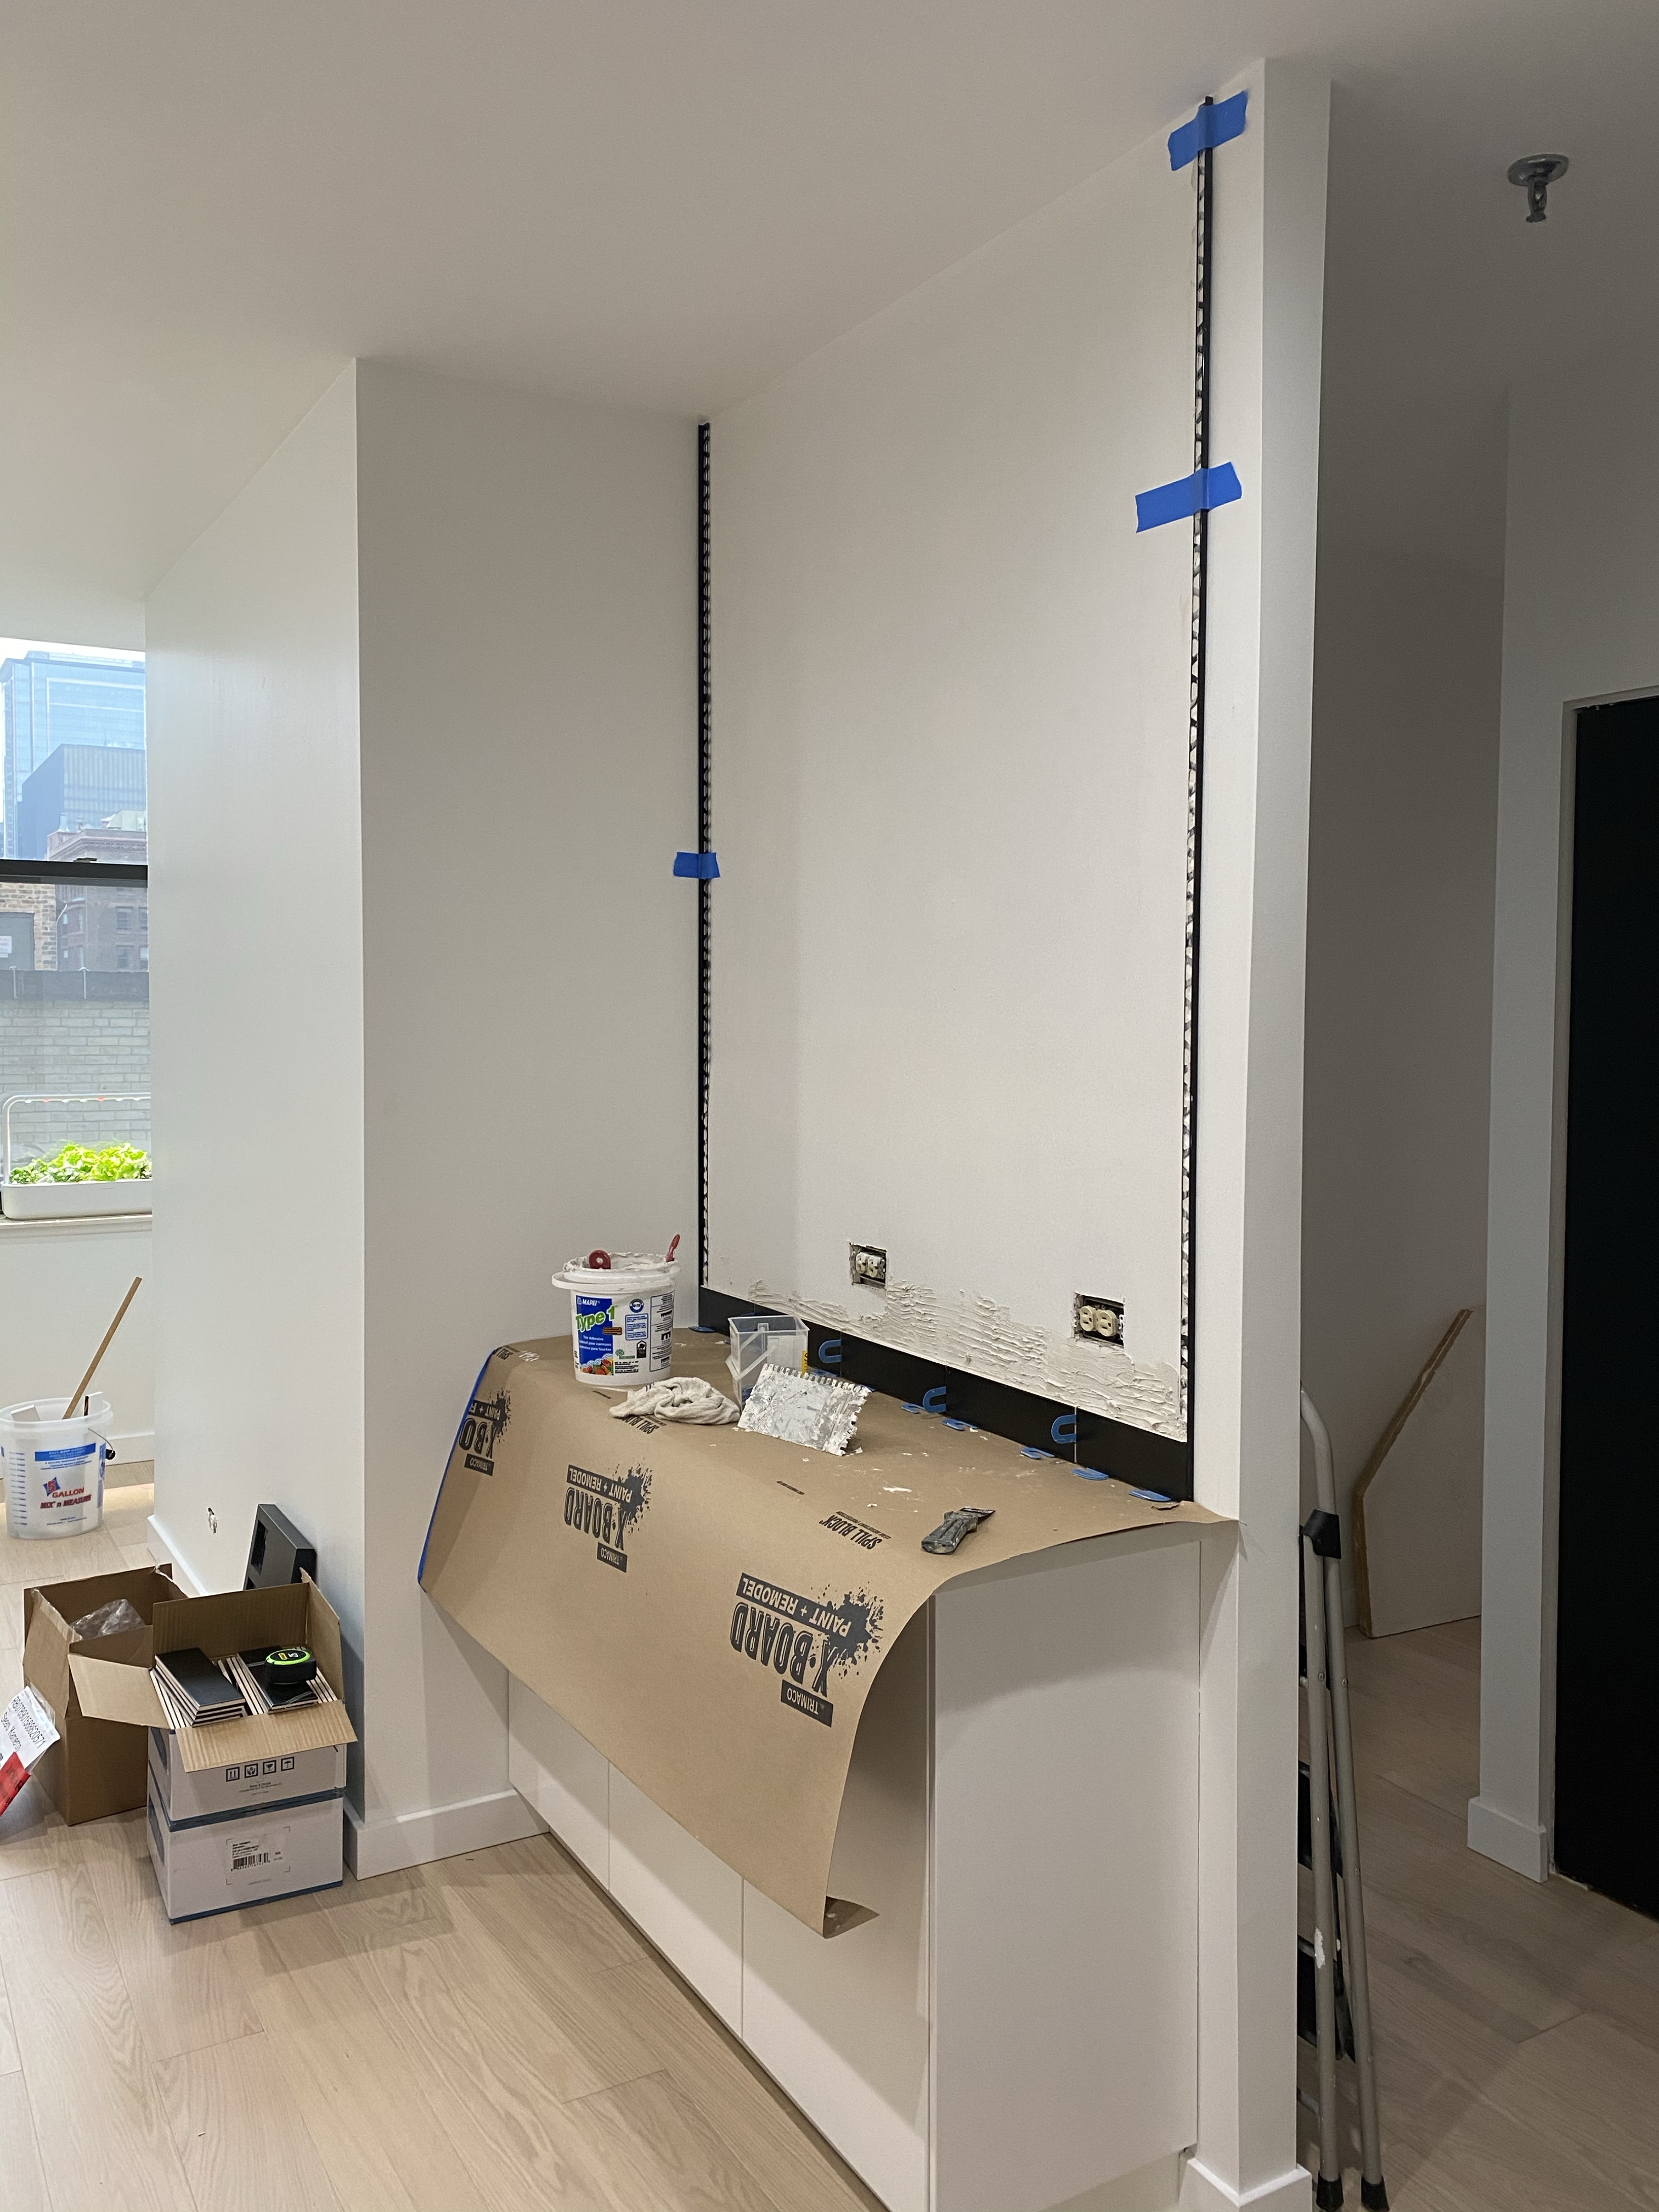
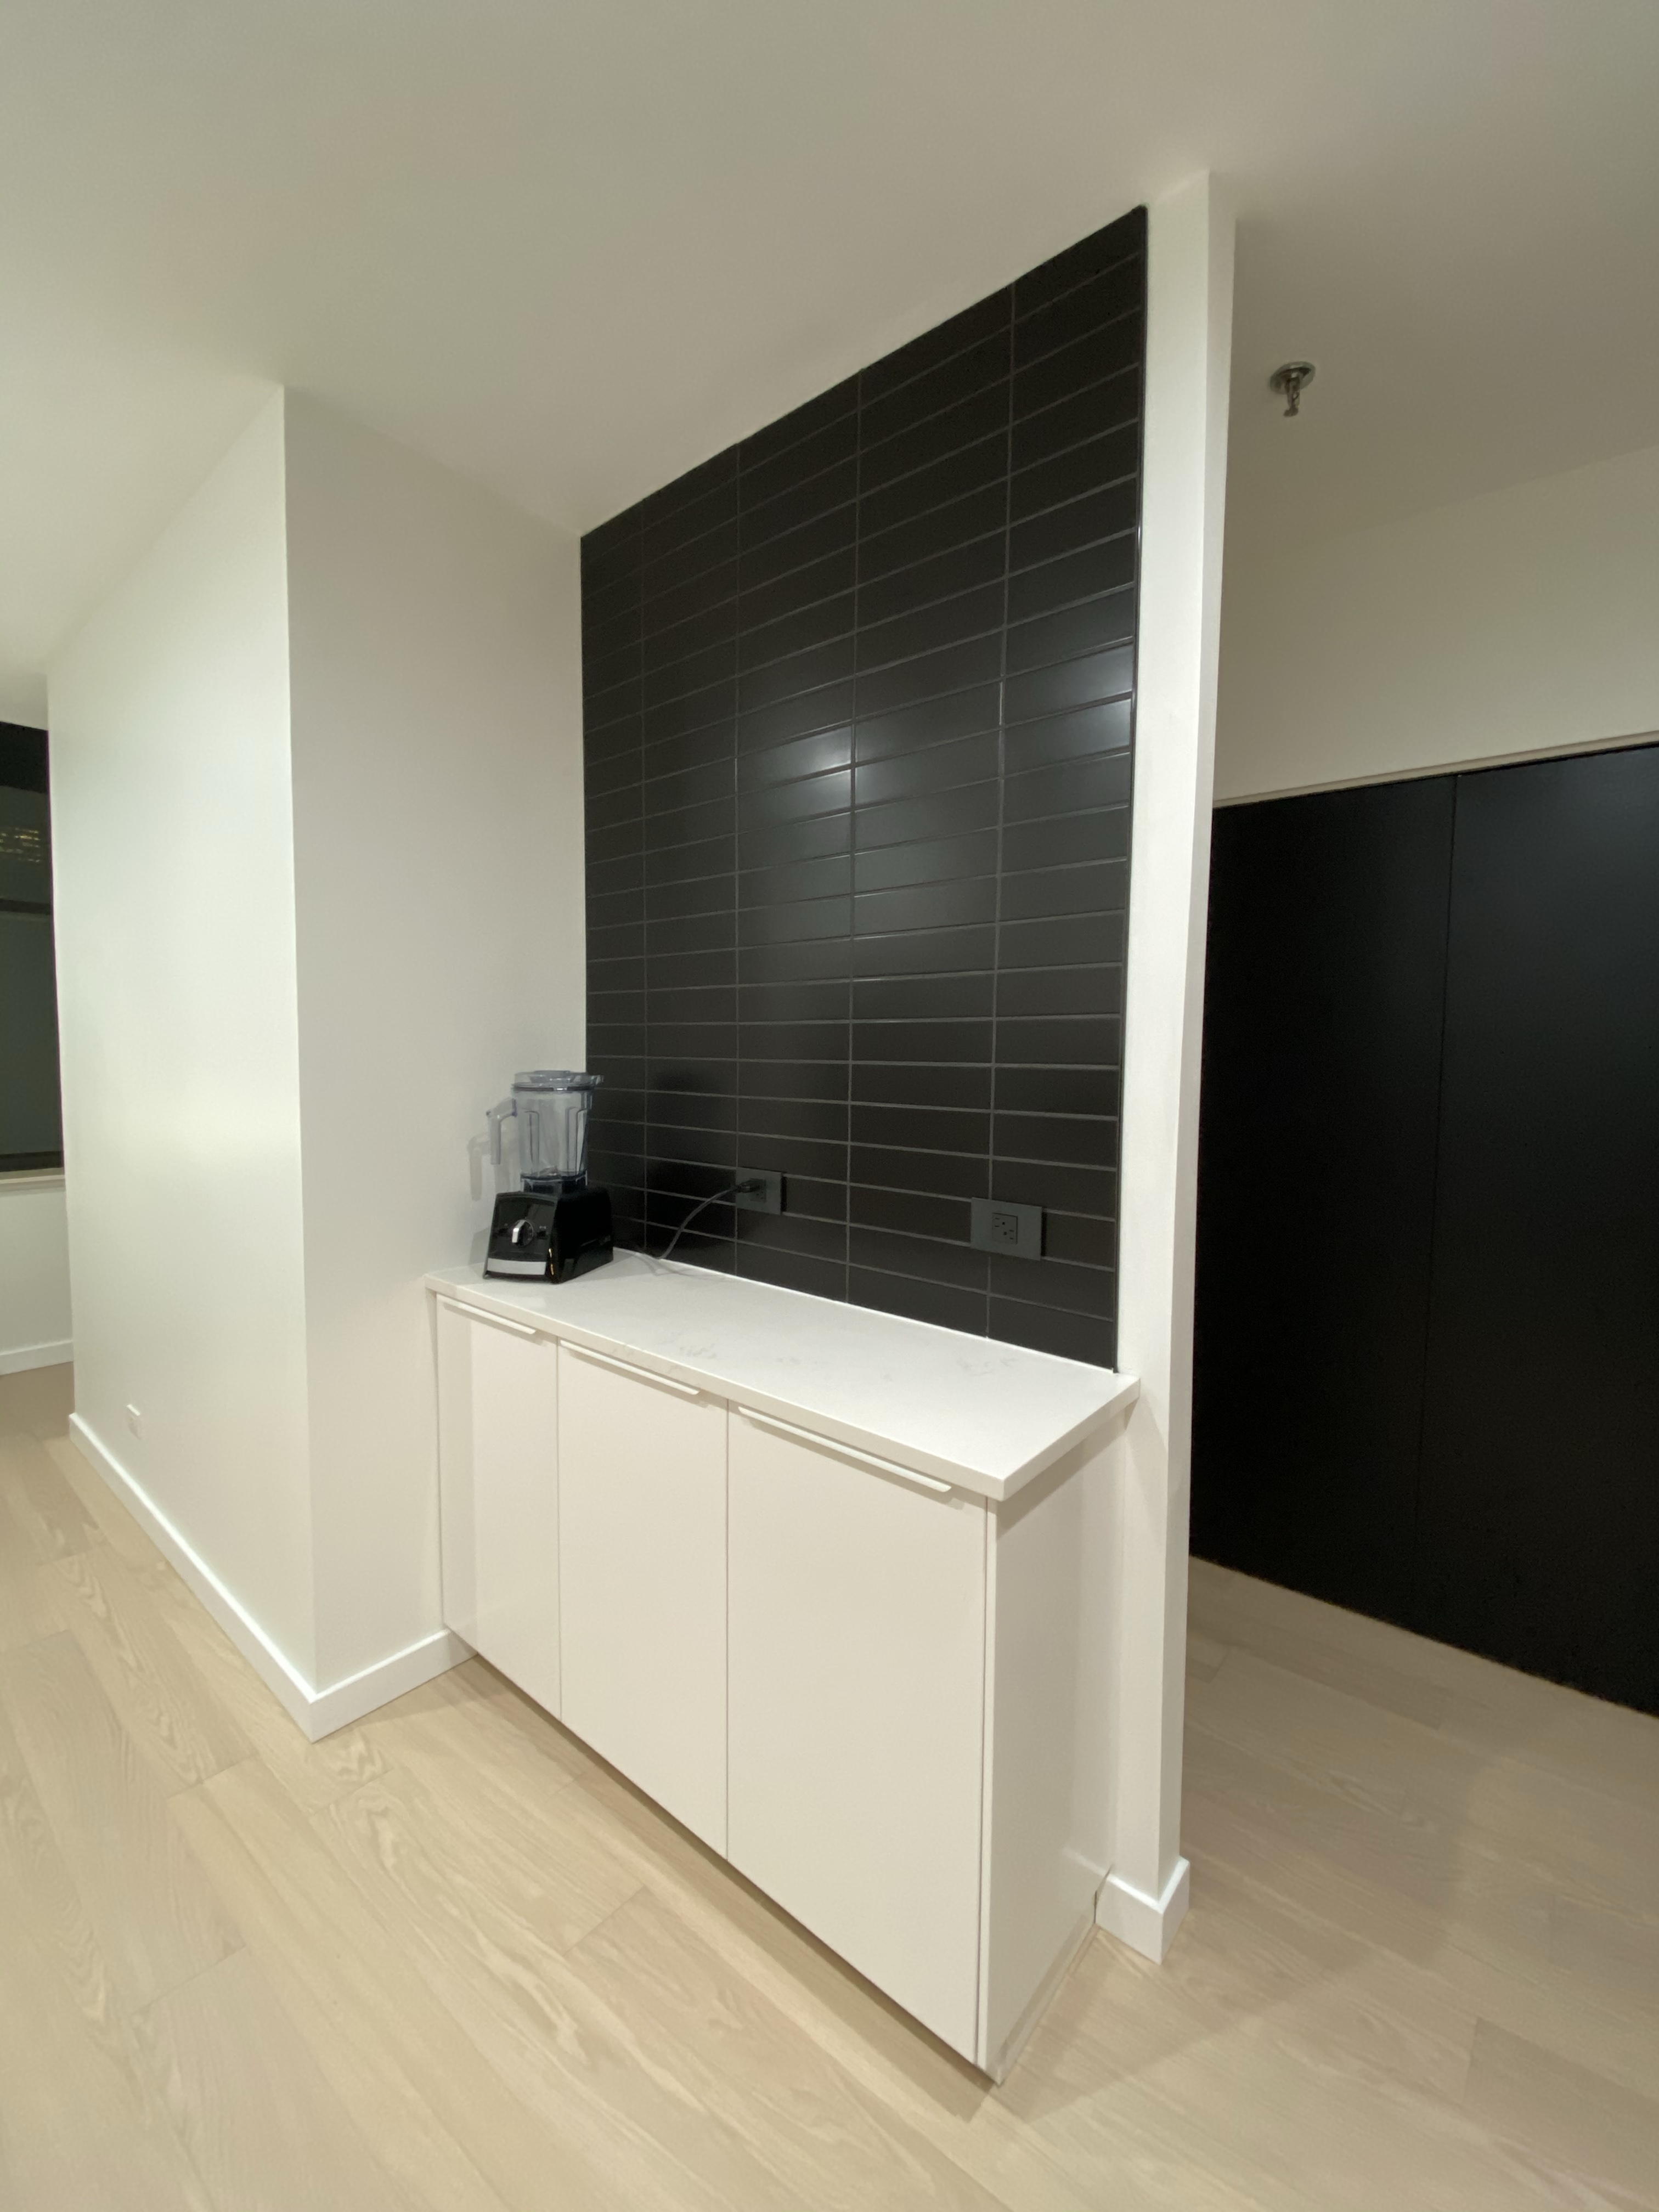
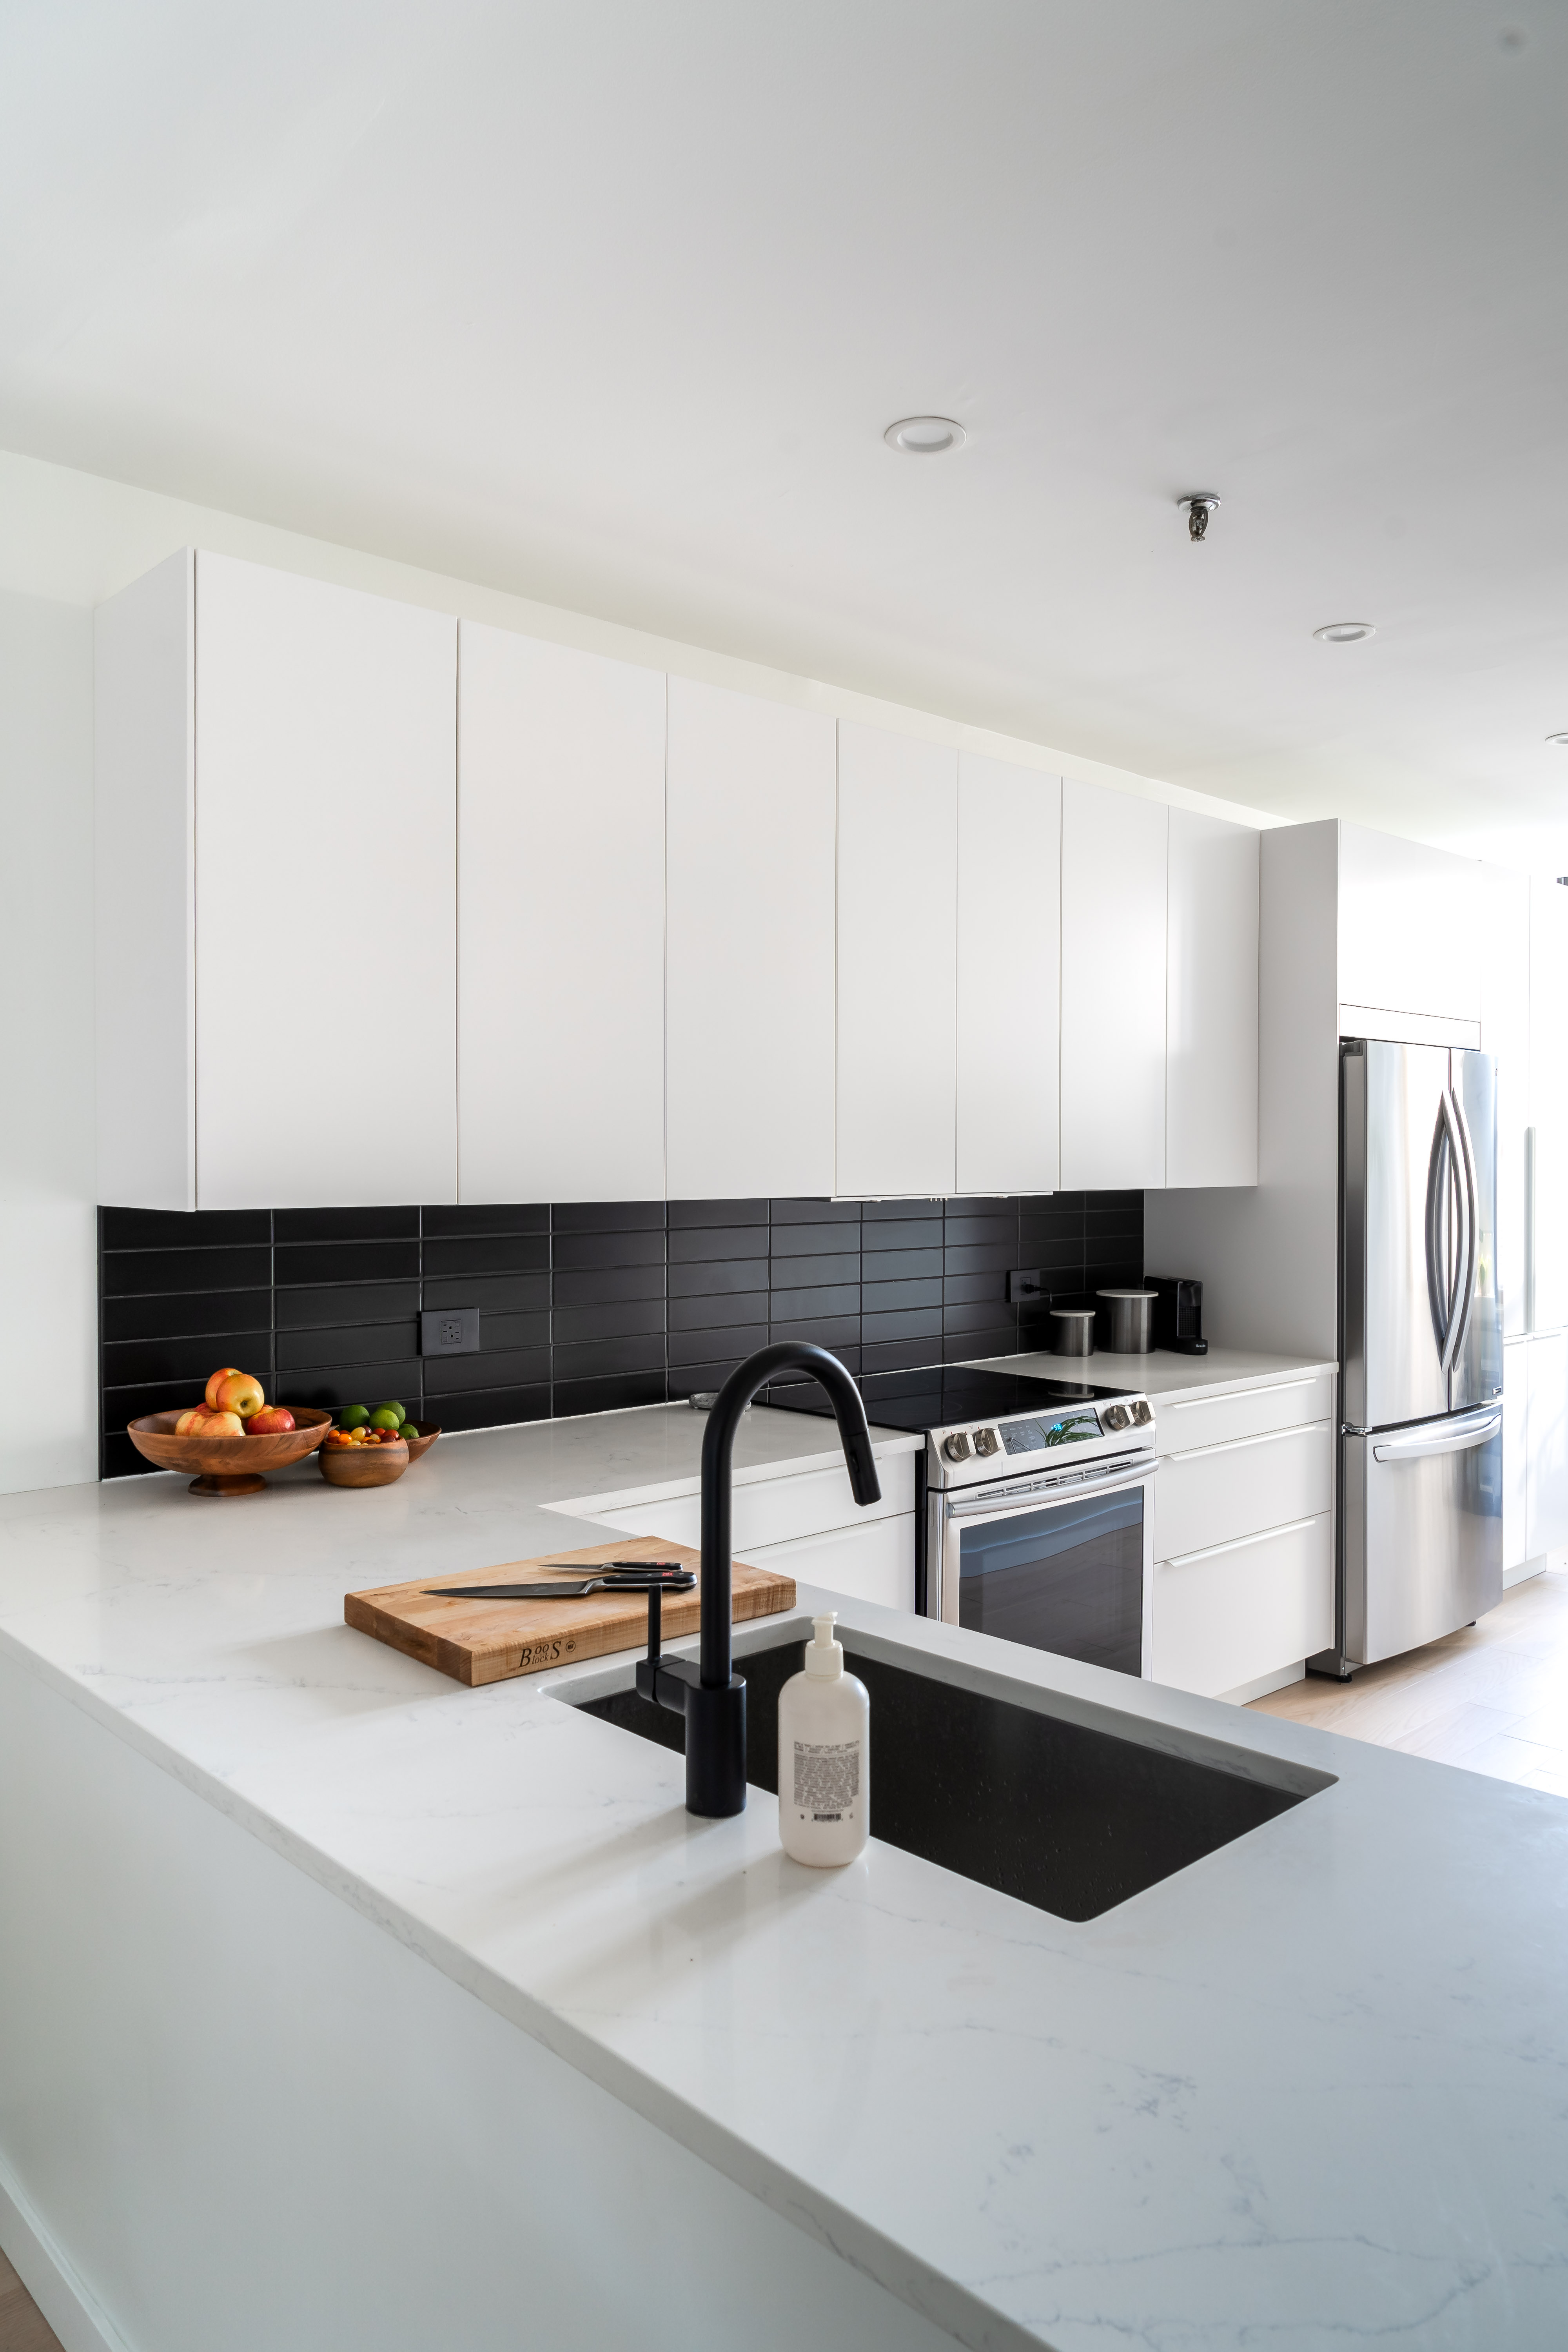
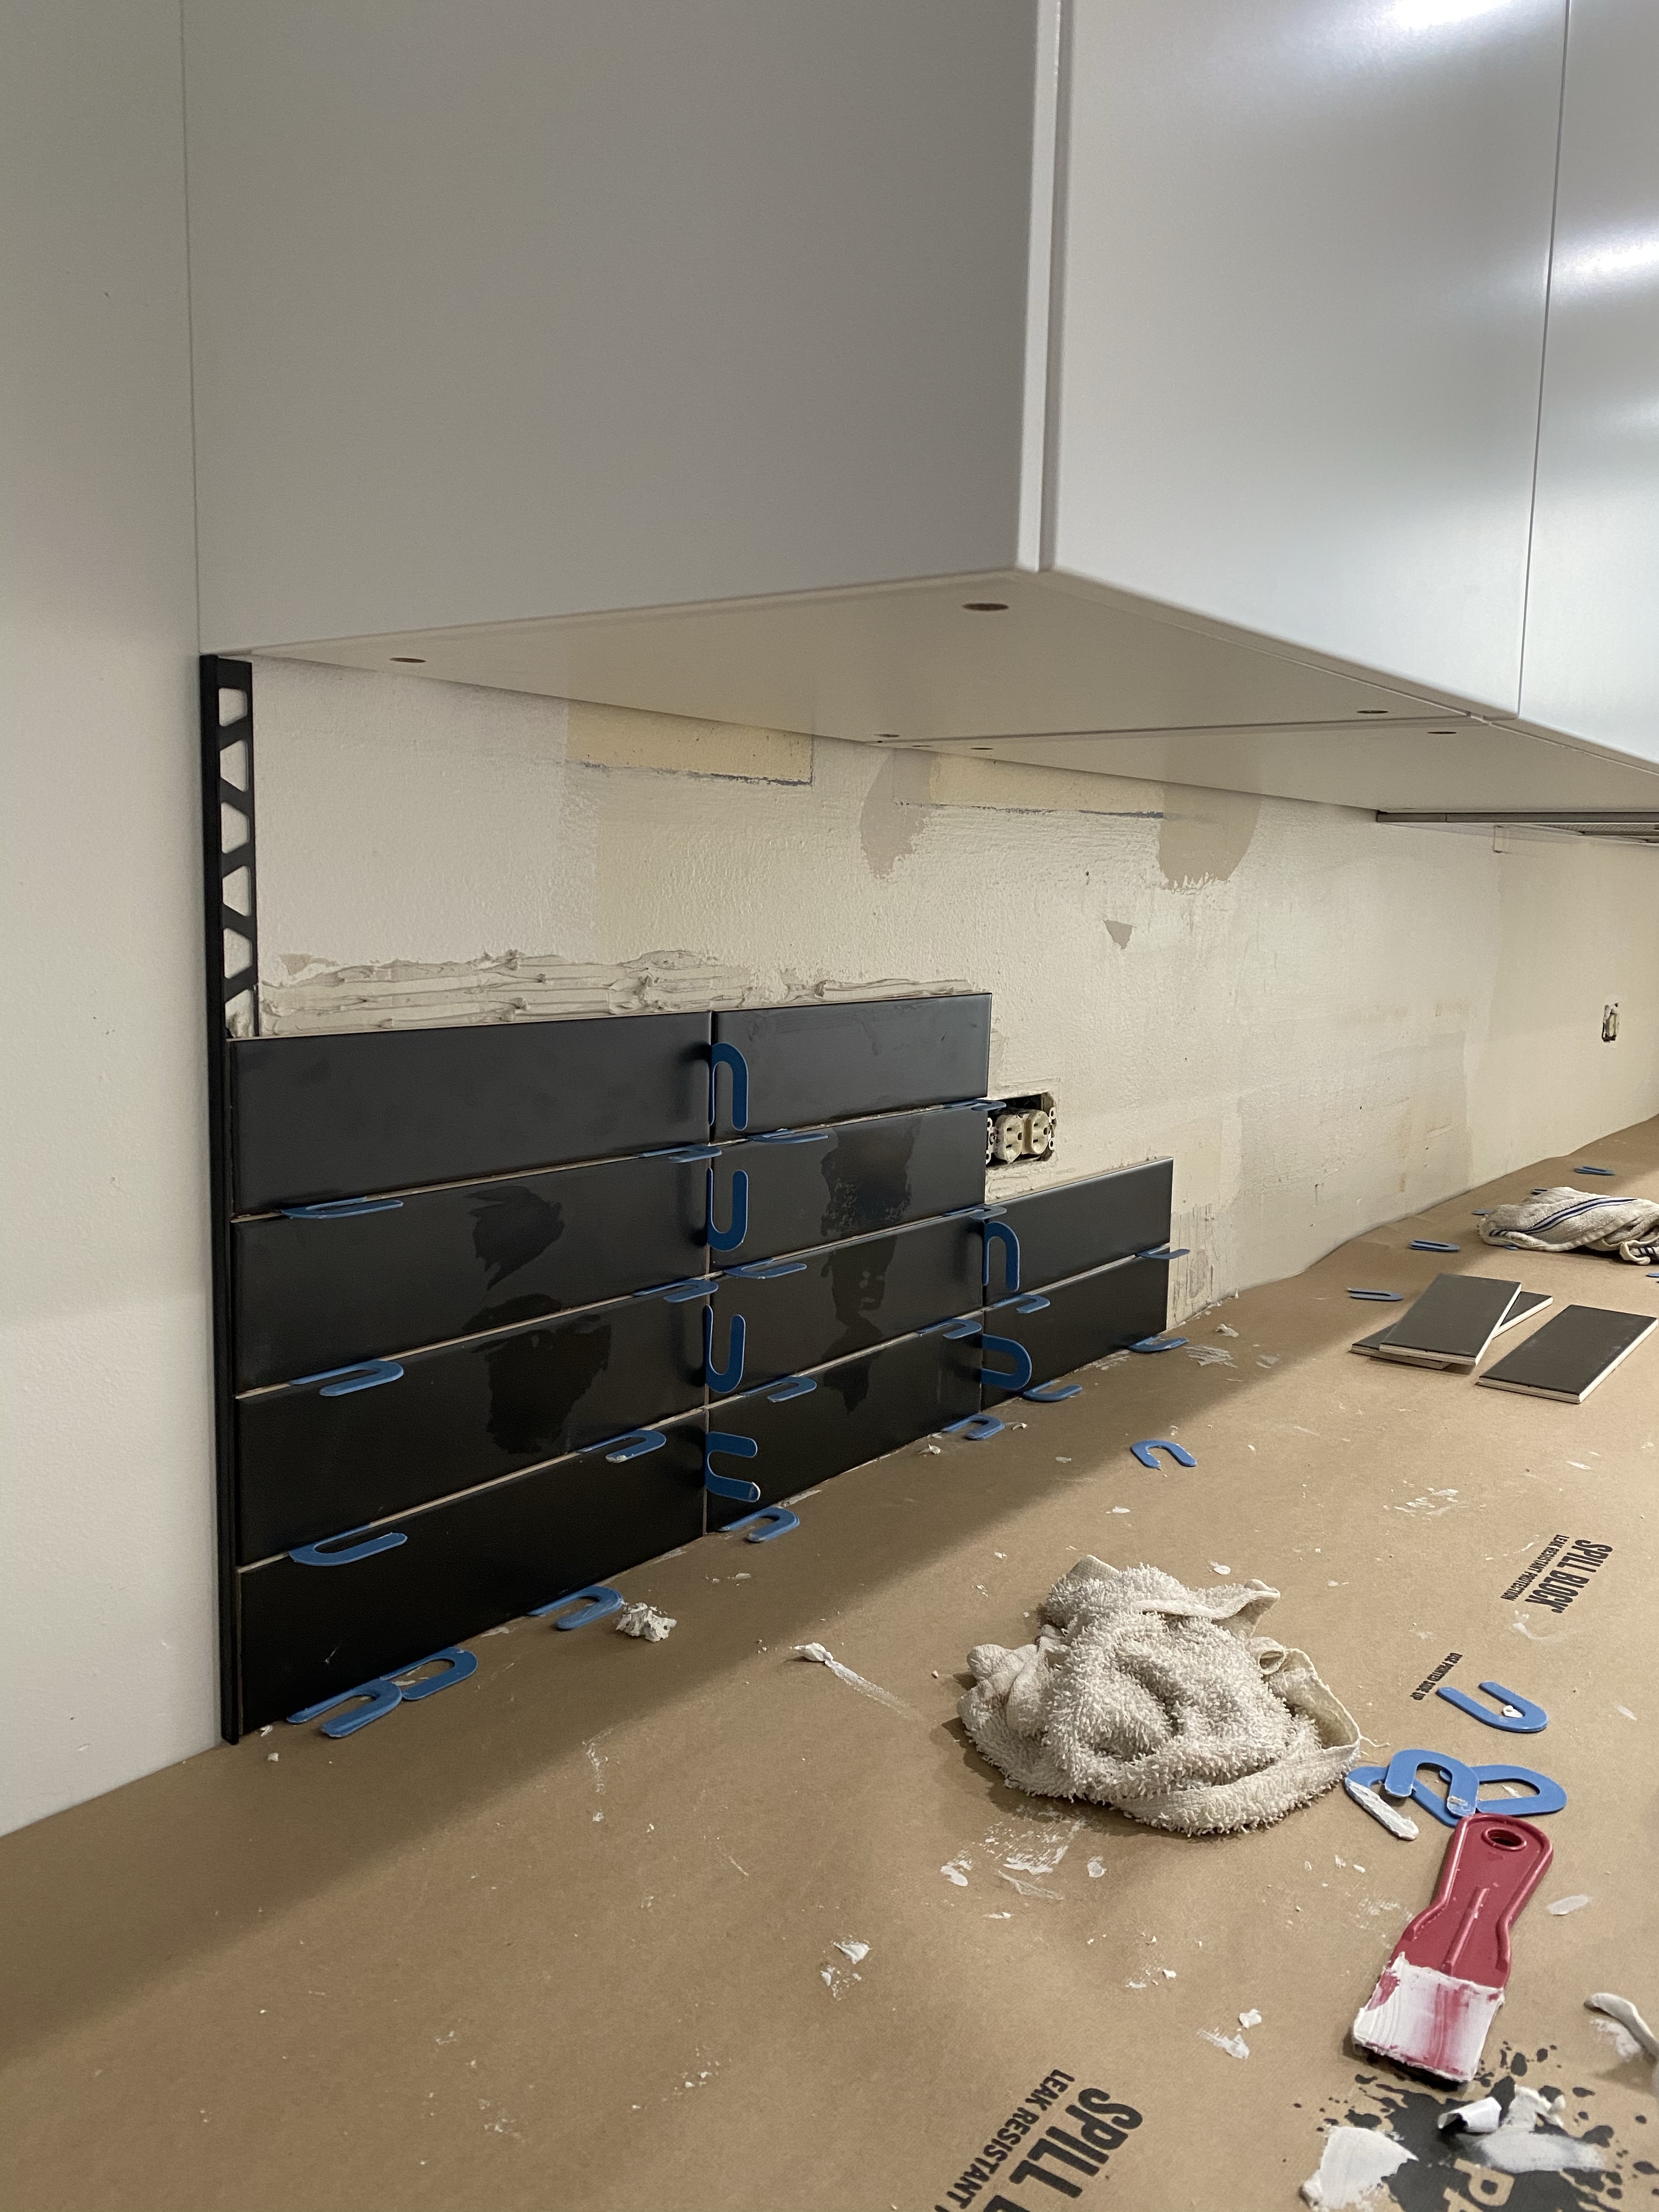
From assembling what seemed like a million IKEA cabinets, tiling the backsplash (and at that tiling for the first time ever!) to deciding on the quartz and smaller finishes, the kitchen was a ton of work but a lot of fun to work on. We can’t wait until we can design our next kitchen.
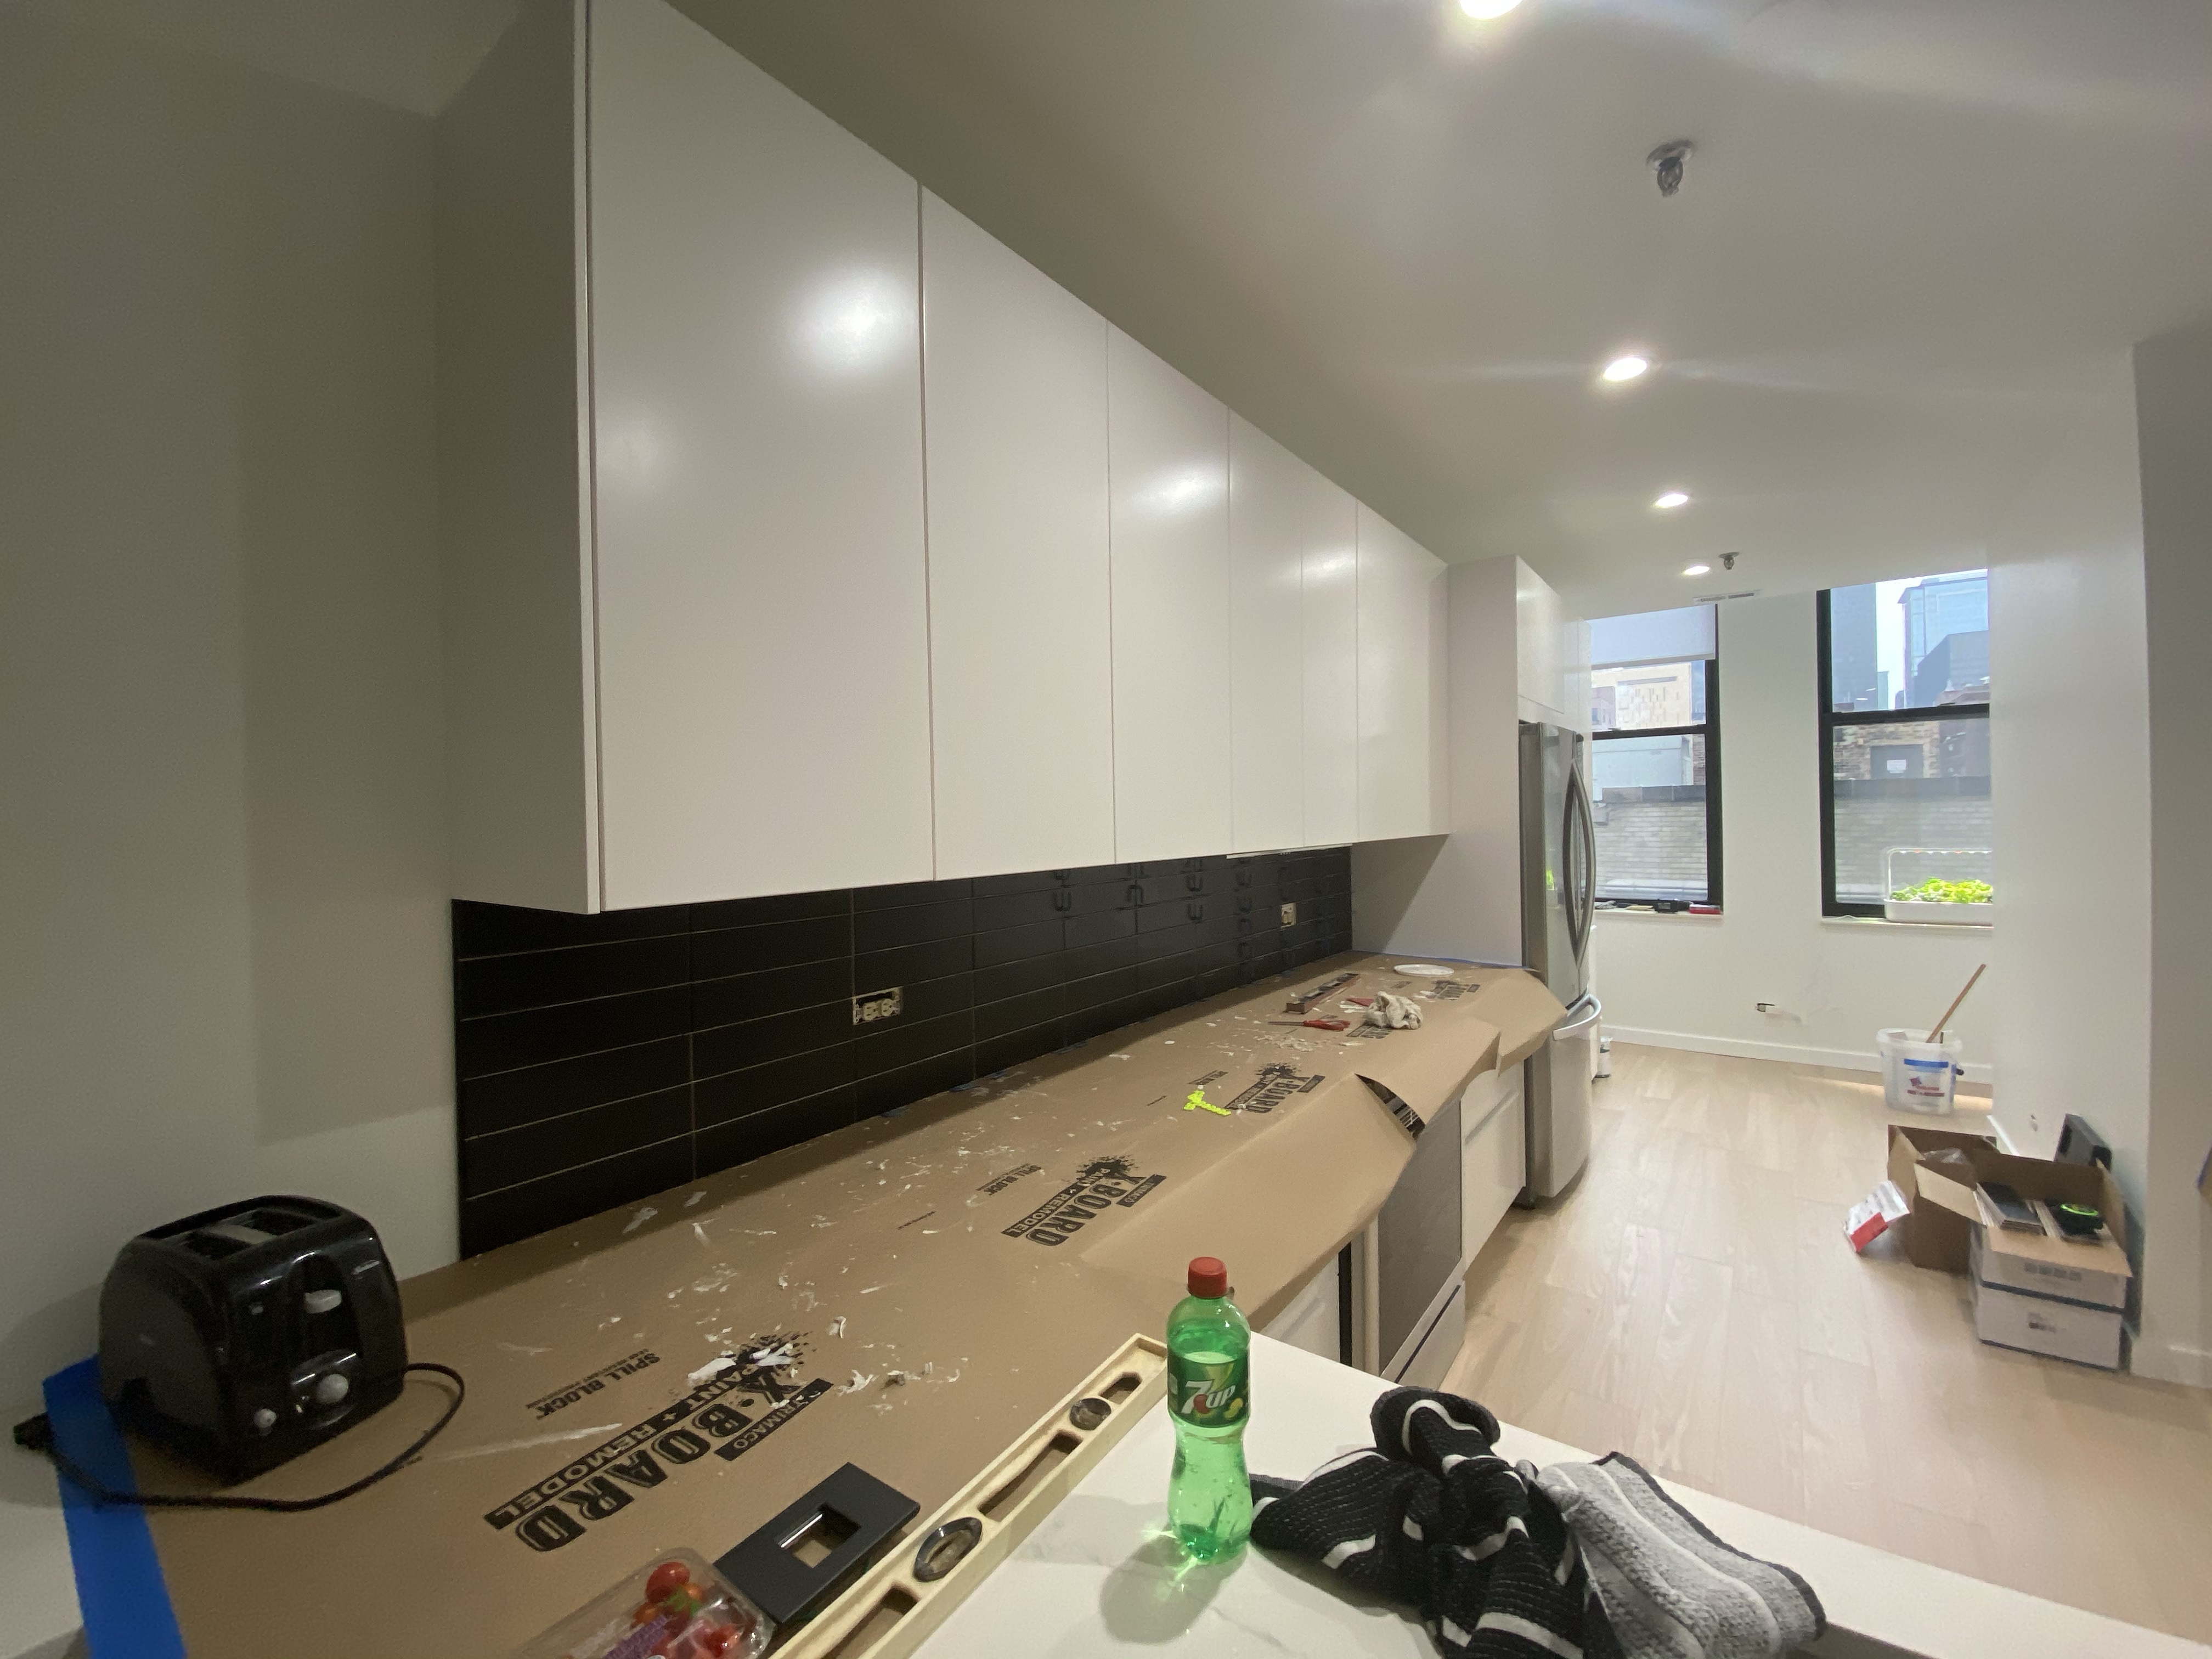
What we love most about the completed kitchen is that the after is not recognizable visually or functionally from the before. Once we got the initial walls demolished, the light and vibe of our condo was completely transformed. I also love that we did the project ourselves. We use our kitchen and dining room every single day and it’s really satisfying knowing it’s because of the hard work and thought we put into it. 
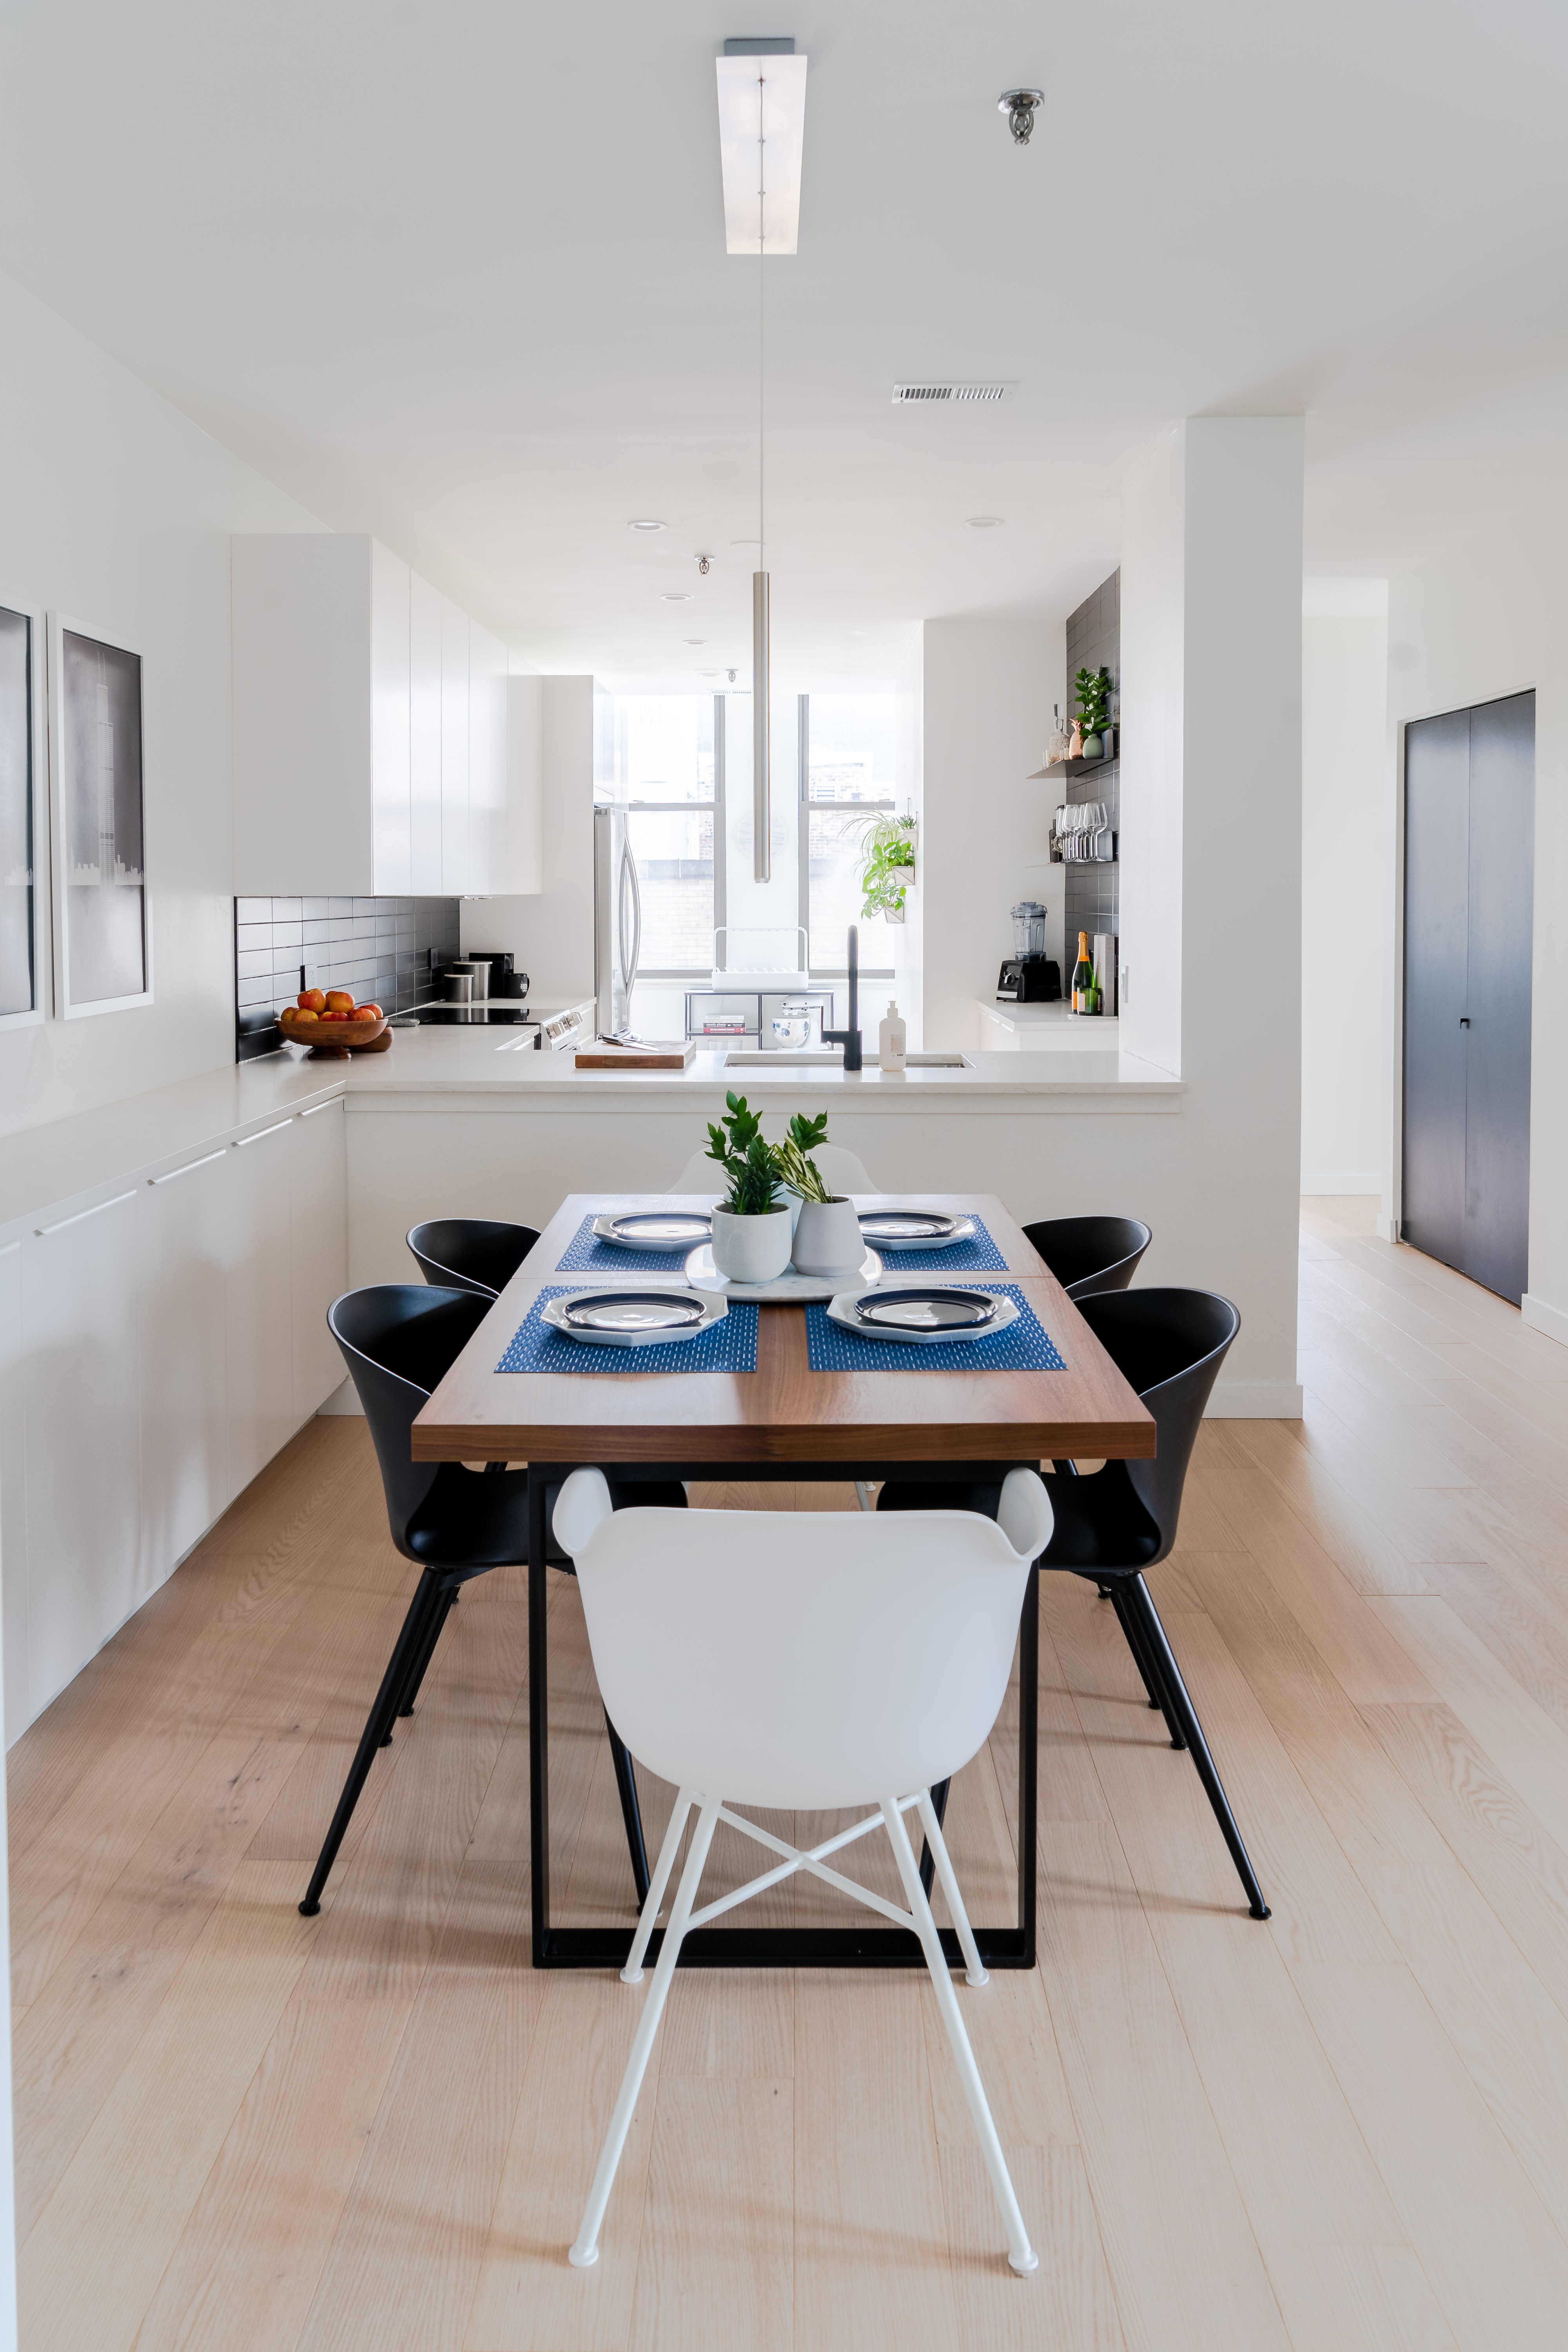
From demo to completion, this project took us 16 weeks to complete. The whole project cost around $19,000. One way that we could have easily cut costs is by not continuing the cabinets into the dining room, but being in the city, additional storage is really important. Now that the kitchen is complete, we’re breaking down all of the items and finishes in our kitchen:

  • Paint, Flooring, Trim, Etc – All Details in this Post
  • Cabinetry – IKEA Sektion with Veddinge fronts
  • Countertops – Vicostone Bianco Venato
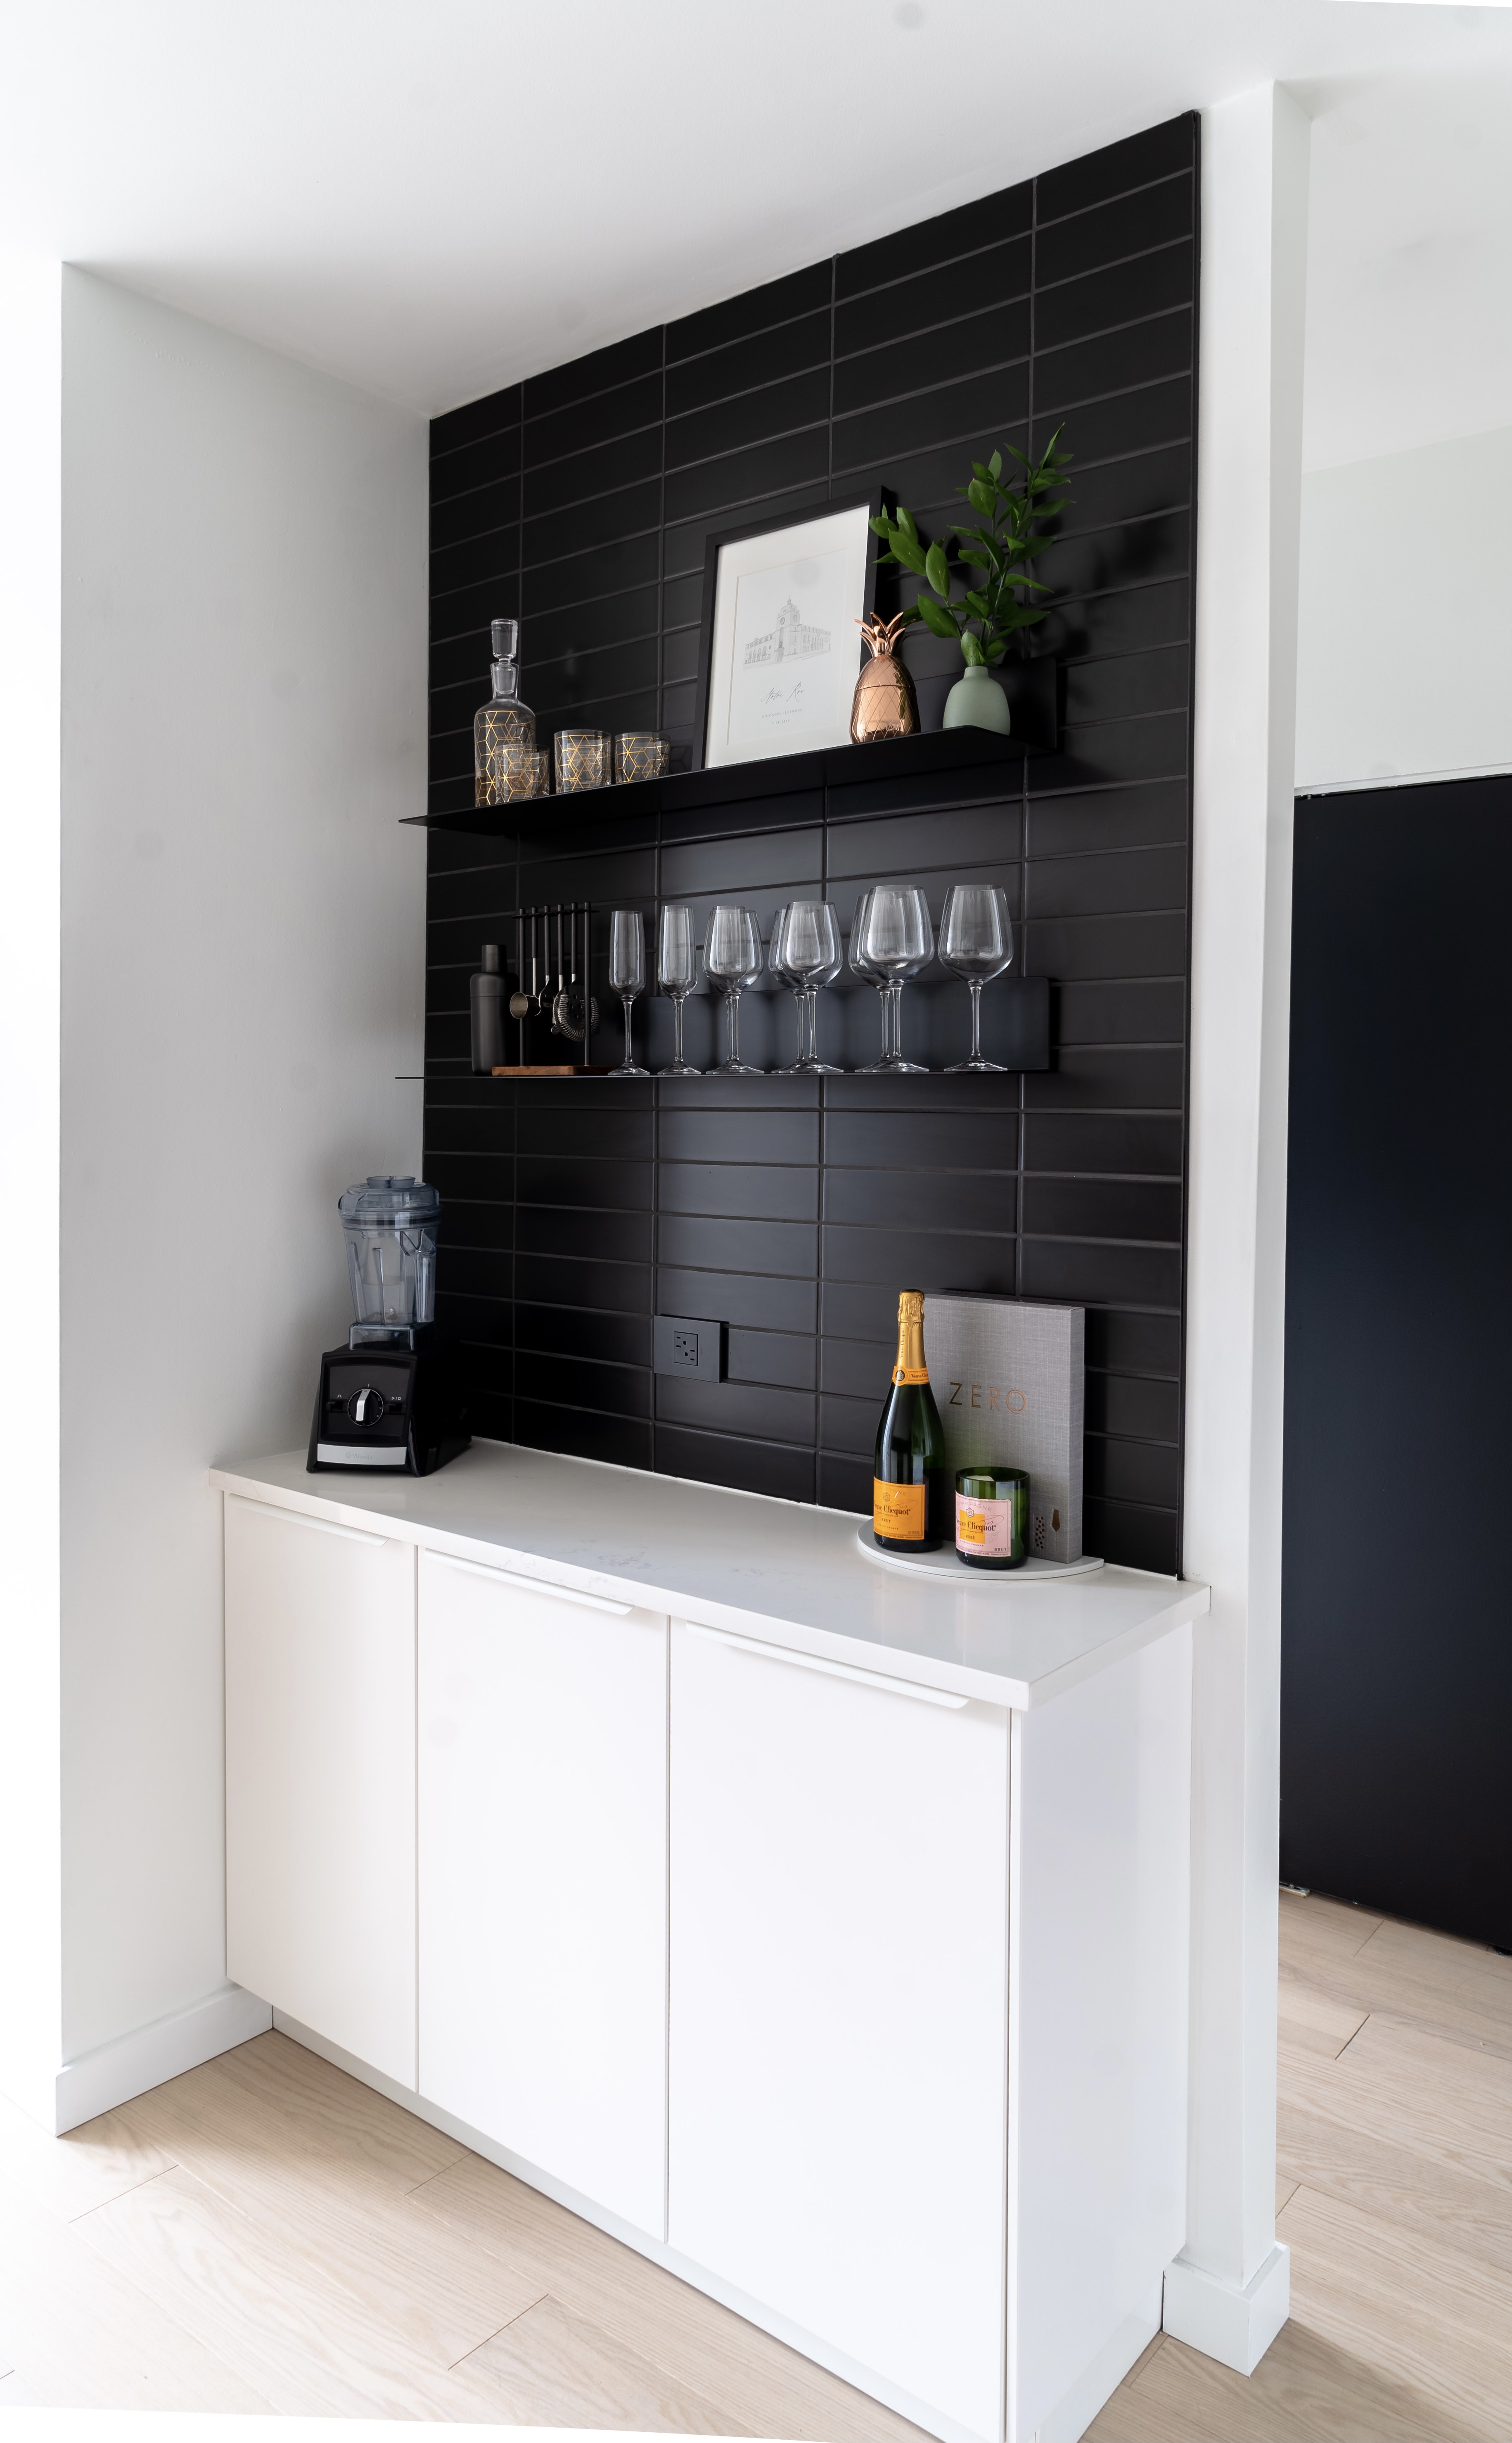
  • Backsplash – Floor & Décor Raven Matte Black 3×12
  • Appliances – LG Counter-depth French-door Refrigerator, Samsung Slide-in Electric Range, Samsung Dishwasher
  • Exhaust Hood – IKEA Under Cabinet Range Hood
  • Sink – Kraus Pro 30” Single SS Sink
  • Faucet – Moen Align Matte Black
  • Outlets – Legrand Adorne Outlet in Graphite
  • Door Hardware – IKEA Billsbro
  • Bar Shelves – Blu Dot Welf Large Shelf in Black
  • Bookshelf – Target Project 62 Glasgow Horizontal Bookshelf
  • Indoor Herb Garden – Click and Grow Smart Garden 9
  • Cutting Board – John Boos Maple Cutting Board, via Crate & Barrel
  • Fruit Bowl – Crate & Barrel Carson Acacia Fruit Bowl
  • Bar Set – Crate & Barrel Fenton Graphite Bar Collection
  • Wall Planters – Target Project 62 Geometric Hanging Planter
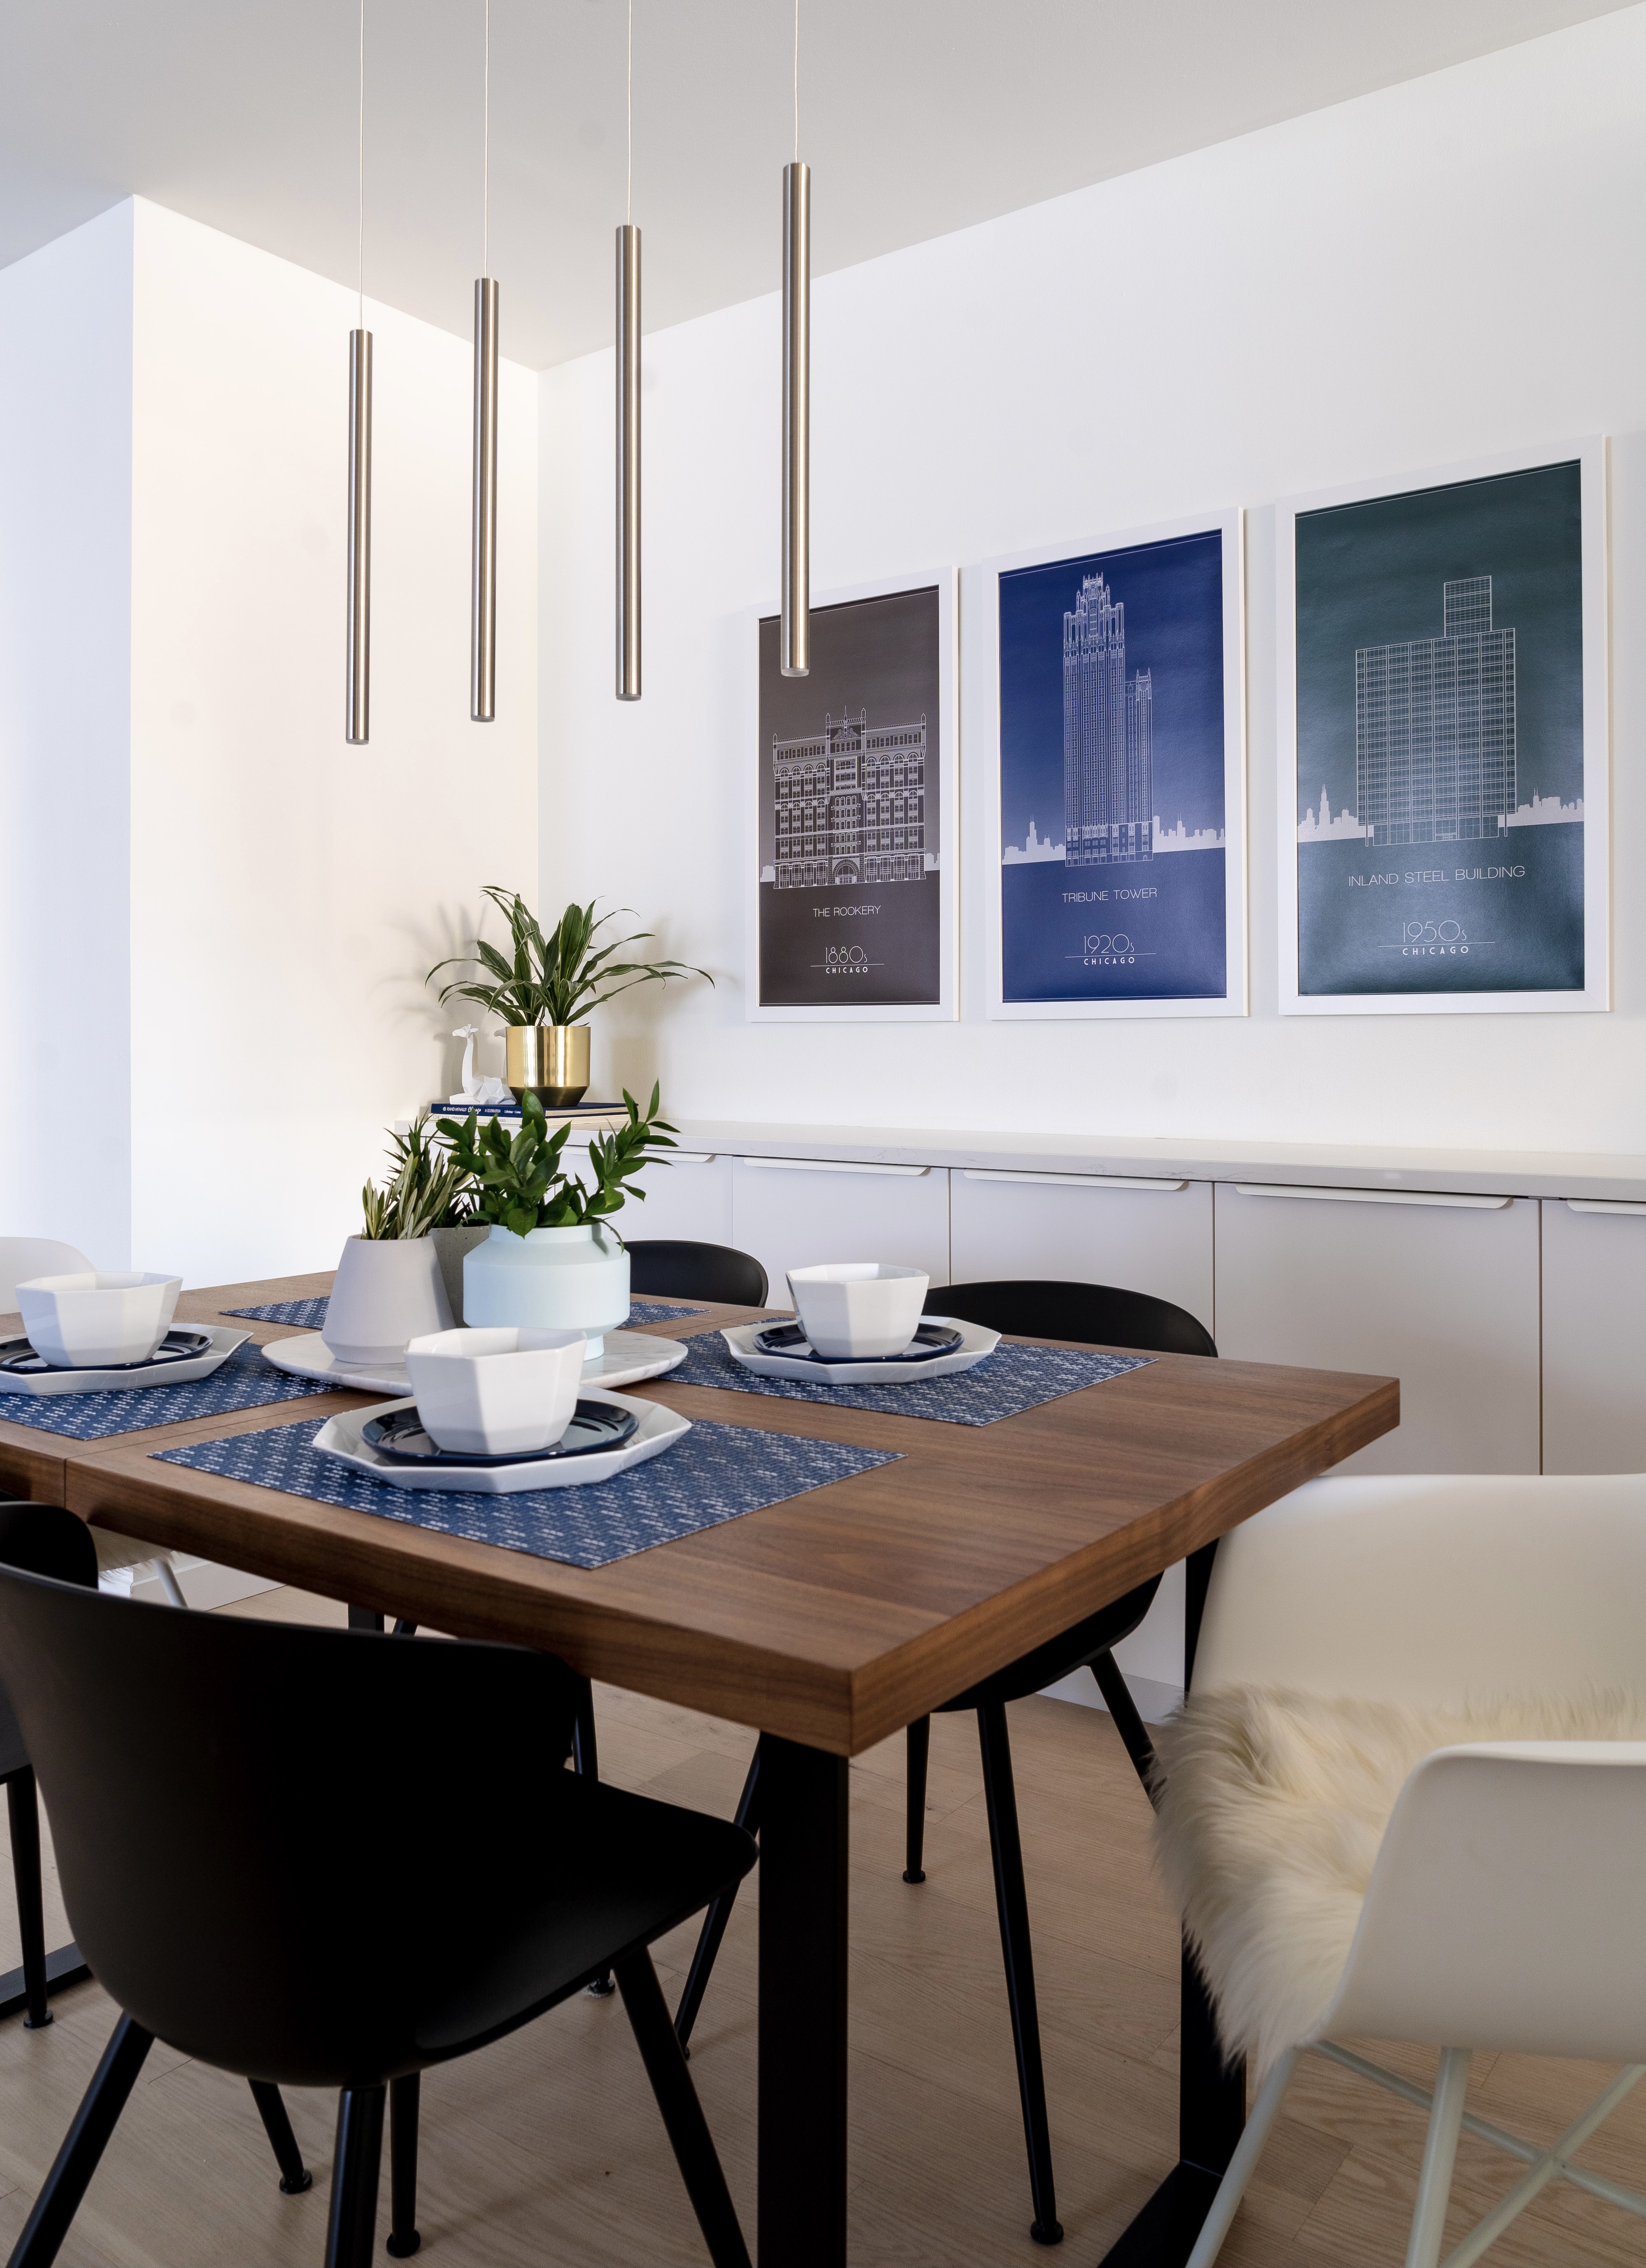
  • Dining Table – EQ3 Hatch Dining Table, Walnut top with black base
  • Black Dining Chairs – Target Project 62 Black Plastic Dining Chair
  • White Dining Chairs – Target Project 62 White Barrel Dining Chair
  • Chair Pad – Article Ivory White Sheepskin Seat Pad
  • Light – Wayfair Baileyton 4-light LED Cylinder Pendant
  • Wall Art – Stephen Christ Graphic Artist, Chicago Collection, via ImageKind
  • Placemats – Chilewich Thatch Rectangle
  • Table Tray – Blue Dot Delicious Marble Tray
  • Vases – EQ3 Posey Vases Collection
  • Plant Pot – H&M Home Metal Plant Pot
Posted By: thelksaddress · In: DESIGN

HOW WE PHASED OUR CONDO RENOVATION
OUR PRIMARY BATHROOM TRANSFORMATION

You’ll Also Love

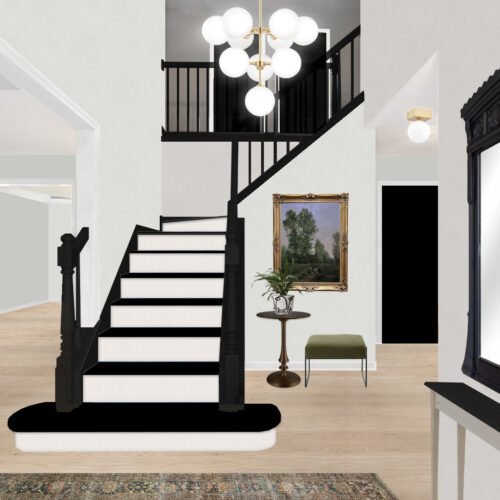
OUR FOYER DESIGN PLAN
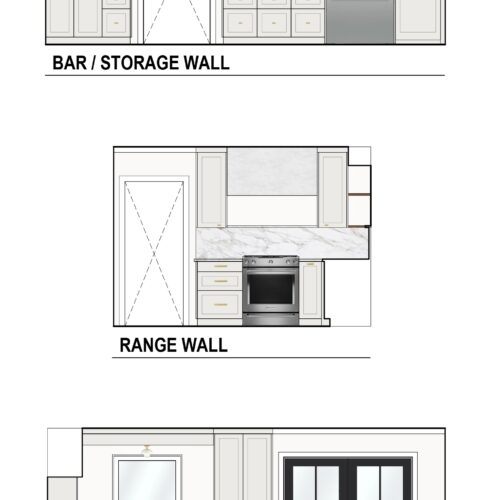
OUR KITCHEN DESIGN PLAN
DIY MARBLE FIREPLACE
About Photo
Hi! We are Lauren and Kameron, the creators behind the LKS Address. Together, we are working to pursue our passions of design, renovation, and architecture.

EXPLORE

  • BLOG
  • SHOP
  • YOUTUBE
  • ABOUT
  • CONTACT
CLOFFICE MONITOR! I wanted my cloffice to function CLOFFICE MONITOR! I wanted my cloffice to function like a desk but not necessarily look like one, so one of the biggest challenges was figuring out how to make my computer monitor look more like a piece of art.

Taking inspiration from the Frame TV, I researched ways to hide the cords, mount the monitor as close to the wall as possible, and eventually add a custom frame to complete the look. 

Comment MONITOR and I’ll send you links to everything I used for this setup!
Did you know you can just… create the bar you want Did you know you can just… create the bar you want before you actually build it? #lowespartner

With a little creativity and a trip to @loweshomeimprovement, we’re shifting our mindset from we’ll do that someday to why not now?

I’ve wanted a beverage fridge for years for all my sparkling waters and mocktails. Instead of waiting for our future built-in bar, I created the feeling of one now with this KitchenAid dual zone beverage fridge! 

I personalized it with reeded glass film, a porcelain marble tile top, and a few of my favorite bar accessories to create the cutest little vignette. 

Shop this project on my Lowe’s storefront, linked in bio! #lowesproject
CLOFFICE REVEAL! #ad I still can’t believe this is CLOFFICE REVEAL! #ad I still can’t believe this is the same space. With the help of @benjaminmoore, I transformed our spare closet into a charming, creative, and functional home office.

The transformation came together around one main thing: color. I color drenched the entire space in Benjamin Moore Santorini Blue 1634 using Regal Select Interior paint. With 3,500+ colors to choose from, there’s truly a color for every mood and vibe.

Want to learn more about Benjamin Moore Regal Select and the color I used? Head to the link in my bio #benjaminmoore
CLOFFICE SHELVES & COUNTERTOP! Building the shelve CLOFFICE SHELVES & COUNTERTOP! Building the shelves and installing the countertop was way easier than I expected and using nominal lumber made this project much simpler.

Instead of working with large sheets of plywood and making tons of cuts, I used standard 1x12s for the shelves and 1x2s for the supports. Fewer cuts = less work!

MATERIALS:
• 8”x8” wood brackets / corbels
• 1x2 poplar, countertop + shelf supports
• 1x12 poplar, shelves
• #10 3” screws, wood brackets
• #9 2-1/2” screws, 1x2 supports
• 1/2” L brackets, for securing countertop
• Laminate countertop, reinforced with 3/4” plywood
I was so excited to use @benjaminmoore Regal Selec I was so excited to use @benjaminmoore Regal Select Interior for my office makeover since it has always been our go-to paint! I chose the color Santorini Blue 1634 in an eggshell finish and I already love how my cloffice is coming to life #ad

Regal Select Interior paint gives that smooth, beautiful finish we love, with the durability and long-lasting results we expect from Benjamin Moore. Head to your local Ace Hardware or Benjamin Moore retailer to talk to an expert and shop paints and stains #benjaminmoore
CLOFFICE (CLOSET + OFFICE) DESIGN! I’m turning the CLOFFICE (CLOSET + OFFICE) DESIGN! I’m turning the third closet in our primary bedroom into my new office, and I’m so excited to give this little space some personality! I’m creating a fun, bold, dedicated workspace that can be completely tucked away when I’m done for the day. Follow along for the full transformation
Follow on Instagram

Copyright © 2026 The LKS Address · Theme by 17th Avenue